I purchased my Cricut Maker in 2022 and have been happily cutting all sorts of materials since! I just bought my Cricut Heat Press recently and never thought I would be using it so much!
I use my Maker a lot for greeting cards, bags and wallets, acrylic templates, T-shirts … oh I’m sure I’ve used it for more! You can cut almost anything with the right Mat, Blade and settings. My Cricut Heat Press has not only been used for iron-on vinyls, but for fusing interfacing and stabilizers too.
But let’s start at the beginning! I can only cut materials that fit on my MAT:
A SMALL MAT is 12″ x 12″, but the cutting area is 11 1/2″ x 11 1/2″
A LARGE MAT is still 12” wide, but is 24″ long, so the cutting area is 11 1/2″ x 23 1/2″
The MATS are sorted into colours/strengths:
BLUE LIGHT GRIP: Paper or light cardstock under 80 lb weight.
GREEN STANDARD GRIP: Vinyl, cork, iron-on (heat-transfer) vinyl, up to 0.007 thick Craft Plastic/Acrylic, heavier card stock.
PURPLE STRONG GRIP: up to 0.022 thick Kraft Board, 0.020 Craft Plastic/Acrylic, or heavier weight Cork or Vinyl.
PINK FABRIC GRIP: Fabric only.
The BLADES that I use the most are:
PREMIUM FINE POINT BLADE: Under 80 lb weight paper or light card stock, vinyl, cork, iron-on (heat-transfer) vinyl, up to 0.022 thick Kraft Board, up to 0.007 thick Craft Plastic/Acrylic.
ROTARY BLADE: Cork, vinyl, canvas, foam. (I have found the Rotary Blade to be not suitable for some very intricate cuts.)
KNIFE BLADE: up to 0.020 Craft Plastic/Acrylic, balsa wood, leather, heavier card stock.
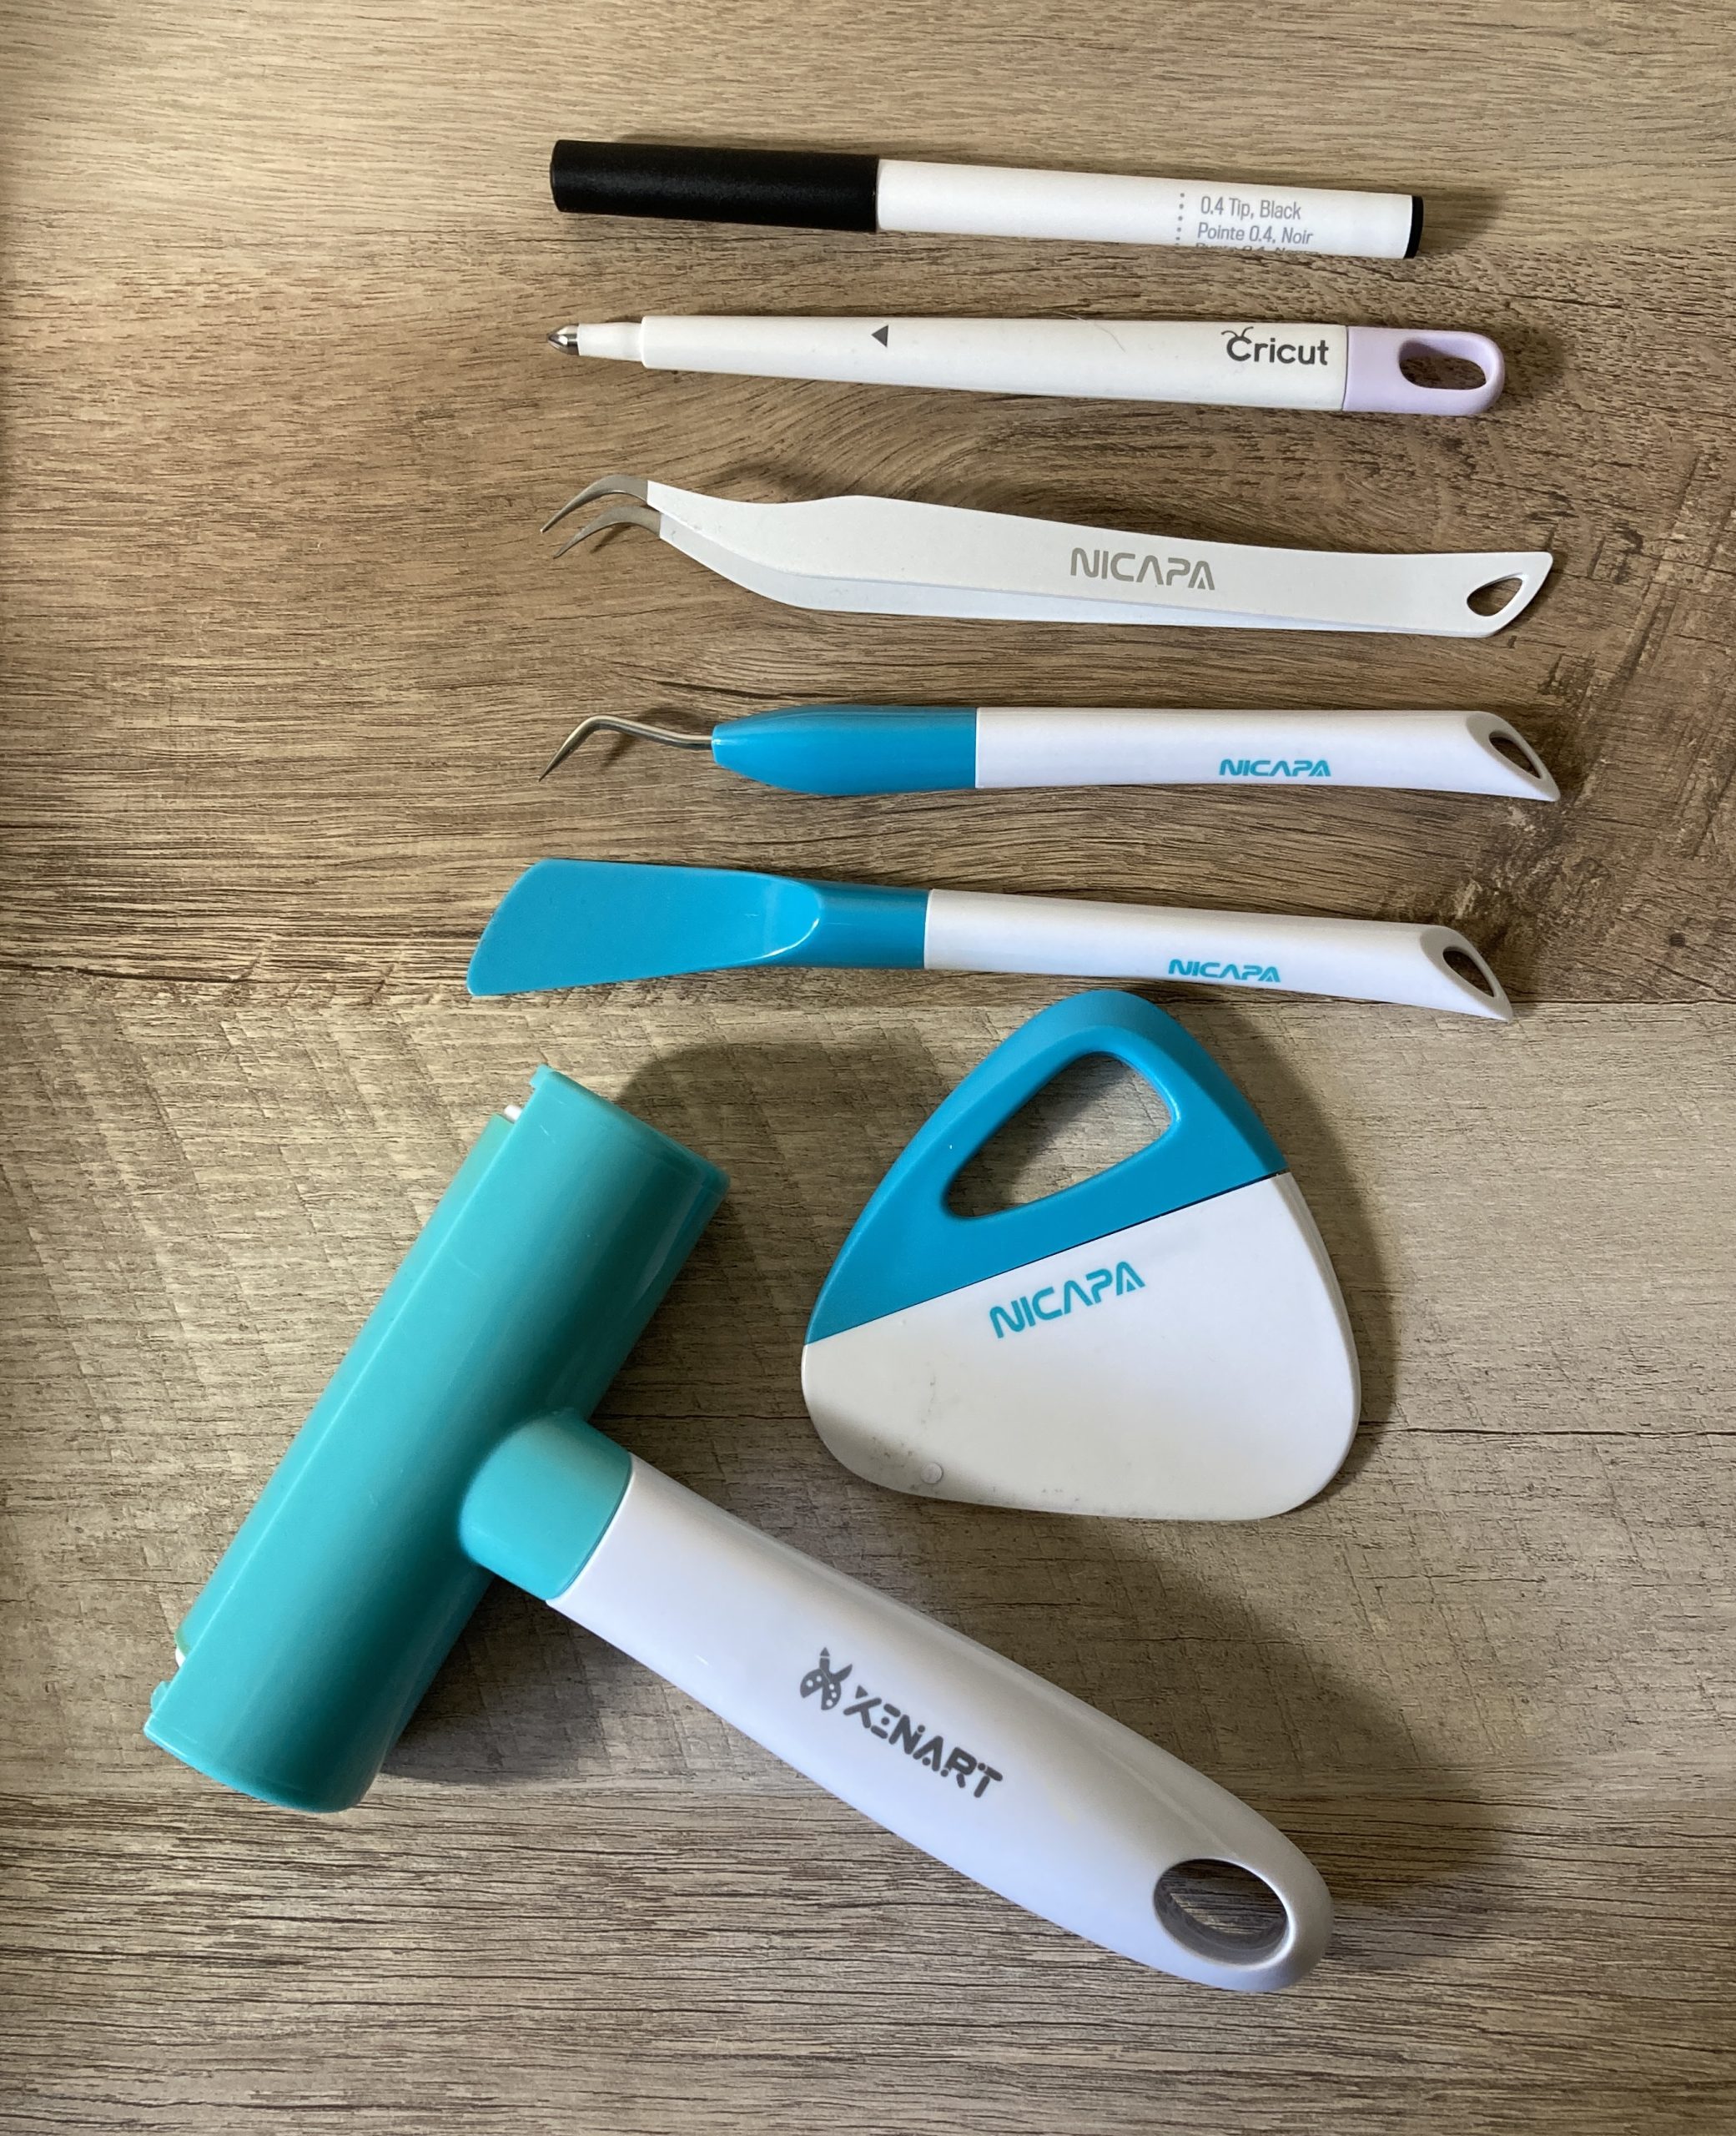
There are other tools I use with my Maker, like a Brayer to stick my materials to the Mat, Scrapers to push them off, the Weeders to pick out the bits that are not part of the image. The Scoring tool and the Markers are for making greeting cards. Don’t go too wild at the start with accessories, as I wasn’t sure what exactly I would need until I started working with my favourite materials.

Now that we are done with those boring details, here’s how I cut my vinyl appliqués for my Cork and Copper Designs Pennyroyal Pouch! All patterns mentioned are available in their shop, Cork and Copper Designs HERE!
I used my Green Standard Grip mat and Premium Fine Point Blade with my Cricut Everyday Iron-On Vinyl, same as Heat Transfer Vinyl or HTV. Painter’s Tape is always handy for ensuring that the edges of your vinyl stick to the Mat. Most Iron-on vinyls, Cricut Every-day, Foil, or Glitter, are placed on the Mat to be cut wrong side up, so the right side (which is covered by carrier plastic) faces down on the Mat.


The Cricut Design Space program gives you step by step instructions for uploading your images. I like creating and uploading SVG format files the best, but other formats can be used. The image is “uploaded” and then “added to your canvas” where it is “ungrouped” so you can hide the images that you don’t want, if any, and adjust the size of the images that you do want.
Note that different companies use different DPI requirements for their products, whether Brother, Silhouette, Cricut, etc., therefore the image you upload might arrive on your canvas with “incorrect” dimensions. That’s not a problem though. One of the features of most cutting machines and their programs is that you can adjust the image size to anything you like!
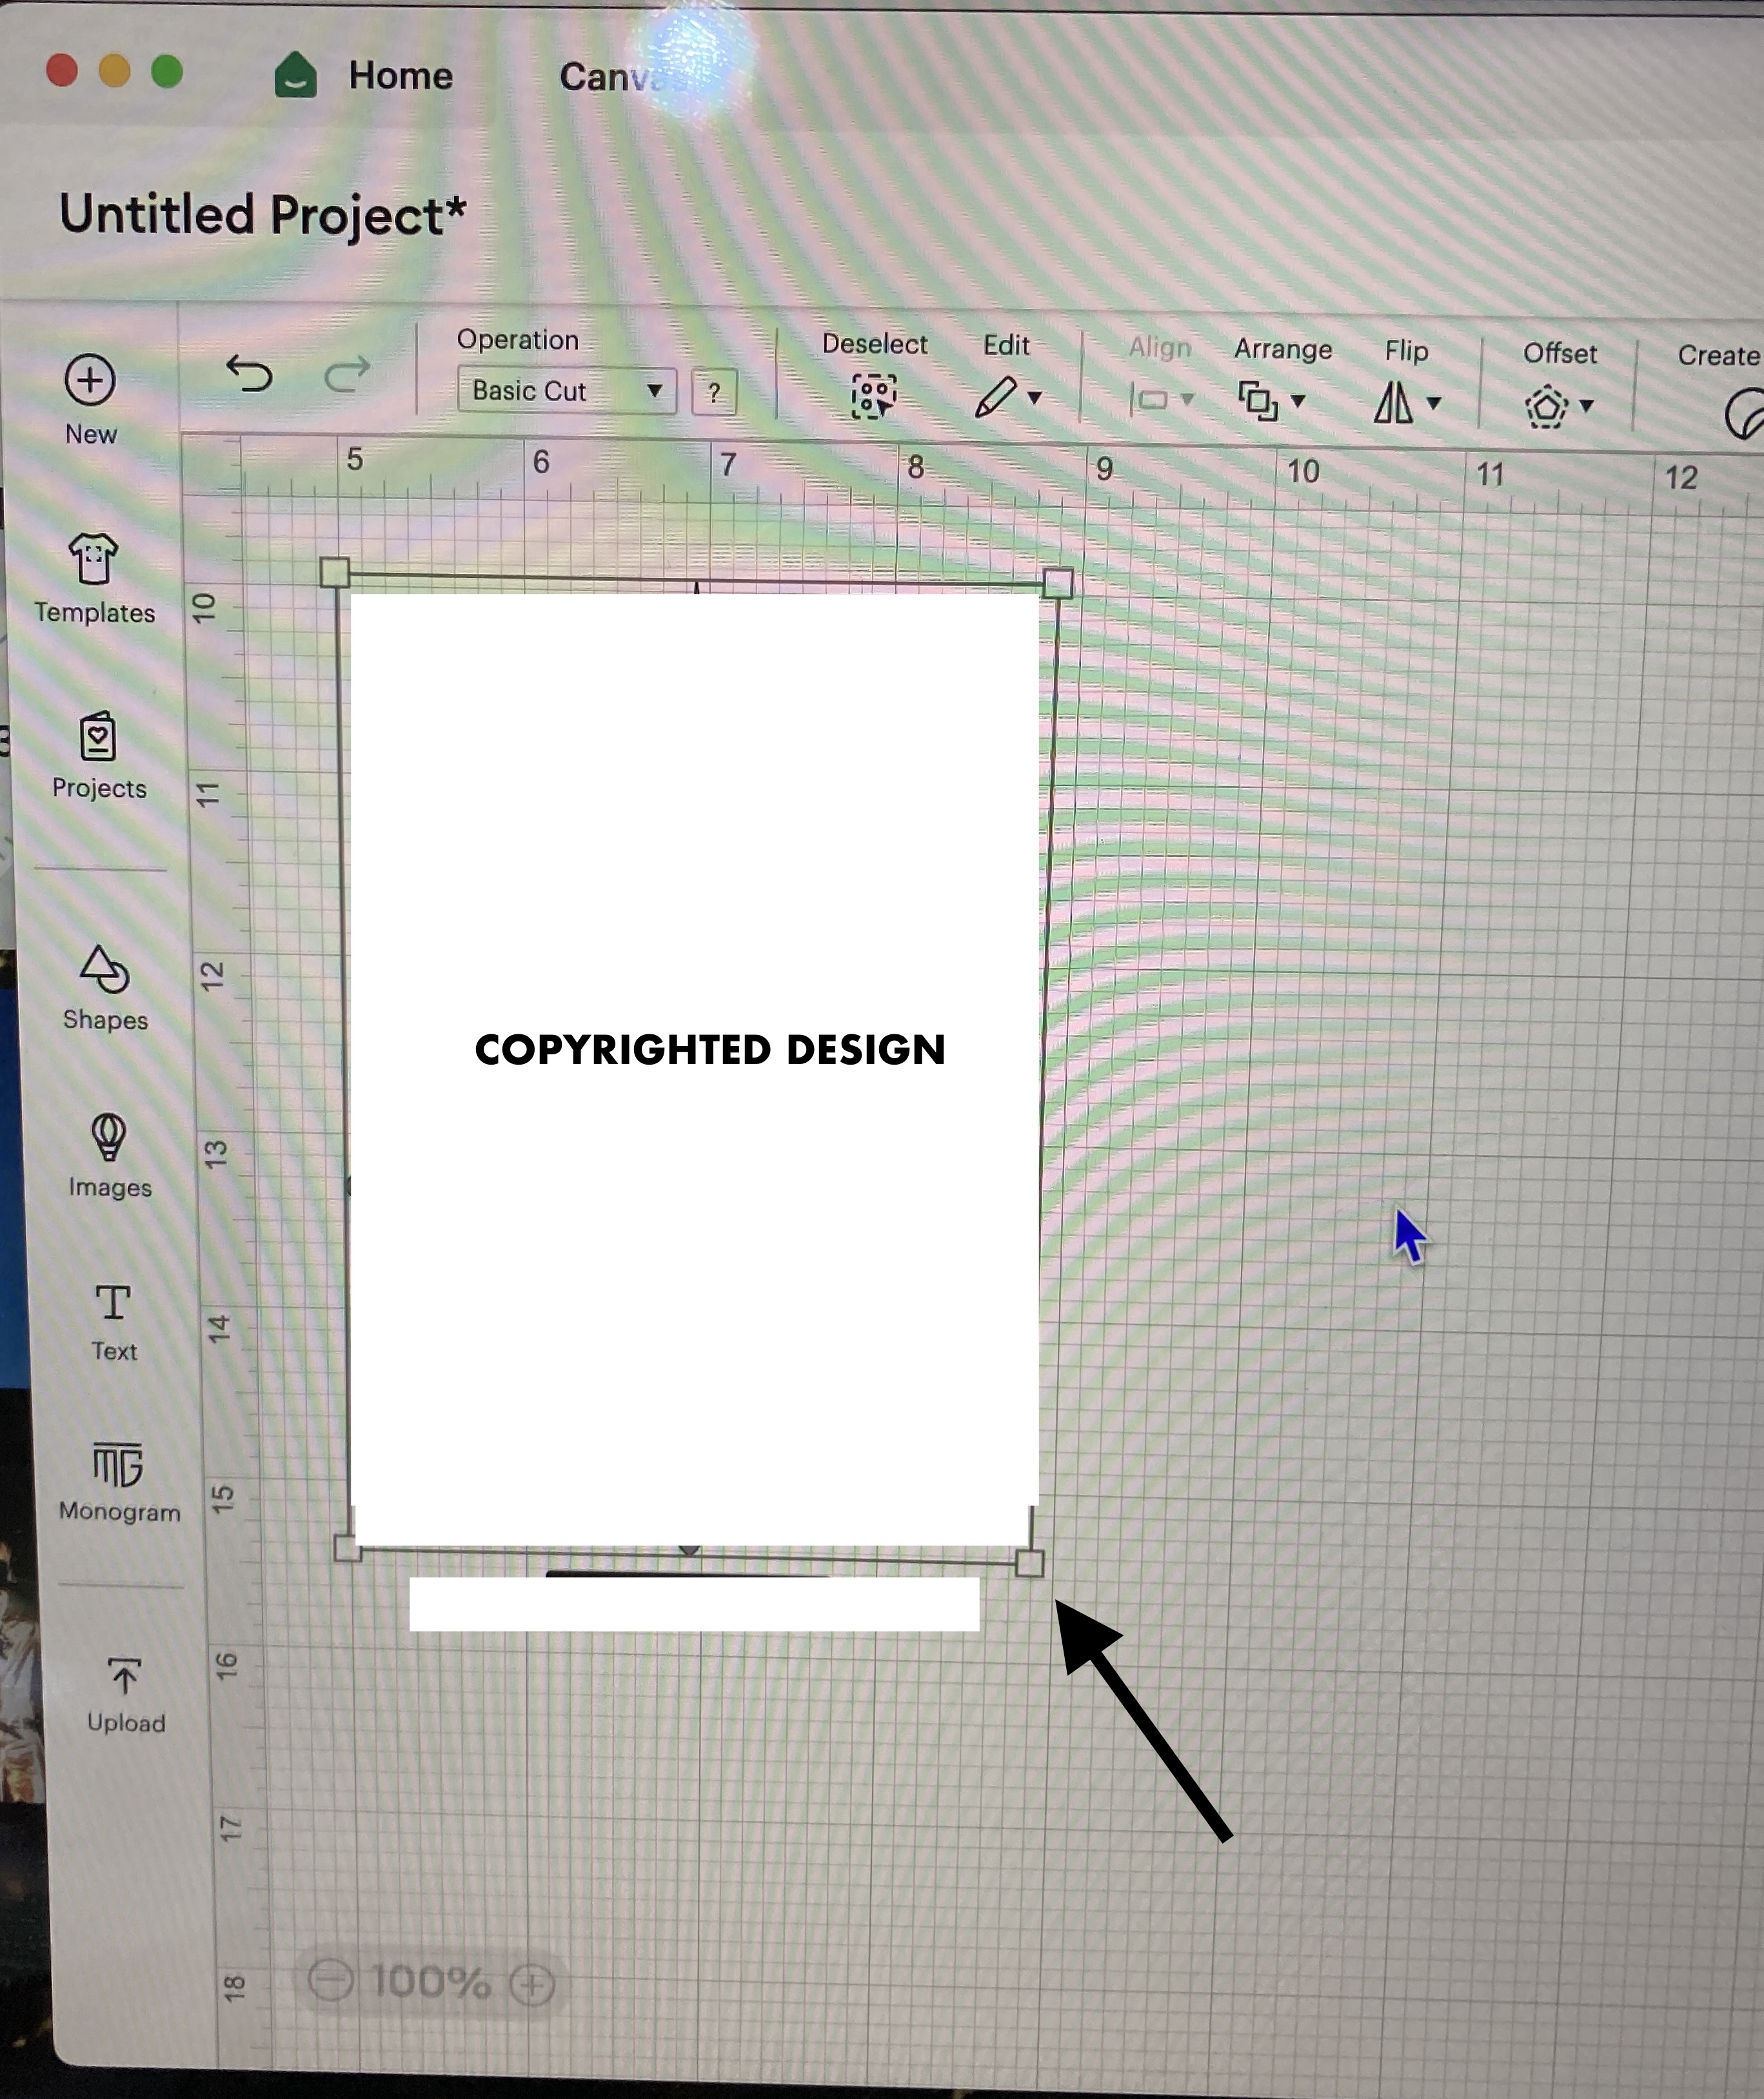
I just click on my imagine, check it’s surrounded by a square/rectangle, and then “drag” the corner of that rectangle until it is the size I want. This feature gives me the freedom to squish or stretch any image to fit on a small pouch or a large tote! The measurements can also be precisely adjusted, in the Design Space menu at the top, by typing in the size you need.
When your image is ready, press “make” and continue following the prompts to cut your vinyl. The most important prompt, I think, is to “mirror” your image, after all, your vinyl is face down and you probably want the image to be cut “face down” too, as intended by the designer! There will be prompts for choice of:
- Material – mine was Cricut Everyday Iron-on
- Mat – Green
- Blade – Premium Fine Point
Note that although you might have “dragged” your image to a precise spot on your Canvas, after you press “make” and have moved on to your Mat screen, your image will have popped up to the top left corner and will have to be dragged to your precise spot again. I sometimes want my image in a precise spot if I am trying to squeeze an image onto an irregularly shaped piece of vinyl. There are measurements on your Mat screen, so it is easy to drag your image back to the precise spot again.

Now you’re ready to cut!
After your image is cut, follow the instructions given by Cricut Design Space to take your Mat out. Place your Mat upside down, hold your vinyl and peel your Mat away slowly. If you peel your vinyl off your Mat right side up, your vinyl is more prone to curling.
To clean up my image, I peel the edges of my vinyl off my image first and then use my Weeder to carefully pick away at any cut out sections that do not belong to the image. Go slowly and be careful with the sharp corners and the smallest sections.


Now we are ready to iron our vinyl on to our base material, which here is a 100% quilting cotton. Take your measurements to decide on proper placement of your images. Remember to always keep in mind where your seam allowances are and what the finished surface of your bag will actually be!

The Cricut Heat Guide app (website here) is a great reference for the temperatures and times to use for various materials. Once both are entered and your Press has beeped, it’s ready, you’re good to go!


I sometimes use a Telfon sheet that I purchased from my local Michaels to protect my materials, like vinyl, from the hot Press surface.
After ironing on all my vinyl, I left it to cool while I ironed my interfacings to my other pattern pieces. I used the same settings for my SF101 interfacing and my 100% quilting cotton as with the vinyl and cotton. I just pressed it for only a second or two though!

Now we are ready to sew up our Pennyroyal Shoulder Bag. BTW if you prefer watching video of my process, I just did a video on the Lányos Handmade Youtube Channel HERE. There are timestamps in the video description for demos of my Cricut Maker, Cricut Heat Press, and, of course, my Sew Along, where I “hacked” Cork and Copper’s wonderful Pennyroyal pattern to turn their Pouch into a Shoulder Bag. I hope you make one for yourself and share it with us!
Any questions, be sure to ask, as I am sure I probably missed some detail about these FAB machines or the Sew Along!
Happy Sewing! 🤗
Leave a Reply