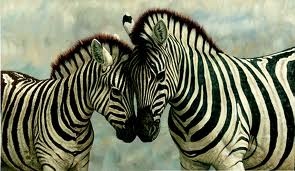
I have been thinking about matching stripes. I can think of examples when stripes and patterns don’t match in nature, and those are truly beautiful! Otherwise, I think if something is hand crafted the stripes should match.
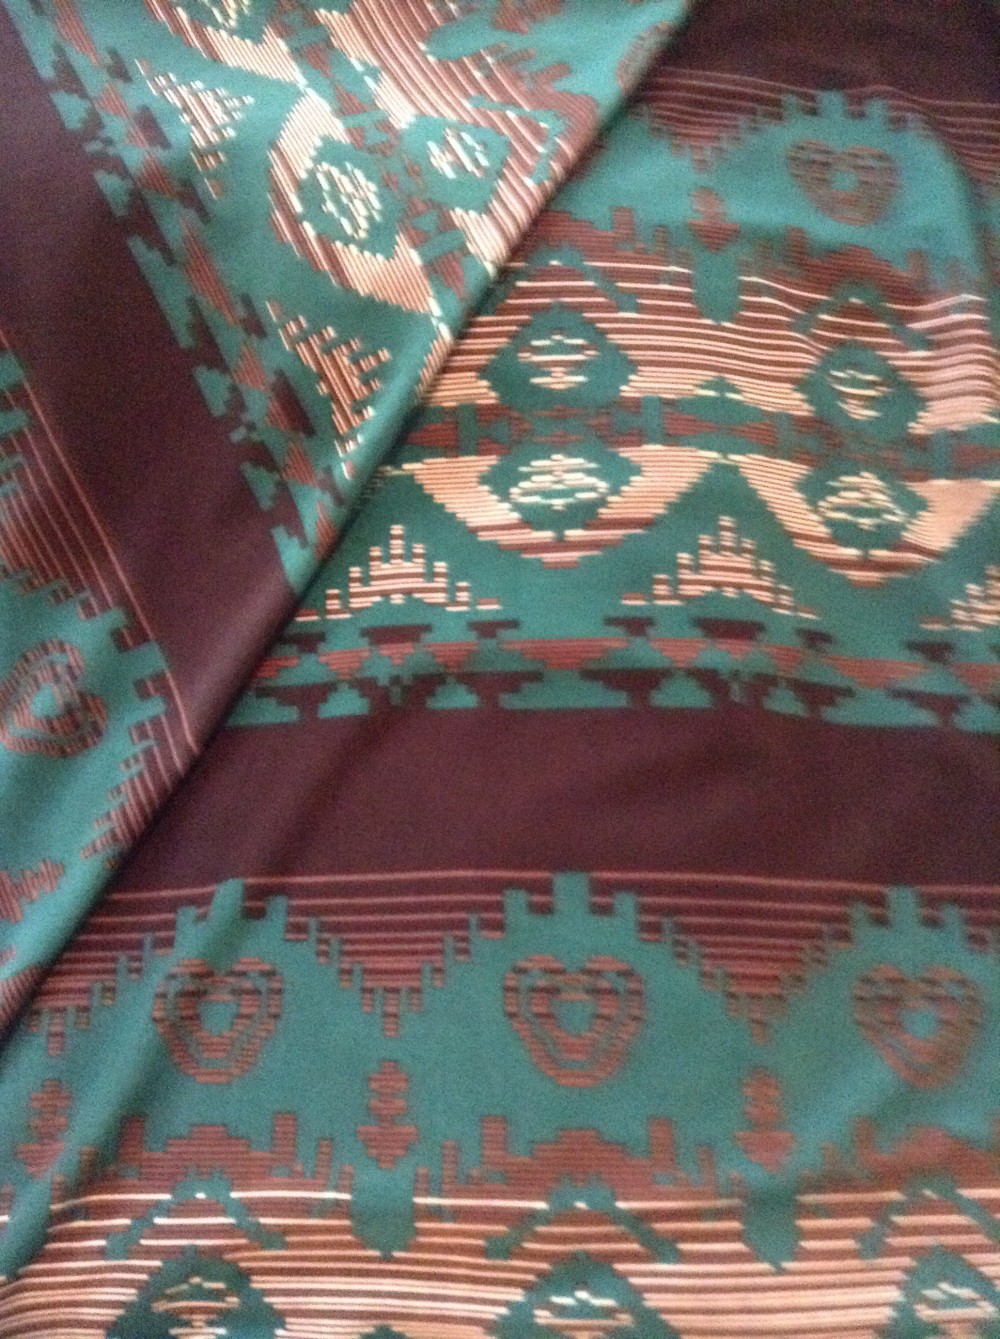
I spotted this lovely polyester spandex knit the other day. It has a perfect design on it, stripes of different shapes and colours. You can’t possibly just cut and sew it together without paying careful attention to the design.
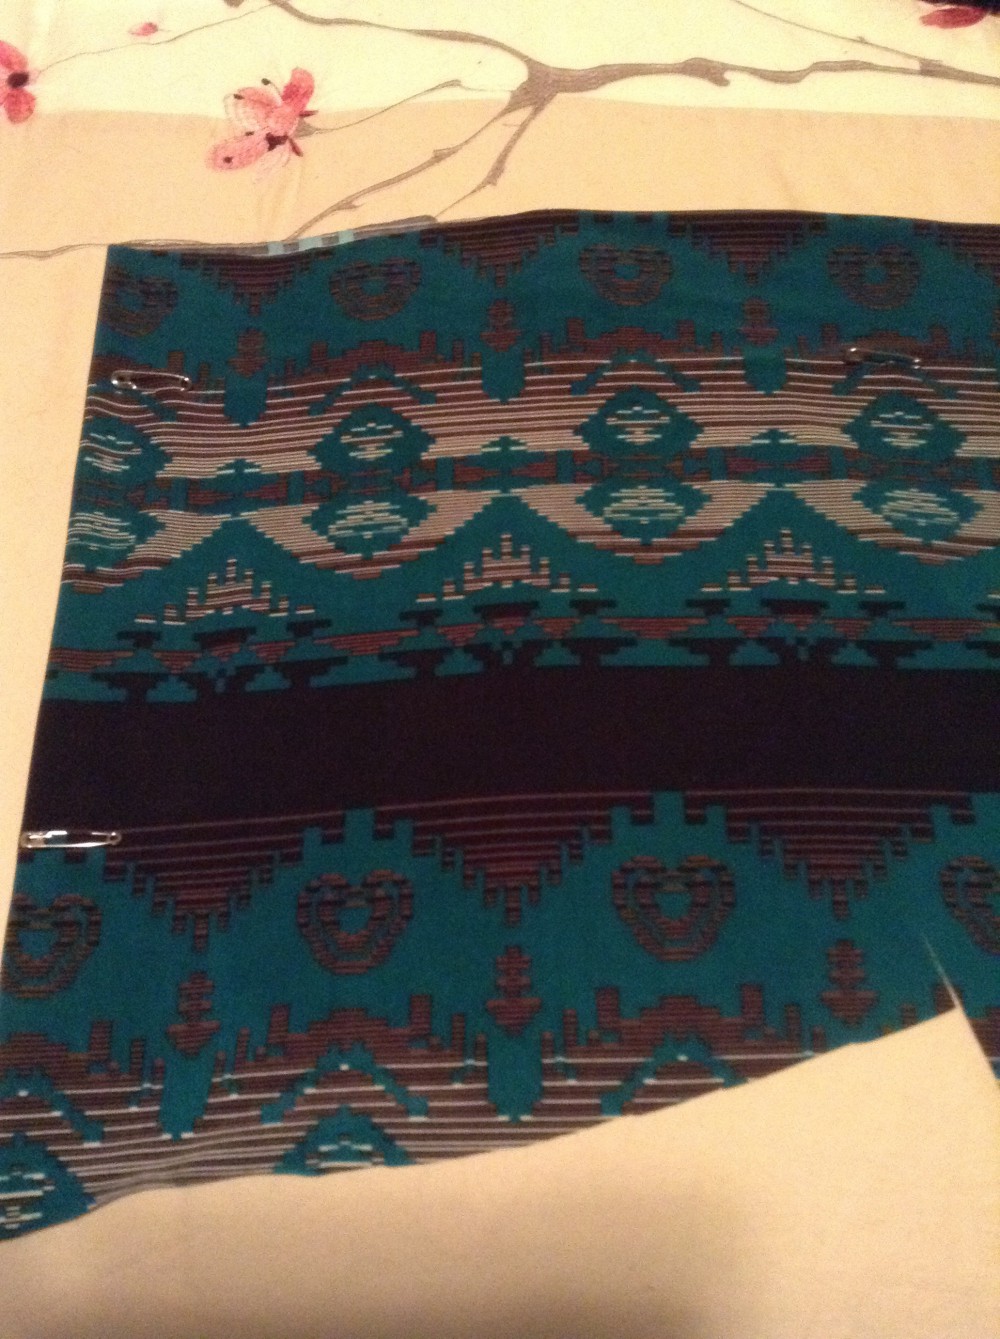
I can imagine, as with everything, there are a few ways to accomplish this matching. When I match stripes I like to find a repetitive stripe in the design. On this one there was a gold line running from salvage edge to salvage edge. I folded the fabric and I safety pinned on that gold line from the top layer through to the bottom layer every time I saw it on both the folded edge and the salvage edge. I put in as many safety pins as I was comfortable with – I made sure that sucker wouldn’t shift! Then I double checked my safety pins to make sure they were all on the gold line and smoothed out my fabric carefully. The top layer of fabric would be a mirror image of the bottom layer.
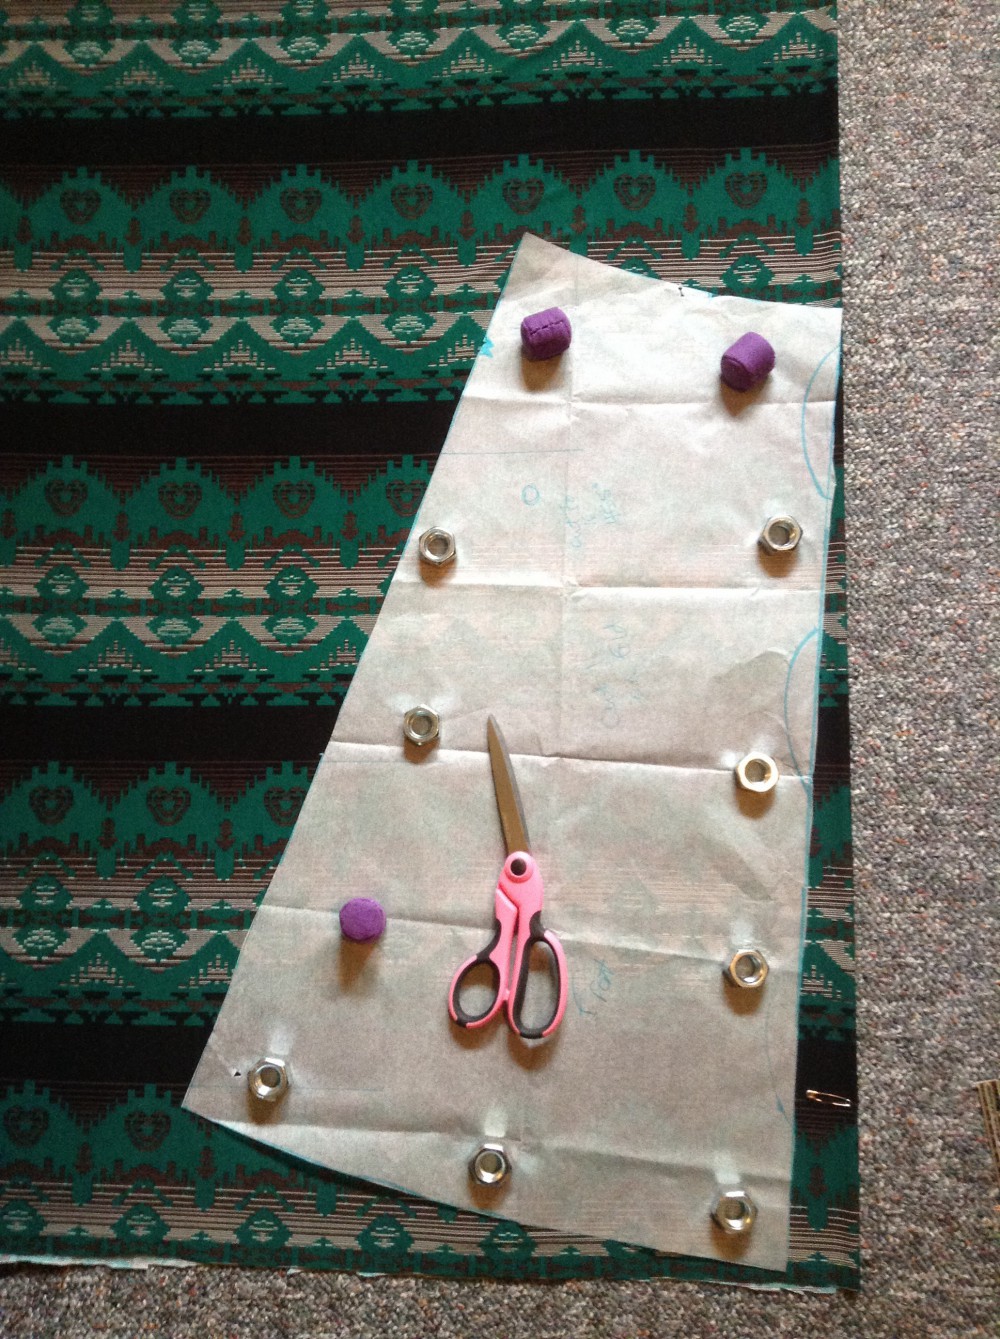
Next I placed my first pattern piece on my fabric. In the bottom right corner you can see I added 2″ to the middle of my skirt – this has nothing to do with matching, I just felt like having more FLARE! Top right was placed on the fold at a spot in the design I would remember and use for the top right of my second pattern piece. I also made note where the top left of the skirt landed on the design as I would like my second piece to land there too. Then I cut my piece out.
I had to use my scissors as my rotary cutter did not like cutting this fabric – maybe I need a new blade already?
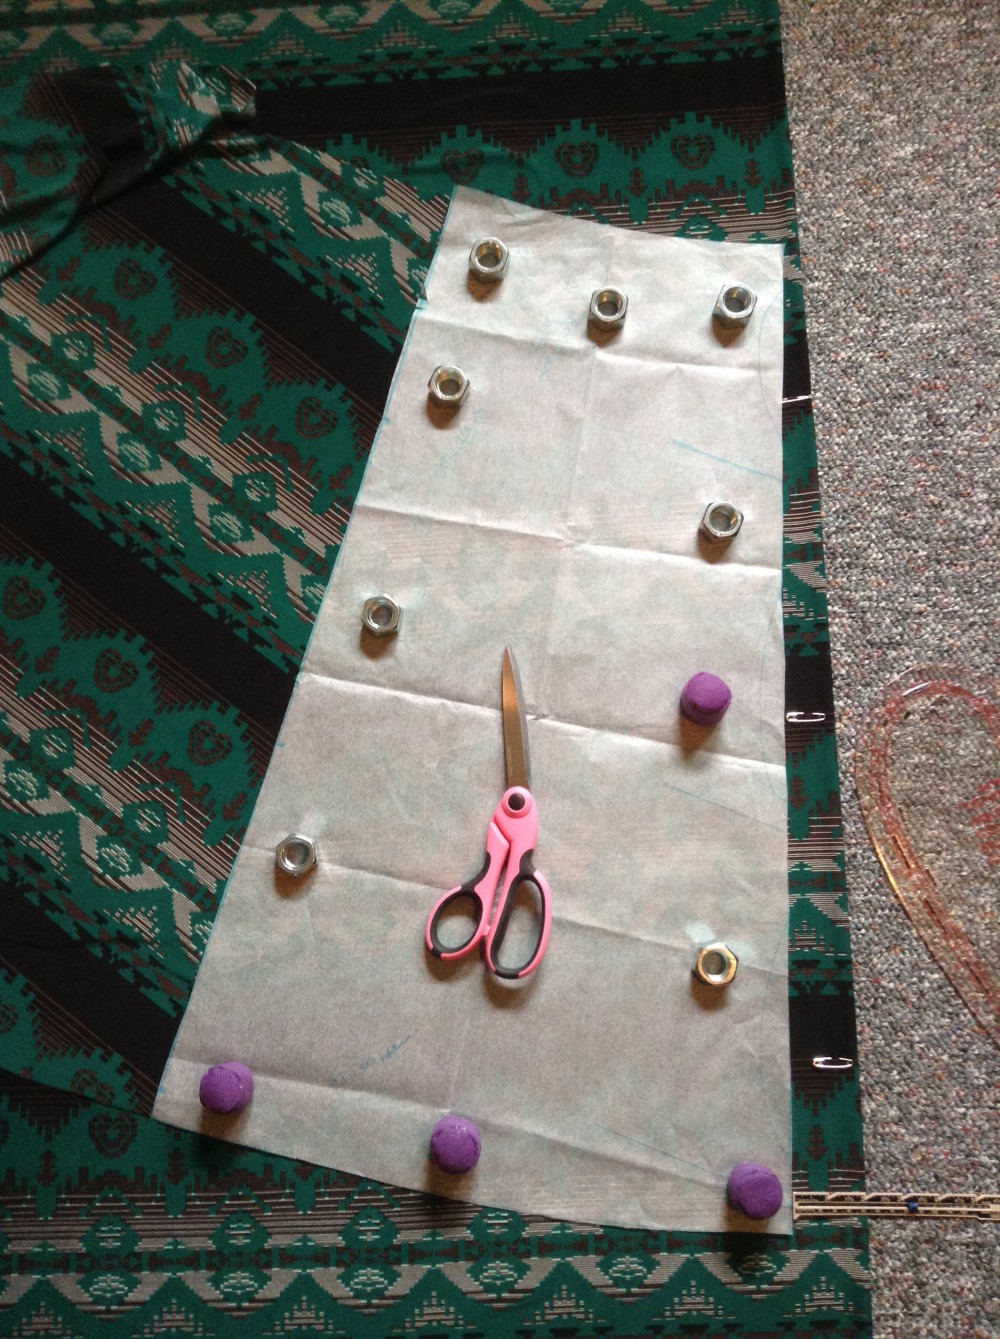
The second piece of my skirt was placed even more carefully than my first. I still had my safety pins strategically placed on my gold lines in the design and my material was carefully smoothed out. You can see the safety pins on the edges of my fabric holding everything in place. The top right and the top left were placed on my fabric in the exact place in the design as my first piece. The bottom right was again given an extra 2″ away from the fold – just for FLARE!
As you can see in this photo, this time, before I cut, I also placed my first cutout piece right beside my pattern tissue, because I just had to peek under the tissue paper to see how well they matched!
After I had both pieces cut out, I pinned the two pieces together carefully, front seam and back seam, matching the design up on both pieces, and basting them together. I checked again. Did they match? If not, I was ready to take my seam ripper to them. But the matching turned out just fine so I serged my seams together. Next, I finished up the hem and the casing.
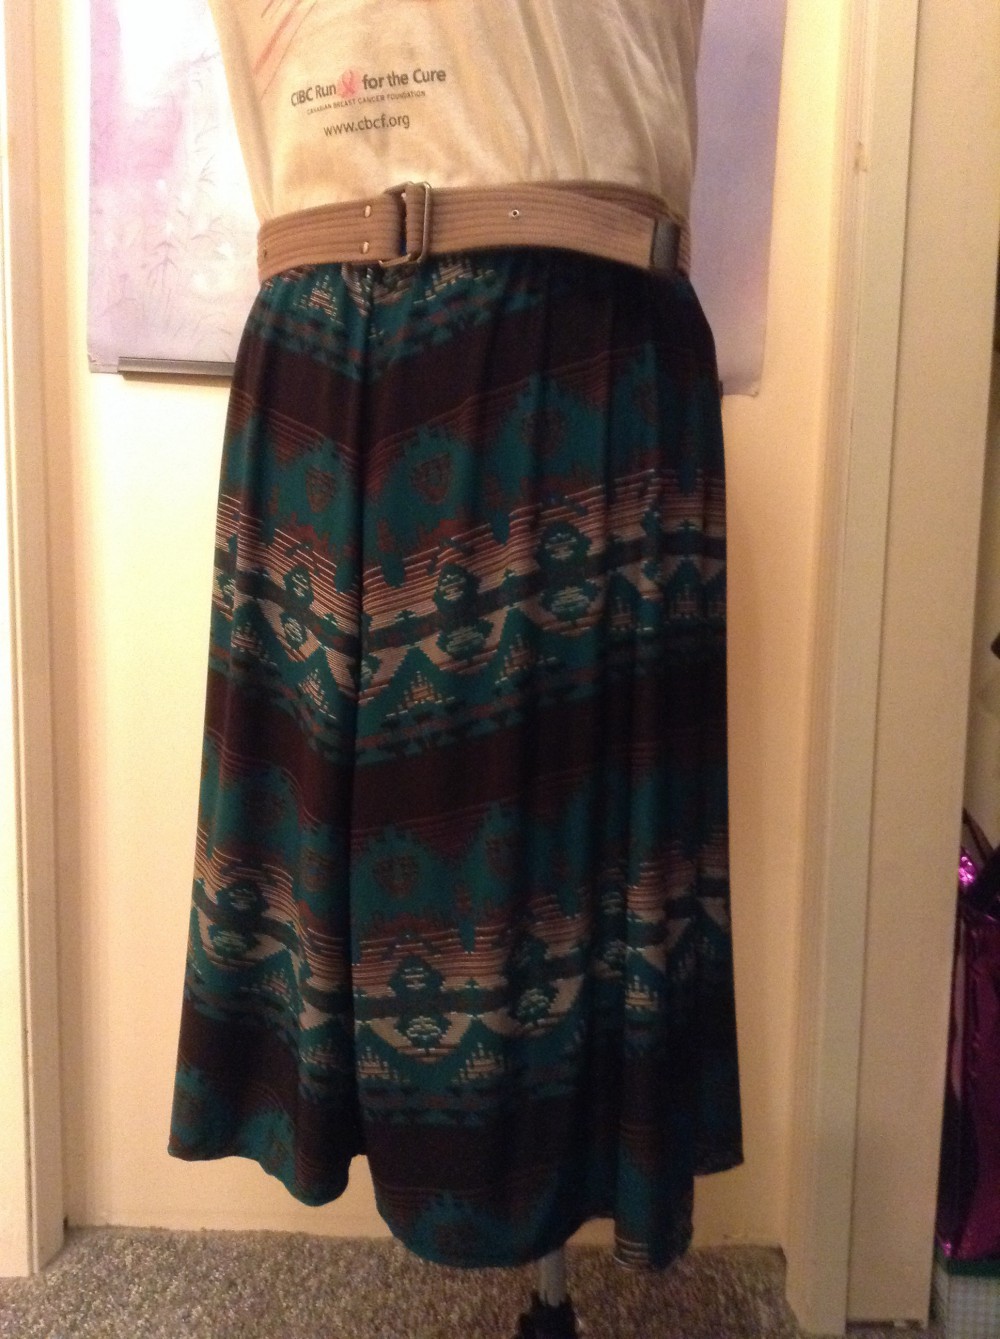
And Dolly has a new skirt!
I think I shall see if I have any fabric in my stash that has another design I can cut and match, but not as uniform as this fabric. I love a challenge!
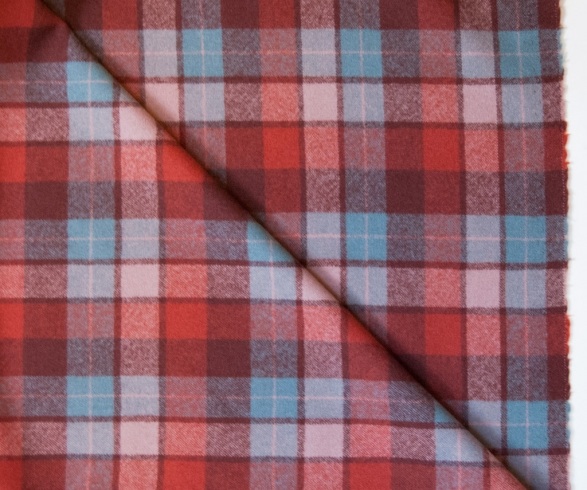
Maybe this plaid? Oh no, an uneven plaid! Never!
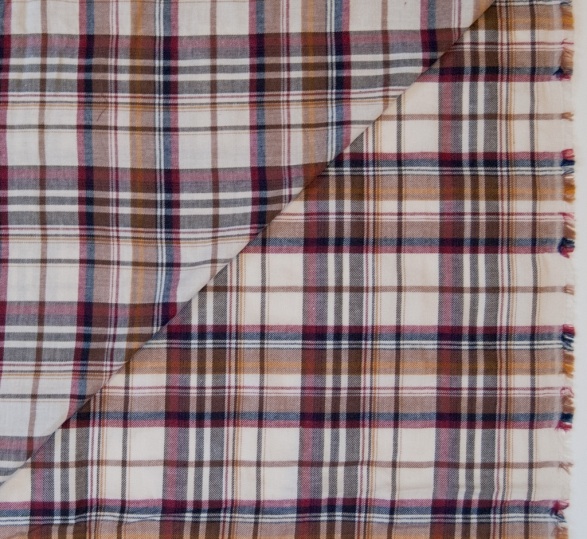
What about this? That’s better, an even plaid! Beauty!
‘Til then, Happy Sewing!

Very helpful! I will try the safety pin trick. I don’t always get this right and it drives me crazy! Seam rippers are my friends.
Ah well, we all have a handy seam ripper! Thanks for reading/commenting!
Hello. I found this blog really interesting, first I love the picture of the zebras, and second I am actually making a cardigan with a faux zebra print fleece. I`m hoping I can match up the horizontal lines as well as you have.
Good luck on the zebra print. It is easier to match an even print, something well balanced on all sides, than something that is an uneven print with more or larger lines on one side than the other. Happy sewing to you!
Loved the spandex knit, but have no idea how you manage to keep the fabric in position with those weights. In my day (showing my age here) it was super sharp straight pins!
🙂
Oh it was pins for me too! Lots of people still use pins, I just find the weights quicker now… Place, cut, place, cut…
Working with a plaid drives me to the point where I want to pull my hair out. I love the look but the time it takes to get it right seems endless. Good luck with yours!
Best to you with your projects too!