Happily you do not have to do much fitting when making a bag for your sister. A while ago I posted on Instagram this photo – asking “What do you think my next project will be”. There are some clever sewists out there that guessed the answer correctly. (Sorry, no prize for the winner!)
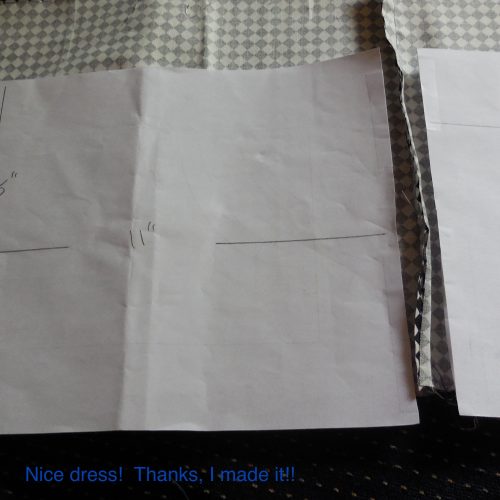
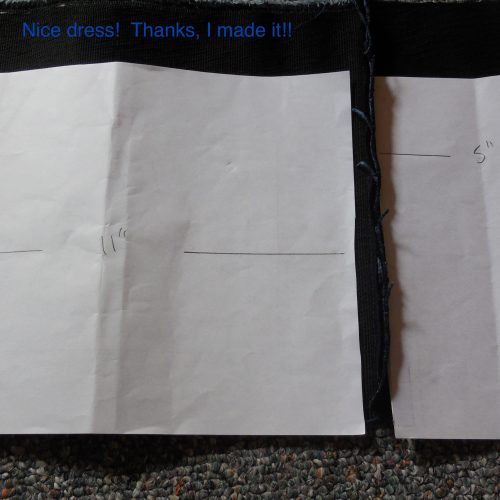
My sister wanted a bag that was 5″ deep, 11″ wide and 8.5″ tall. No pattern? No problem! Then she let me run with the idea – and so was born the “TA-DA BAG“!
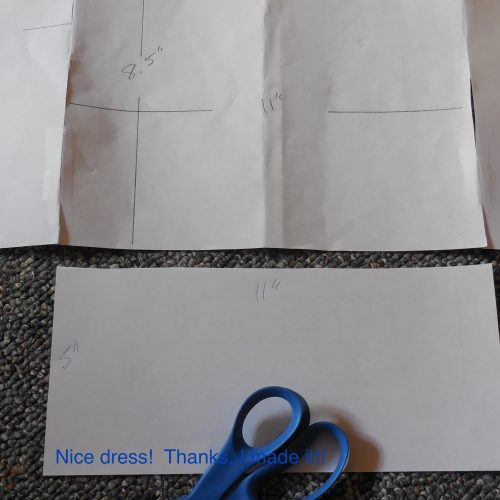
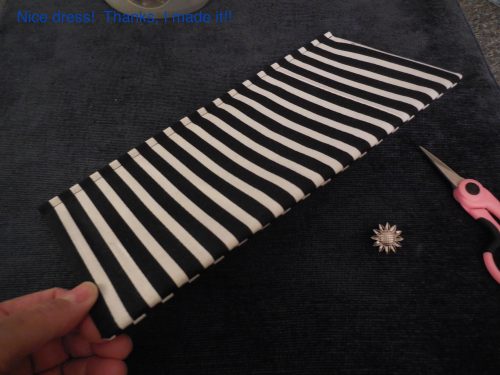
First I drew out my pattern pieces and taped them together to get an idea on the size.

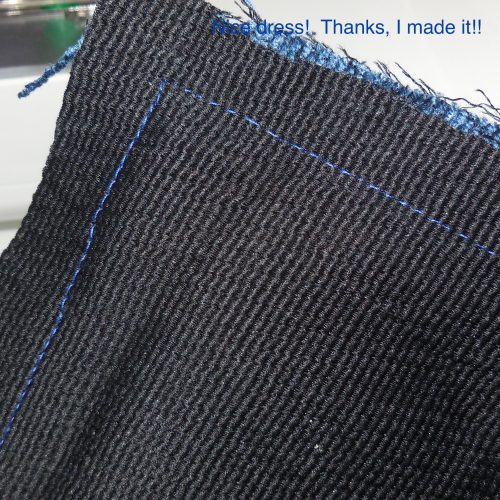
Then I took each piece and cut out my lining, and sewed them together…
and I did the same with my outer bag fabric. Both these fabrics were in my stash. The blue was used to cover three footstools and was heavy enough to be a medium weight bag fabric. The lining was a leftover 100% quilting cotton. Both fabrics are washable, if done in a gentle wash and hung to dry.
I drew out the bottom base piece – 11″ by 5″ – and cut it out of both my fabrics.
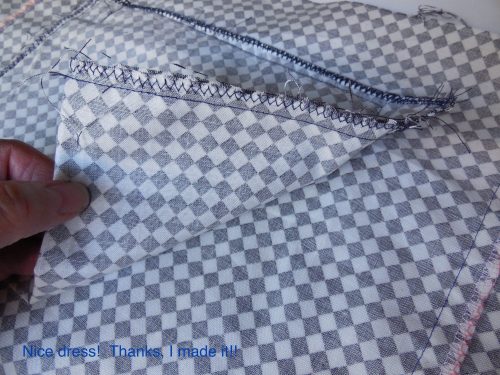
I carefully pinned the sewn together bag pieces to the bottom base piece and sewed it together, turning at the corners neatly. With the outer bag I sewed it all around the bottom, with the inner bag lining I left an opening big enough to put my hand in and pull the handles through… you will see why later…
Luckily I found a piece of plastic that used to be a page divider that was the right thickness. I cut it to the right size (11″ x 5″) and covered it in lining fabric. This will be placed in the bottom of the bag – loosely – to make the base more sturdy. It is still removable and washable being plastic inside and not cardboard. Oh yes! There is the decorative shiny button that was repurposed from another bag for my sister’s TA-DA BAG!
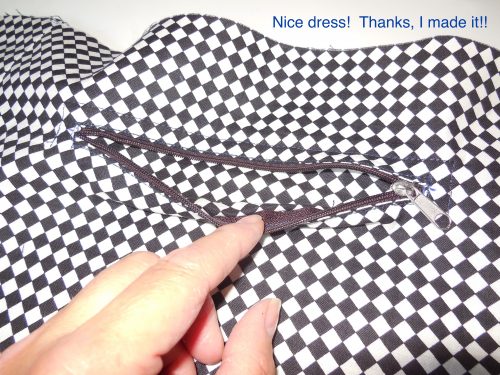
Next to work on the purse lining. No purse is complete without an inside pocket or two. I’ll put a plain open pocket on one side of the bag and a zippered pocket on the other. To make the zippered pocket I sewed on a welt facing. Cut a slit into the centre of the welt and a snipped up to the corners and turned and pressed the facing to the inside. My zipper will fit under this opening.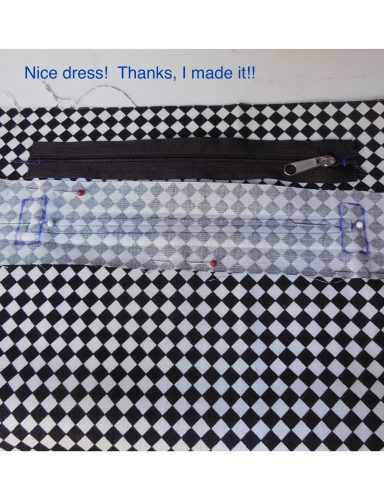
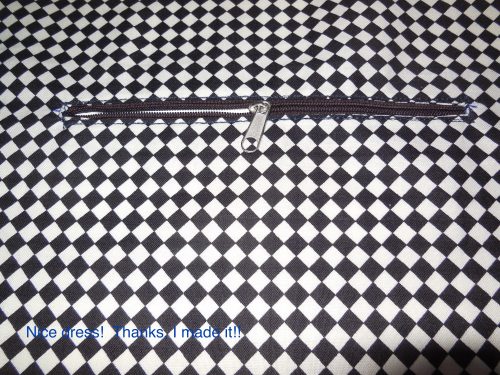
I sewed my zipper into the opening.
I sewed the pocket lining on to the welt flap pieces – top and bottom.
I sewed up the sides of my pocket.
Functional zipper pocket done. By the way, the zipper was repurposed from a worn out purse. I always strip the odds and ends and zippers and D rings, etc., off of worn out purses before they are thrown away. If not broken, they are perfect for new projects!
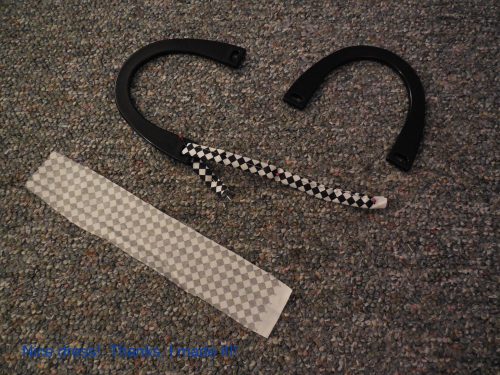
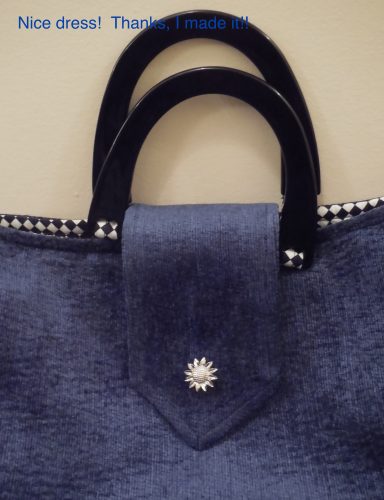
I have two plastic handles to attach to my sister’s TA-DA BAG now. These handles have been repurposed from another bag too.
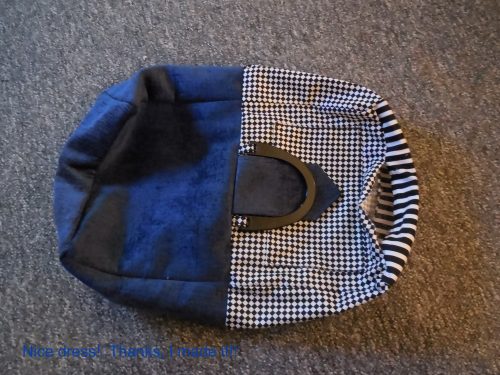
The handles, the closing flap and the velcro have been sewed on to the outer bag now.

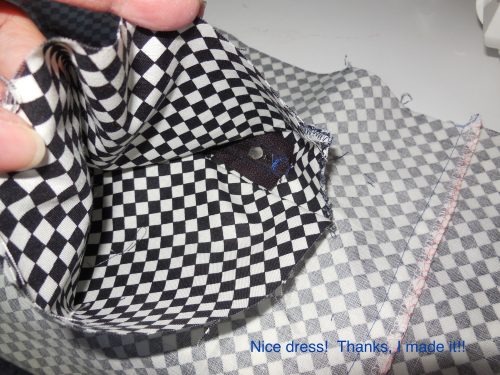
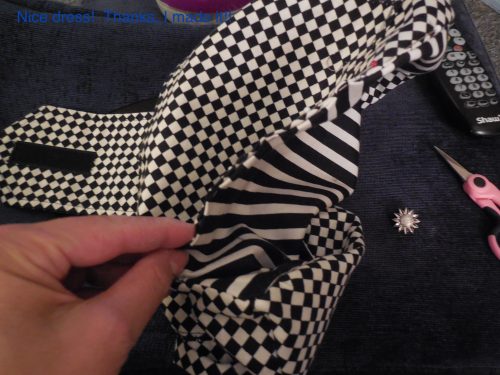
I consider this to be the fun part. Sewing together the outer bag and the inner bag lining at the opening. My outer bag is placed inside my inner bag lining, right sides together – so that I can turn the bag inside out afterwards. Then I sewed them together at the opening.
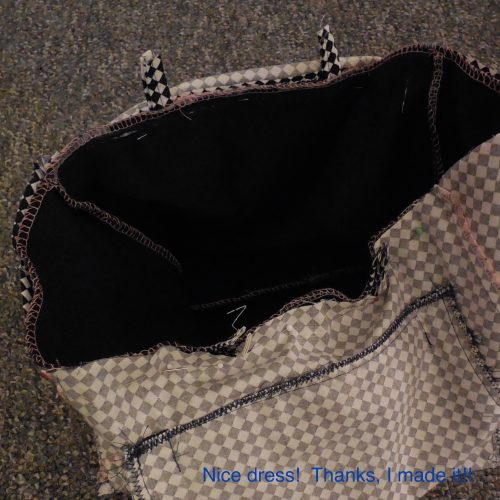
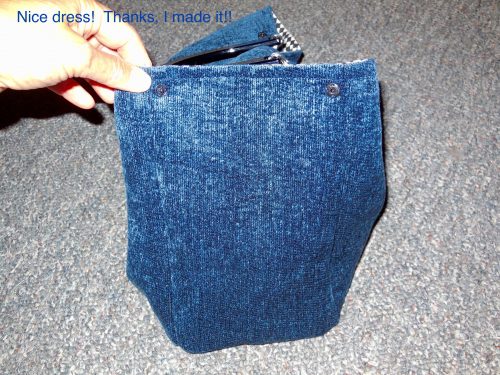
Next, I put my hand inside the opening I have left at the bottom of my inner bag lining and pulled the handles out!
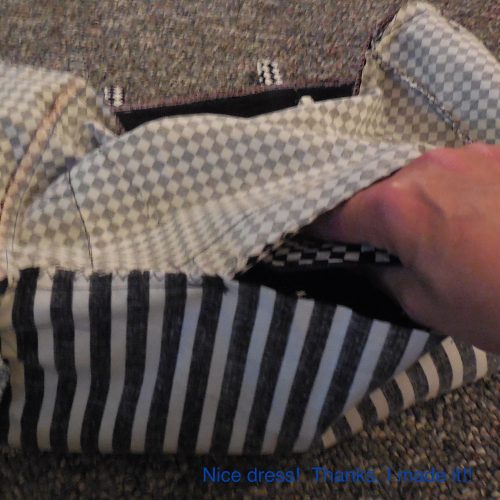
Just like a magic trick!
I hand sewed the opening closed and pushed the lining inside the outer bag.
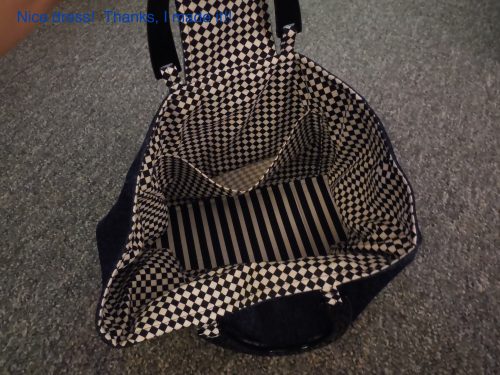
There! This is why this is a TA-DA BAG – look at that lining! It just POPS!
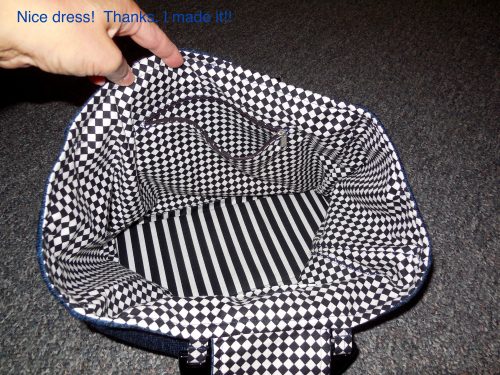
Zipper pocket on one side and open pocket on the other.
Now to give my sister an option, I have sewn a snap on each side at the seam.
This way, when the snaps on the sides are closed the purse will have a smaller opening. When open, the purse will have a bigger opening and possibly more capacity.
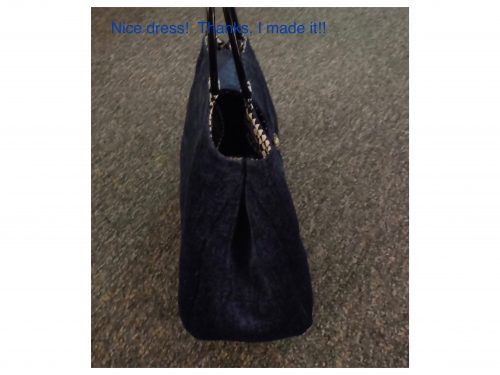
Which way do you prefer?
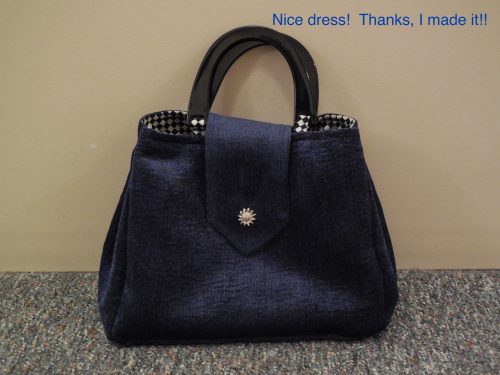
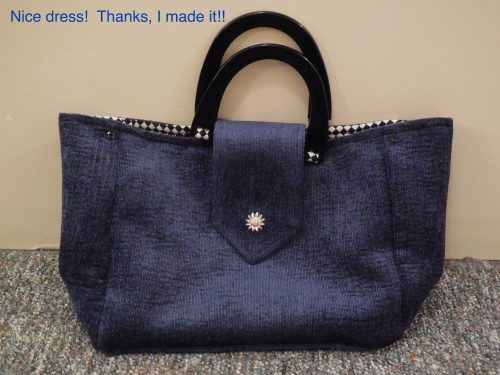
And, of course, the shiny button to polish it off!
The TA-DA BAG is a simple bag. Give it a try yourself! Use fabric from your stash and repurposed notions – zipper, handles, etc. – get creative and you too will have a TA-DA BAG! 🙂
I hope my Canadian Friends had a Happy Thanksgiving Day! and I hope my Sewing Friends had a Happy Sewing Day!
35 responses to “No fitting problems last weekend!”
This is an awesome bag, beautifully made. I am in thrall!
Thank you! I’m quite impressed with the outcome myself! Easy to make and my sister picked some lovely fabrics!
What a gorgeous bag and that lining really does “pop”. It is really unexpected. Your sister is really lucky to have you to make such lovely things for her. Xx
Thank you! I like doing projects for my sisters every now and then – if I feel I have lost my sewing “mojo” I pull out one of these – my sister has already picked what pattern she likes, what fabric, etc. No big design decisions for me – just sewing!
Nifty! Don’t you just love those magic trick moments sewing provides!
Absolutely! First I’m saying – what the heck am I doing? Then I’m saying – Man, it actually works! 😂
Lucky sister! Looks great!
Thank you! I’m glad she’s happy with it… I told her it had a “lifetime warranty” just because I know that she can always track me down if there is a complaint! 🙂
Very nice I love this great instructions!
Thank you!
Personally I love the plain with the hint of stripe peeking out, maybe just because it seems more appropriate for this time of year here?
You know I love a good stash of reclaimed zips, buckles hoops and anything else I can scavenge. Not only to prevent the waste but also because they don’t cost any extra and some pieces are difficult to find to buy??
I agree, by the time I drive the 45 minutes to my “local” fabric store, I’m always angry with myself for not keeping a supply of notions, etc., at home. Why waste this stuff anyway!