
It’s time to announce the winners of last week’s giveaway! I used a List Randomizer on Random.org to pick the winners. I typed in all your names, pressed “go” and it randomly sorted your names, with the first two names being:
1. UtaC
2. Sewing with Scoobys
I did the same for my two pattern names and came up with this:
1. Simplicity 9224
2. McCalls 4106
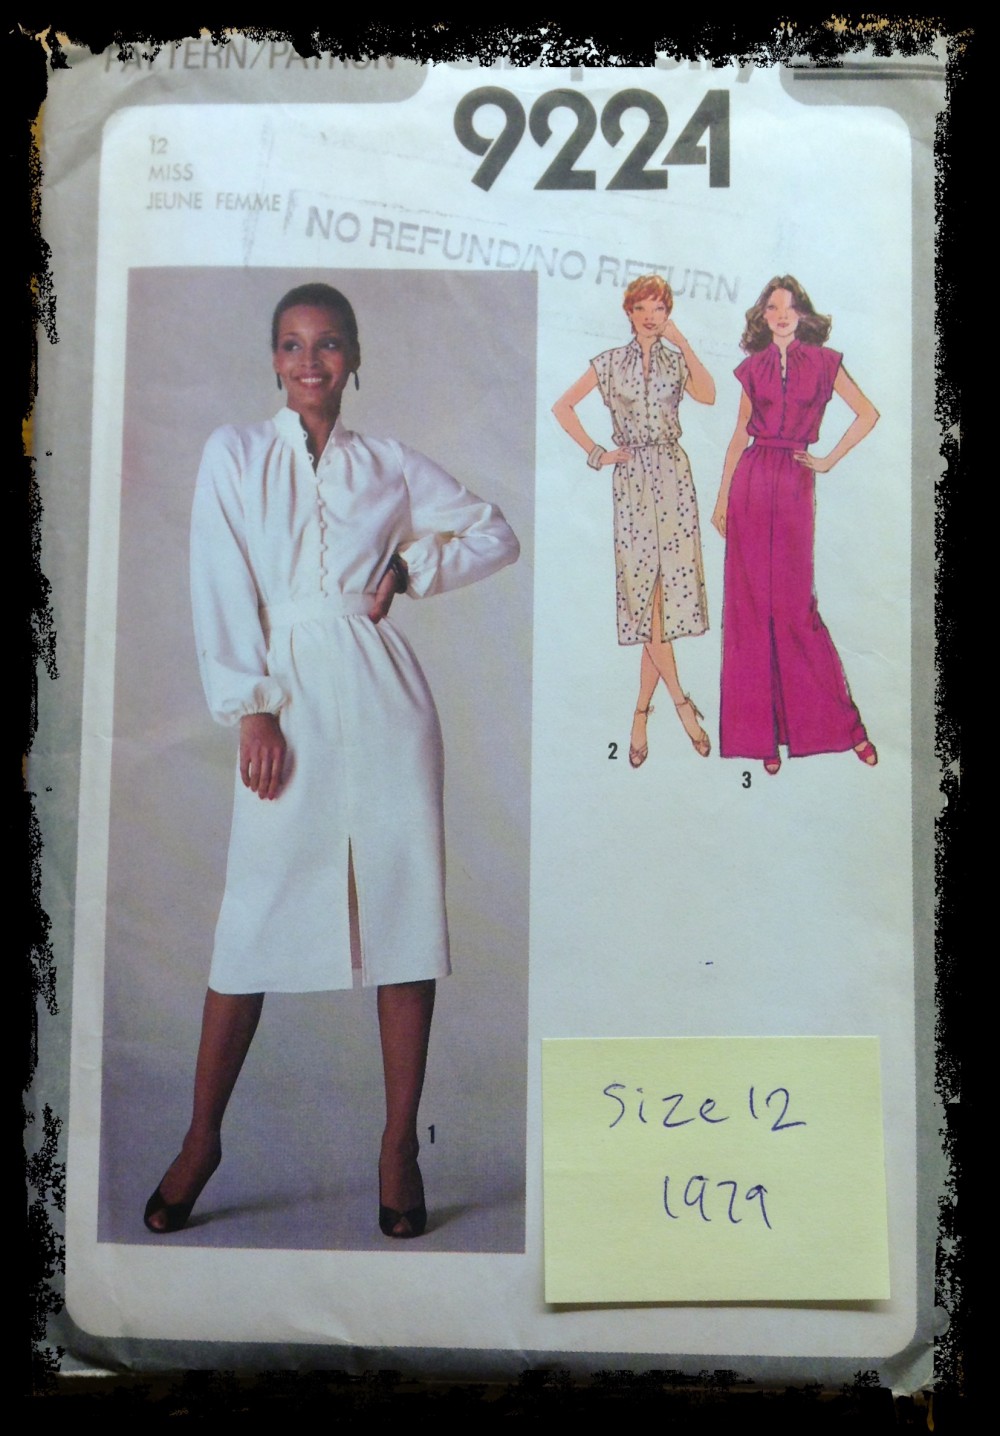
So that means UtaC won Simplicity 9224.

Sewing with Scoobys won McCalls 4106.
Congratulations!
Ladies please email your mailing address to me at imadeit362436 (at) gmail (dot) com. And thank you all for playing along with me!
Now for some more exciting news (for me only, I suppose)!! It’s karma, it’s zen, it’s fate…. PatternReview’s newest contest for November is “The Handbag Contest”. MY ABSOLUTE FAVOURITE THING TO POSSESS… HANDBAGS!
Oh, November sewing is so much fun! My love of handbags, purses, etc. is so well-known that the ladies at my office make sure I am on their left, and the handbag store on their right, when we walk through the Mall – just to keep me on a straight path and out of trouble!
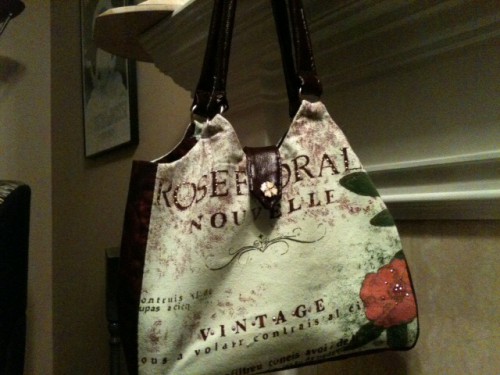
I have never made myself a handbag before but my inspiration was my sister, who downloaded the PDF pattern for this tote, sewed it up and gifted it to me! Sorry I don’t know the name or maker of the pattern, but if she reads this, maybe she will let us know?
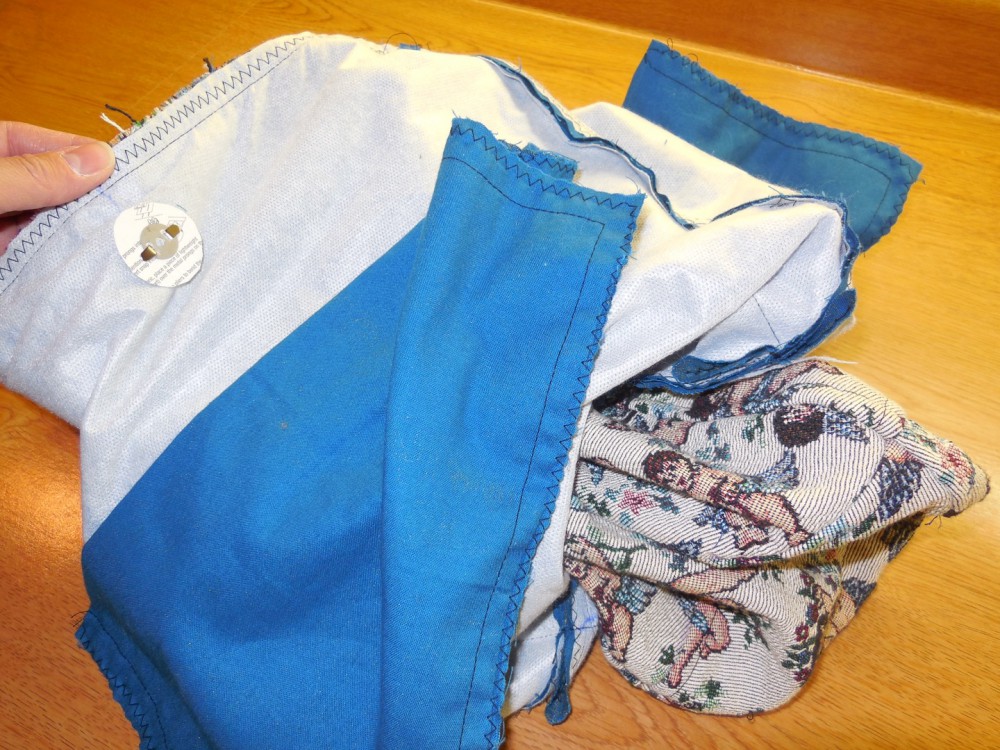
I downloaded my free PDF sewing pattern for The Sling Bag from Sewing Patterns by Mrs H. I gathered together my materials. My leftover cherub tapestry fabric for the outer layer of the bag and my purchased blue and gold cotton for the inner lining. I could use my blue cloth straps leftover from another project. I thought of using my embroidery patch given to me by Sewing with Scoobys as a front pocket, but since it is a “slouchy” bag I figured it wouldn’t be showed off at its best. (I still have “sewing up a pair of jeans” on my “sewing to do” list so I could use my embroidery patch then!)
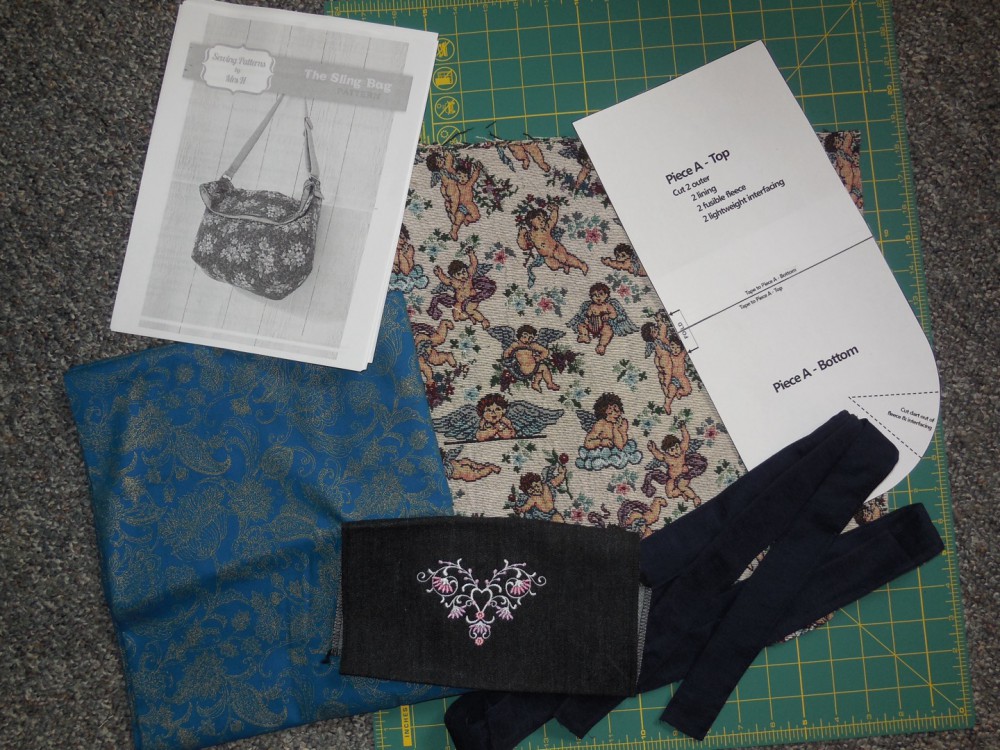
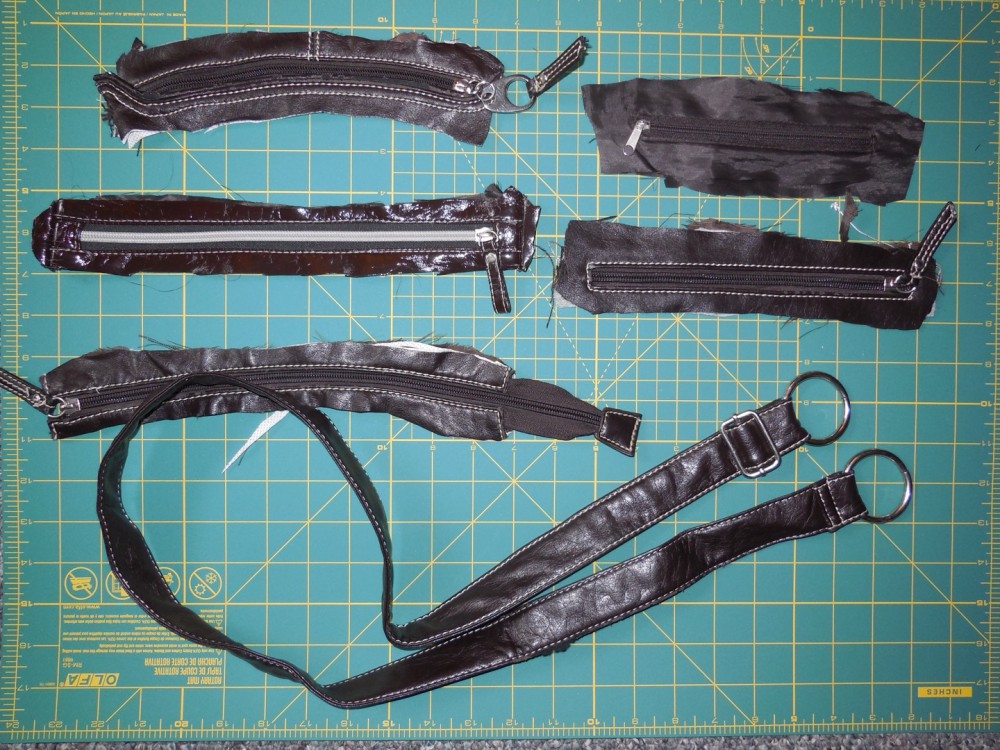
I purchased all the rings, buckles, zippers, and a magnetic snap that were required and then I remembered that I had cut off the rings, buckles, and zippers from an old worn out purse that I threw out a while ago. Might as well use those first!
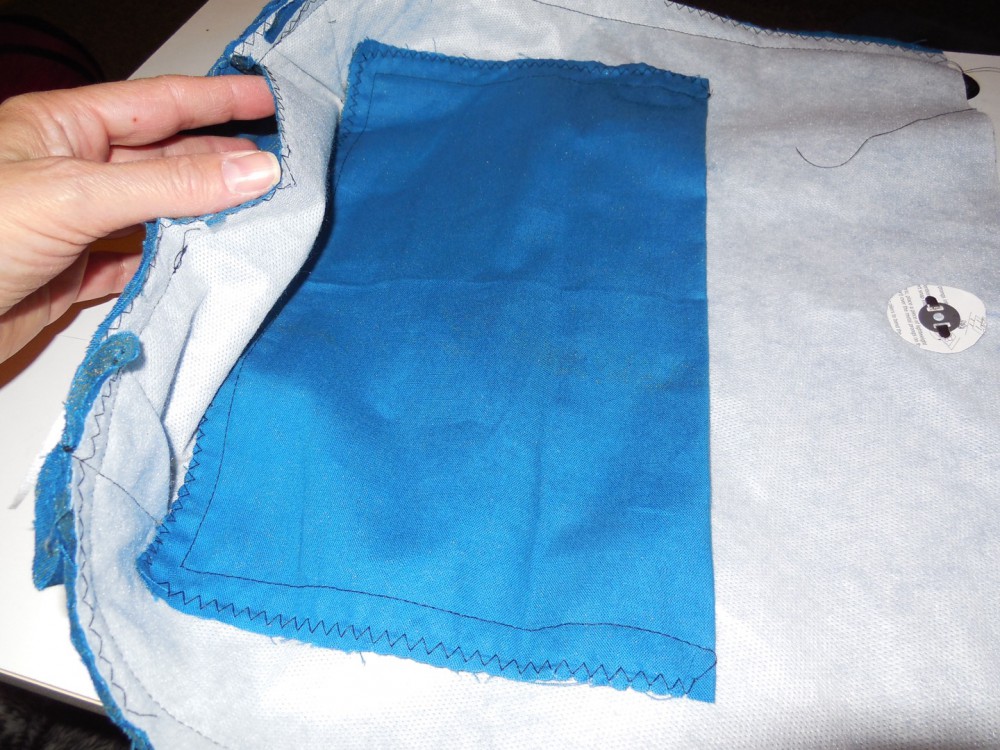
Following Mrs. H’s easy instructions for the zipper pocket, I marked and sewed together the right side of my inner lining and the right side of my pocket lining.
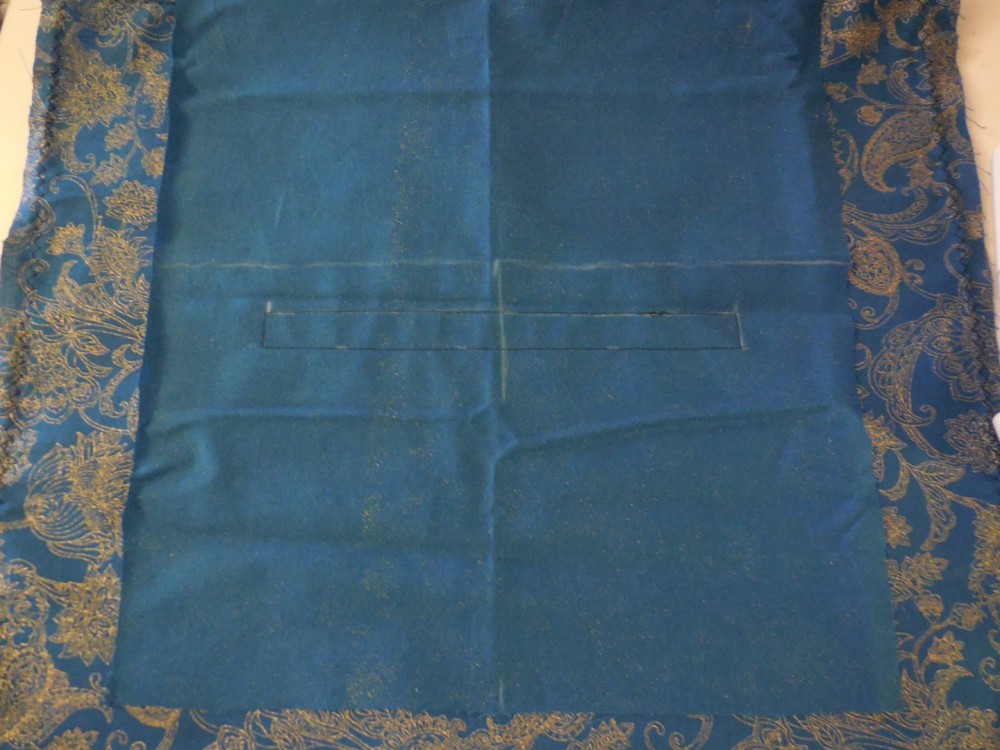
I cut on the marked centre lines of my zipper pocket opening and pulled my pocket lining through the hole.
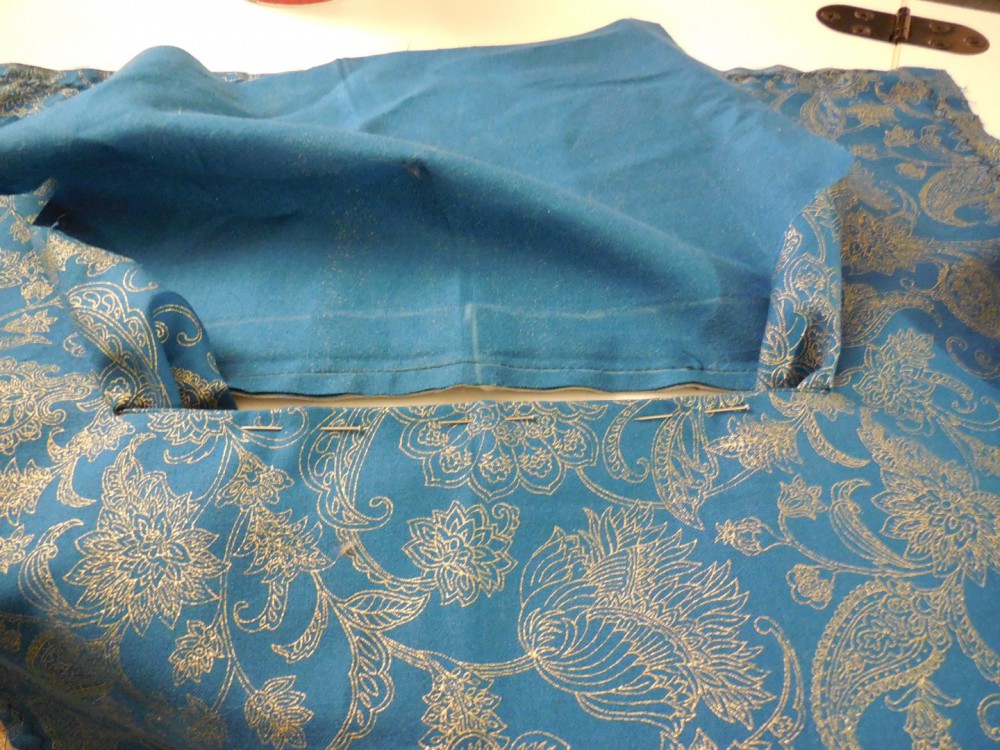
I pressed it and pinned it.

Then I pinned in my zipper underneath the hole and sewed it with my blind hem foot (remembering to put my sewing needle to the left) and stopping and moving my zipper pull out of the way, when needed! Next I sewed the zipper pocket itself together on all three sides.
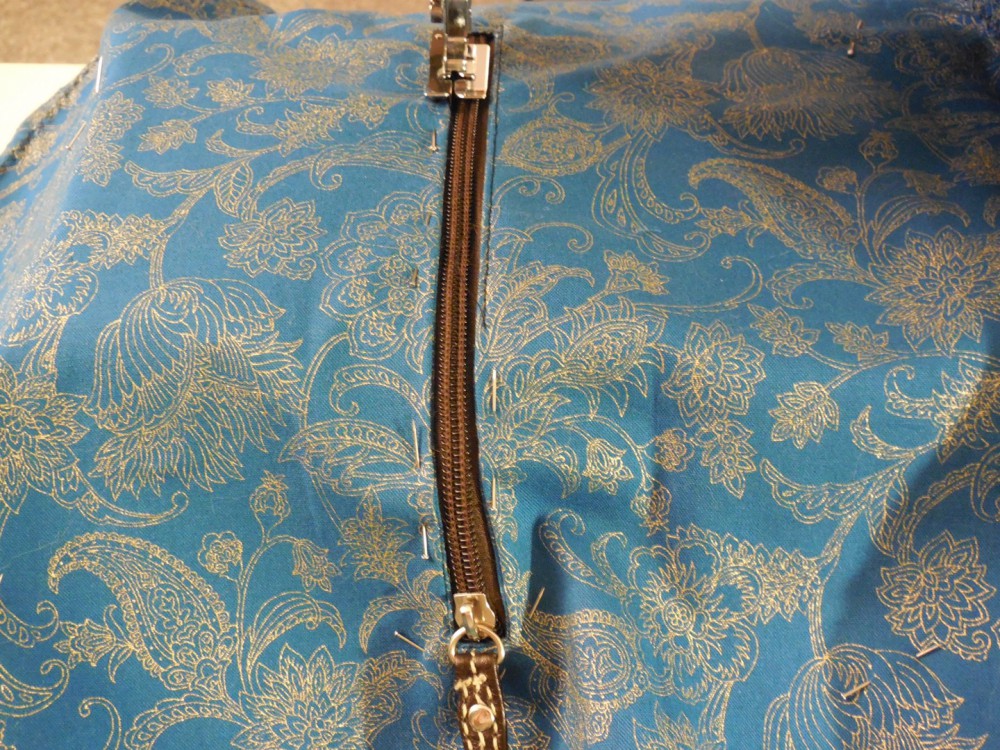
TA DA!! I enjoyed doing that so much I made another zipper pocket for the other side of my purse!

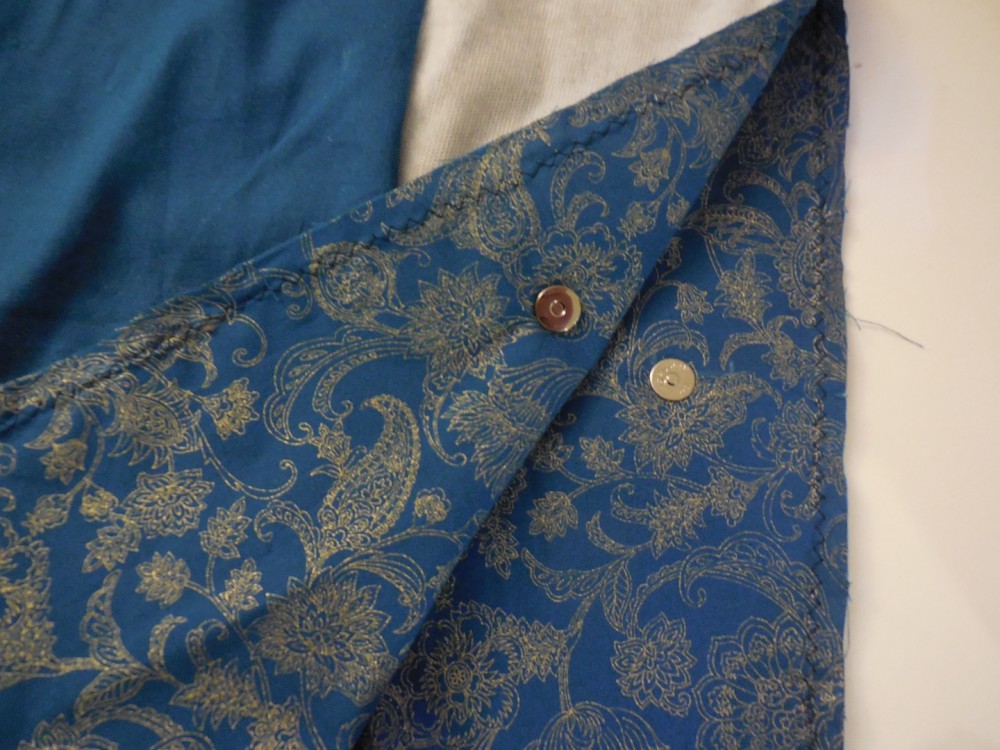
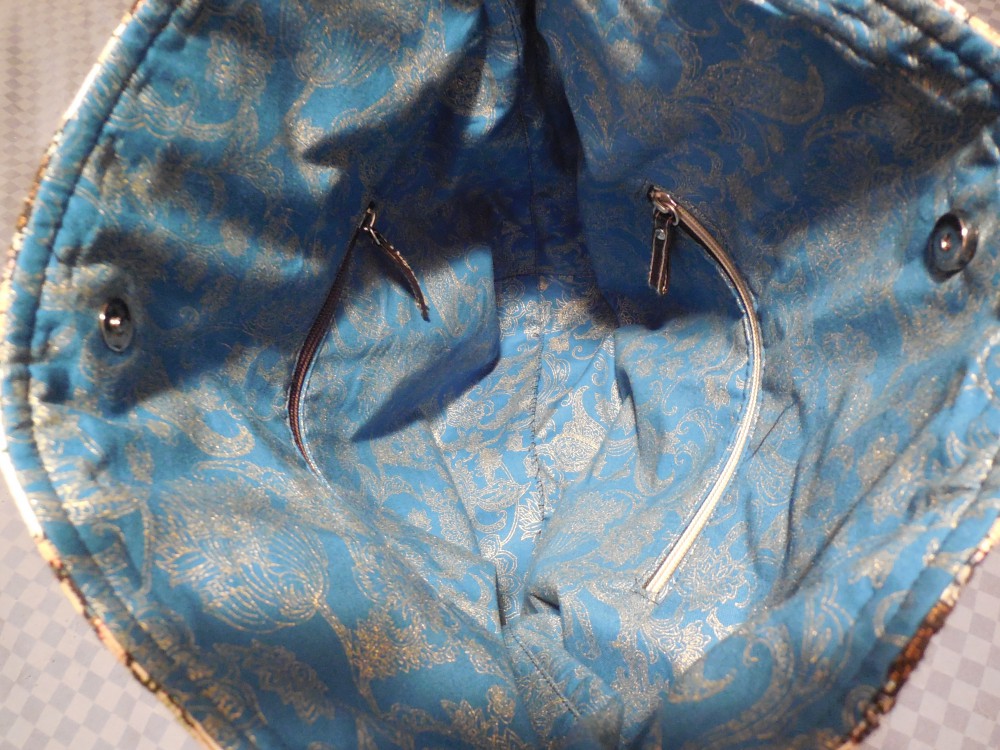
Next, attaching the magnetic snap to the inner lining. Now one hint. It is suggested by the manufacturer to put a small circle of cardboard on the prong side of the magnetic snap. Mrs. H suggests using a small circle of interfacing. I used the cardboard, but after thinking about it, next time I will cut a small circle of thin plastic from the recyclable milk jugs we have. Then there won’t be any cardboard to fall apart in the wash!
Now this is better explained by Mrs. H with her instructions and photos, but you sew the two inner lining pieces together on the three sides BUT leave an opening at the bottom (a turning gap).
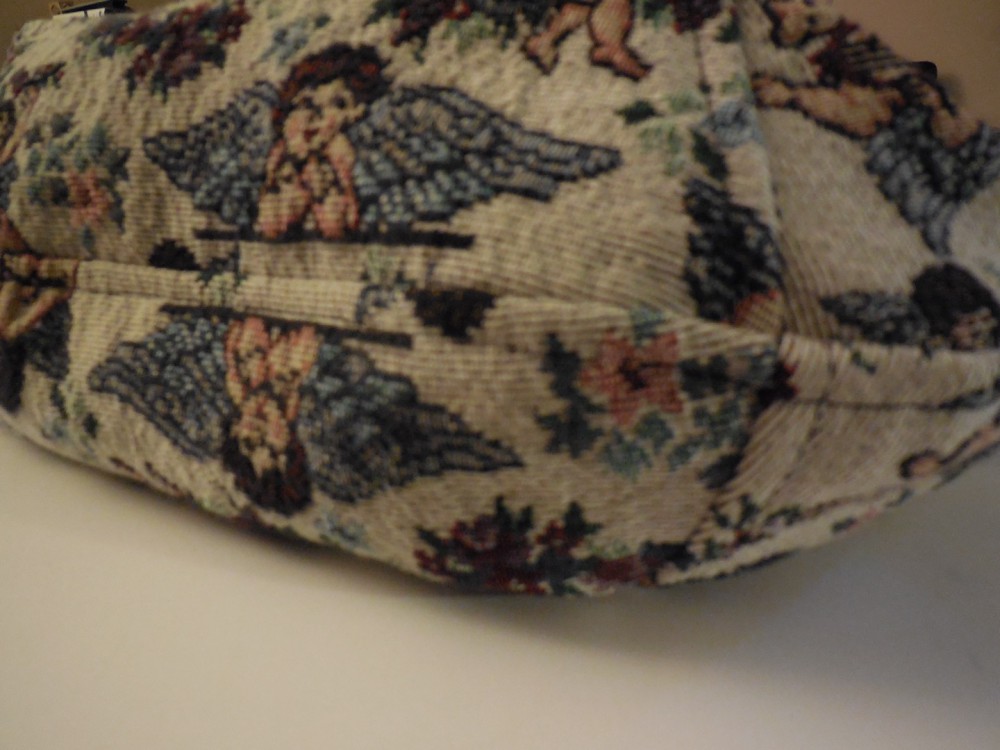
Same for the two outer layers, but no turning gap. Turn your outer bag right side out. At this point I ironed it and topstitched it and attached the strap tabs. (I just love how the bottom corners of the bag turned out!)
Turn your lining bag wrong side out and put your outer bag (right side out) in your lining bag and sew them together around the top opening. After that pull your outer bag through the turning hole in the bottom of your lining bag. When it is all pulled through you will have the funniest looking thing you could possibly have, but I am sure you can figure it out from there!
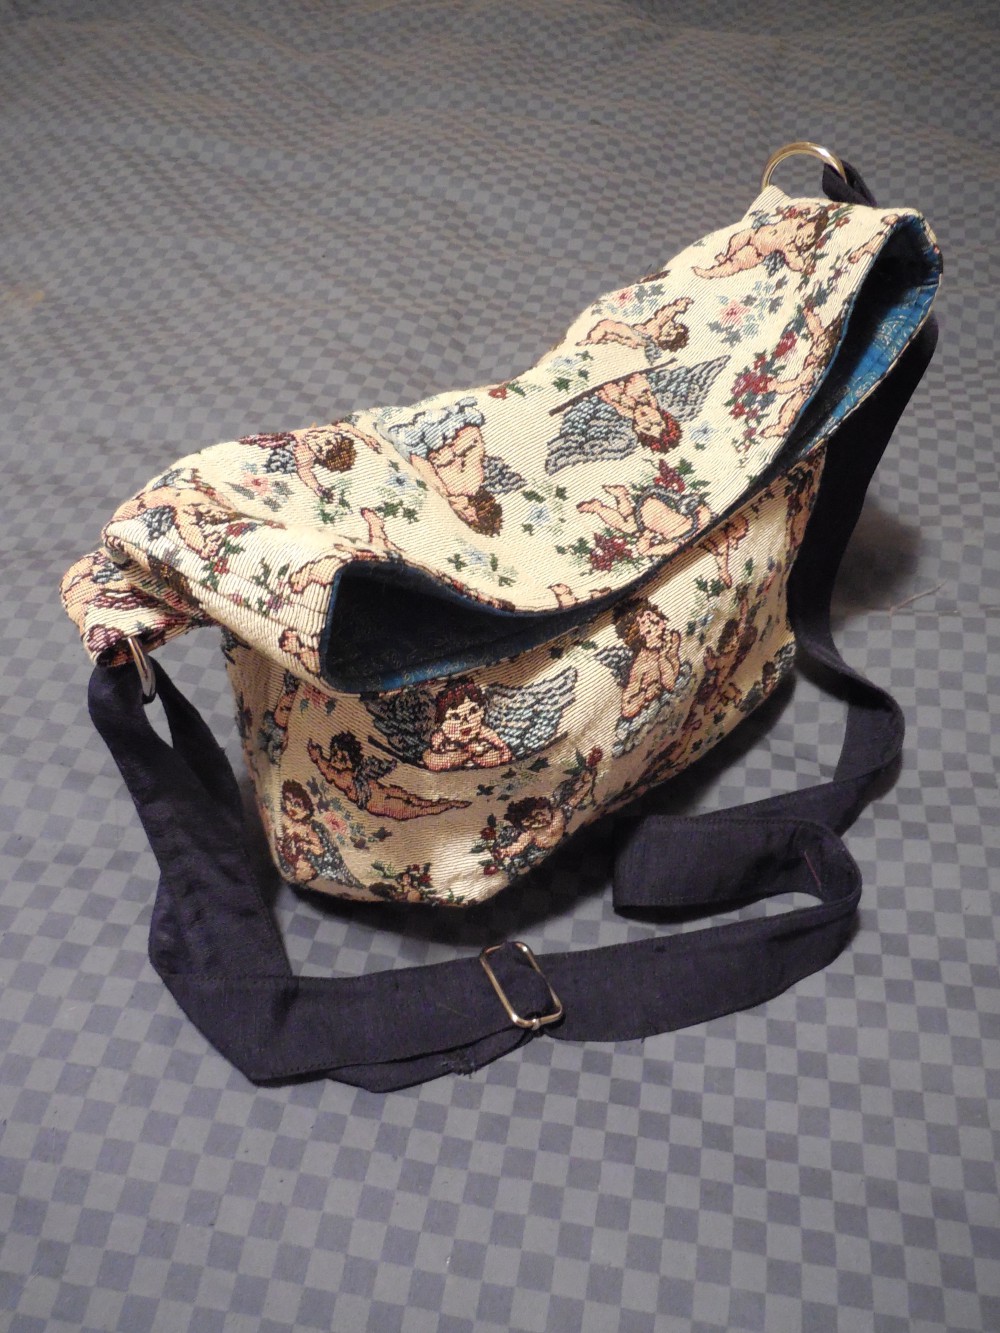
Ok, just kidding, push the lining inside your outer bag, topstitch the bag opening, hand sew up the turning hole in the bottom of the lining bag, attach your straps and you are done! Here’s the inside of my bag.
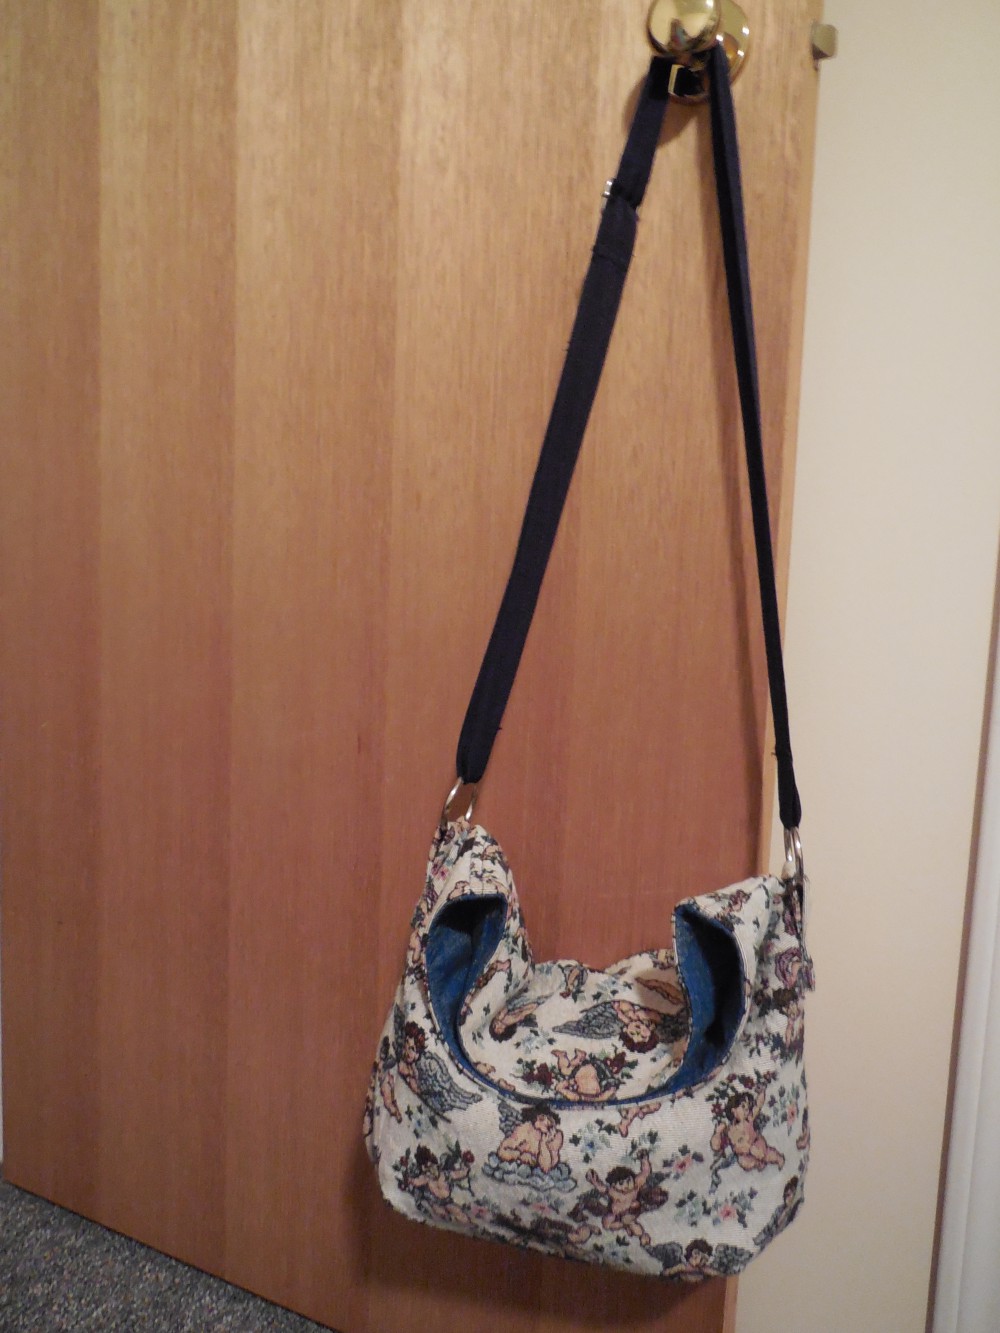
Here’s the outside of my bag.
I am very happy with my new bag, which I made with things I had at home! It only cost me the price of a magnetic snap and some cotton! I am also especially happy with the free PDF sewing pattern from Mrs. H! (Note: no one has paid me to say this!)
Since I love handbags so much, I think I am going to keep my eyes open for some faux leather and some leather sewing machine needles and another handbag pattern … after all, I do have some rings, buckles, and zippers sitting around doing nothing!
Happy Sewing!
P.S. I have the other site for Mrs. H’s patterns here.
20 responses to “Whoot! Whoot! Whoot!”
Love the fabric you have used!
Thanks for linking up at the Talented Tuesday Link Party!
Thank You for organizing it!
What a beautiful bag! It’s just gorgeous! Thanks for letting me know you’d made it, I look forwards to seeing more versions x
Thank you! Well… For someone who likes a new bag almost every season, I was happy to discover, when making up your pattern, that they are not that difficult to make at all! Thank you for the pattern!
I love this bag! I’d never thought of making a bag but love how yours turned out – you’ve inspired me!
Thanks! It was a pretty detailed set of instructions! and yet, pretty easy to make. My fabric layers got kind of thick, but my machine is strong and I had the right needle so it went through like butter!
The fabric is so cute! 🙂 Great job on the zipper pockets – I tried that once and failed miserably …
Thank you! I didn’t have a clue at first how it was done neither, but you kind of have to throw out your own ideas and thoughts and just do what the directions tell you, letter for letter. Mrs. H had great directions!
Wow! Impressive! It’s so neat and professional! I love the fabric choice too. I love handbags too but never made one. I have a couple of ‘Coast’ dresses and I bought the matching handbags with them. I think I need to start adding to my collection! Superhero bag??? Lol! 💝
Whoo! Now there’s an idea! Making purses to match dresses! I love it. A Superhero bag would be a good start. I am hunting for just the right “cat” fabric for a summer bag. No pressure though, I have lots of time to look.
I love your purse, especially the cherub pattern. Let me look through my once sewing room now art studio and I can find the pattern for the first purse. Great job.
Oh Thank you, if you can find it, I like to give credit where it is due! (Again, thanks for the first purse!)
Wow. I must say your non-sewist sister is very impressed. If I tried that I’d end up with the funniest looking thing you’ve ever seen and stay that way!
Naw… you underestimate yourself! It’s easy, just turn it here, pull it there, fold it up, then down, then pull it through, then presto! You are done! Just like the directions say! Easy Peasey!
Oh my gosh I’m so excited to have a vintage pattern!!! Thanks Linda, I will send you my info 🙂
You are welcome! Thanks for playing along!
I’m inspired! I neeeed a new bag! Great use of the old zips, probably nicer than ones you can buy too 😃
Actually they ARE better zips!
I love the prints in and out, looks cute and you did such great job. I like bags too, I can never have enough haha!
Thank you! That should be a rule of life… “You can never have too many bags”!