


from my Sewaholic Hollyburn skirt pattern. I cut this pattern out last week from some 100% pre-washed cotton I found in my stash. I still have a good metre or so left so I’ll have to think of another project for it. Do any of you have a favourite tank top pattern that could use the remainder of my 100% cotton denim?
Since this is the fourth time I have cut out a Sewaholic Hollyburn, I think it is definitely one of my TNT patterns.
My skirt is coming together well. The thought of topstitching and revits and Jeans buttons makes me SMILE!
I started this skirt by making my interfaced back pockets. I just cut a large rectangle shape, as the Hollyburn didn’t have a pattern piece for this. I precisely measured for my angled corners. I marked the centre point of the bottom with my Chaco liner and I measured two inches up on each side and made marks there too.


Here my corners are ready to be cut off at the marks.
I zig zagged the edges to prevent fraying and sewed down a 1 inch flap at the top, which I turned and pressed. I then pressed a 1/2 ” hem all around the four sides.


Pressing the pockets made them so sturdy, they could quite possibly stand up on their own. I love pressing fabric to mold it into a shape you desire!


I am so persnickety that I lie my finished pockets on top of each other every which way to double check that they are EXACTLY the same shape and size.
I drew and sewed a few trial designs for my back pockets on scrap fabric, before making a decision on which to use. Drawing the first line on with my Chaco liner (corner to corner) helped ensure that the first line and all that followed would be very straight. I used my 1/4″ seam foot to topstitch my pocket design.


My finished back pocket design – simple, but I love it!


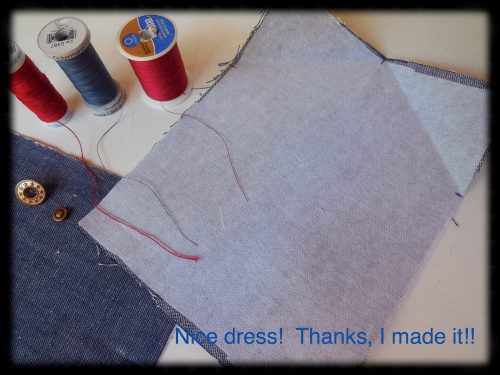
There are four seams on my skirt, all sewn on the diagonal – I want to make them all flat felled seams. I sewed the front and back centre seams first. I used a strip of interfacing to stabilize the seam. If I wasn’t so lazy, I would have looked for my rotary cutter and cut uniform, straight strips of interfacing!


Pressing is important. First I pressed the seam open. Then I carefully cut one side of the seam allowance down to 1/4 inch.


Then I pressed the wider seam allowance over the narrower one.


I tucked the wider seam allowance under the narrower one and pressed again.


I sewed it down with my 1/4 ” seam foot and my topstitching thread.

Now on to the next steps!
Are you a fan of topstitching like me? Do you have any tips to share?
Happy Sewing!