
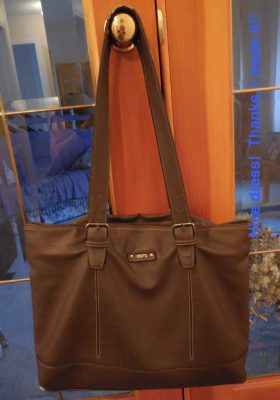
Perhaps you read last week about my trashed (store-bought) Tote bag and the start of my journey to replace it? If you missed it, you can read Part I here!
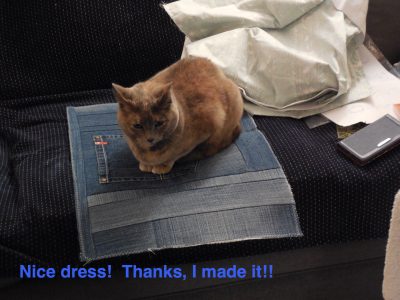
I’ve been busy this week, learned a lot, and ended up with a great Tote bag – despite the “help” offered to me by My Feline Family Members!
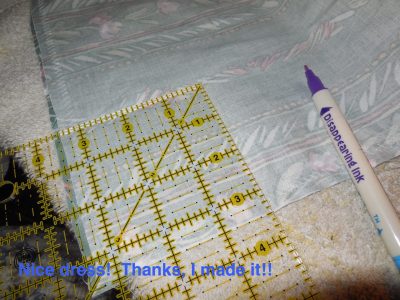
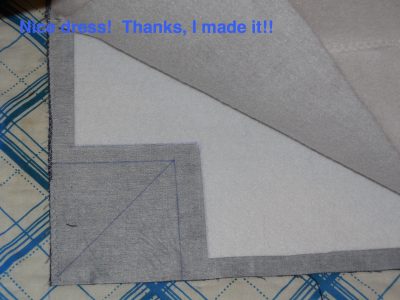
I finished off my lining by measuring and sewing in the corners.

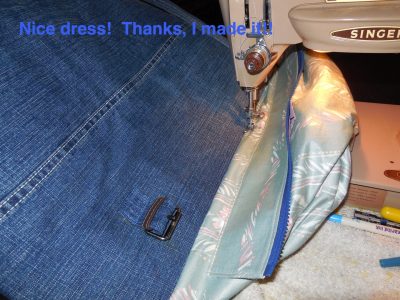
I sewed in my zipper flaps.
Ironing the outer layer.
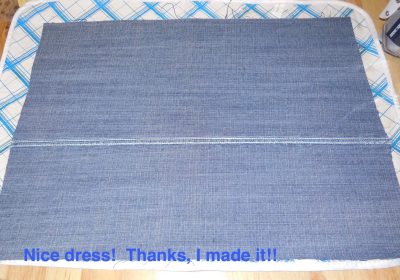
Adding a light fusible interfacing.
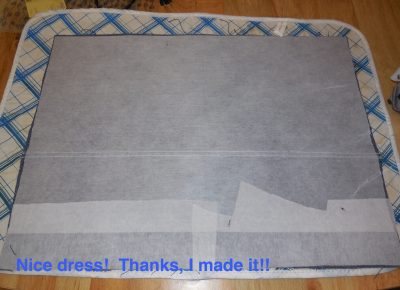
Adding a layer of Pelton Peltex – a FIRM fusible stabilizer – and a layer of Pelton Fusible Fleece – medium weight fleece. LESSON LEARNED #1: Do not cut the Peltex right to the edge of the fabric or you will suffer dearly trying to sew your seams up! LESSON LEARNED #2: Peltex is FIRM! I read “somewhere” that the Peltex would keep your bag firm and a layer of Fusible Fleece would give your bag a cushioned look. I used both and all I ended up with is a FIRM bag, which isn’t bad, but what was the point of the Fusible Fleece then? Another suggestion is to fuse the Peltex to the lining layer and the Fusible Fleece to the outer layer for a firm, but cushioned bag – haven’t tried that yet!
How’s that?
When sewing both outer layers together, my Rocketeer didn’t have any trouble sewing through the layers, just as long as it didn’t have to sew through the Peltex! Again, sewing the corners gave my bag the “boxy” look!
Straps next!
Finishing stitches.
The inside reveal.
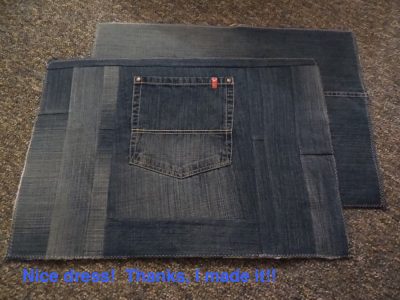
The outside reveal.


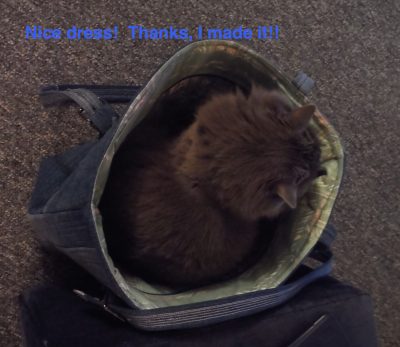
How’s that? What do you think? I think I need another one!!!


LOL! “THE CATS IN THE BAG!!!”
Have any of my fellow sewists tried Peltex (or another FIRM stabilizer) yet? Perhaps I should use it for a different project, like a wallet?
Happy Sewing!
STASH BUSTING WITH THIS PROJECT? Still 138.5 remaining. This project is being made with repurposed fabrics and notions.
14 responses to “The “ins” and the “outs” of my new Tote bag … and a few lessons learned!”
Can’t stop looking at Simon! This bag is just beautiful, you are a real expert at bag making.
Thank you! That’s very kind of you to say, but there’s always more to learn! It is fun though! 😁👍
Aren’t cats just priceless. The bag looks lovely. Just right for a handsome cat.(Simon?)
Thank you ☺️ yes Simon was certainly comfortable in it! Can’t leave anything out or they claim it as their own!
I love it, and the pic of the cat in the bag is terrific. The corners are perfect, and the hints are very appreciated. I bought some faux leather last year and played a bit with it. My advice is to use faux leather on your next project. Your skills will result in a wonderful handbag!
Thanks! I thing that faux leather is my ultimate goal. It can be done! I can do this! I’ll work up to it slowly! 😁👍
I must say, when you put something together it sure comes out nice. I have seen some “on the rack” bags that have uneven stitching and mismatched edges that could not hold a candle to this beautiful bag. Another successful project complete with fur ball. Bravo.
Thank you very much! And I think the fur ball thanks you too! 😻
You could sell those!
That’s what someone else said! 😂 Well it might take some time before I’m up to that. I have two problems – a day job taking up my time and the that fact that so far I haven’t been able to “let go” of anything new I sew! 😂😂 Thanks for the compliment! 🤗
That IS a lovely tote bag. So if I bought one would it come complete with kitty or is that extra? 🙂
The kitty is priceless – he stays! 😂😻
Gorgeous bag!
It does look firm… I have never sewn a bag but I am often tempted!!
It’s not difficult, depending on how fancy you want to get with the pockets or zippers. It’s just pat of my RTW fast now so I am trying not to buy a new one. I’ll have to investigate the stabilizers some more, and different fabrics or faux leathers. Always something new to learn! 😁👍