

Have you ever tried googling that? Just start typing it and see all the choices that pop up? Blogs … YouTubes …
I’ve been sewing since Grade 8 (I think). I have always tried everything, didn’t matter whether I failed or succeeded, I just kept on going. In the beginning, I followed the instructions word for word. After a while I started looking only at the diagrams and photos and if I got stuck, then I forced myself to read the words.

Now I find myself looking at what’s the next step and just doing it my way. Not because I think I’m better or anything but just because I have put in so many zippers on clothes and bags I’m just comfortable doing it my way!
So what’s this all leading to? I’ve noticed other sewists and pattern makers do it their way too. Is that right? Is that wrong? Nope! I still love seeing new ways to put in a zipper! Show me something new!
After I discovered and struggled through my first “burrito” technique, I couldn’t sew in a yoke any other way! Look here for the “burrito” technique. I originally learned the “burrito” technique from Janet Pray on the old Craftsy website. Janet Pray is wonderful and I have learned so much from her!
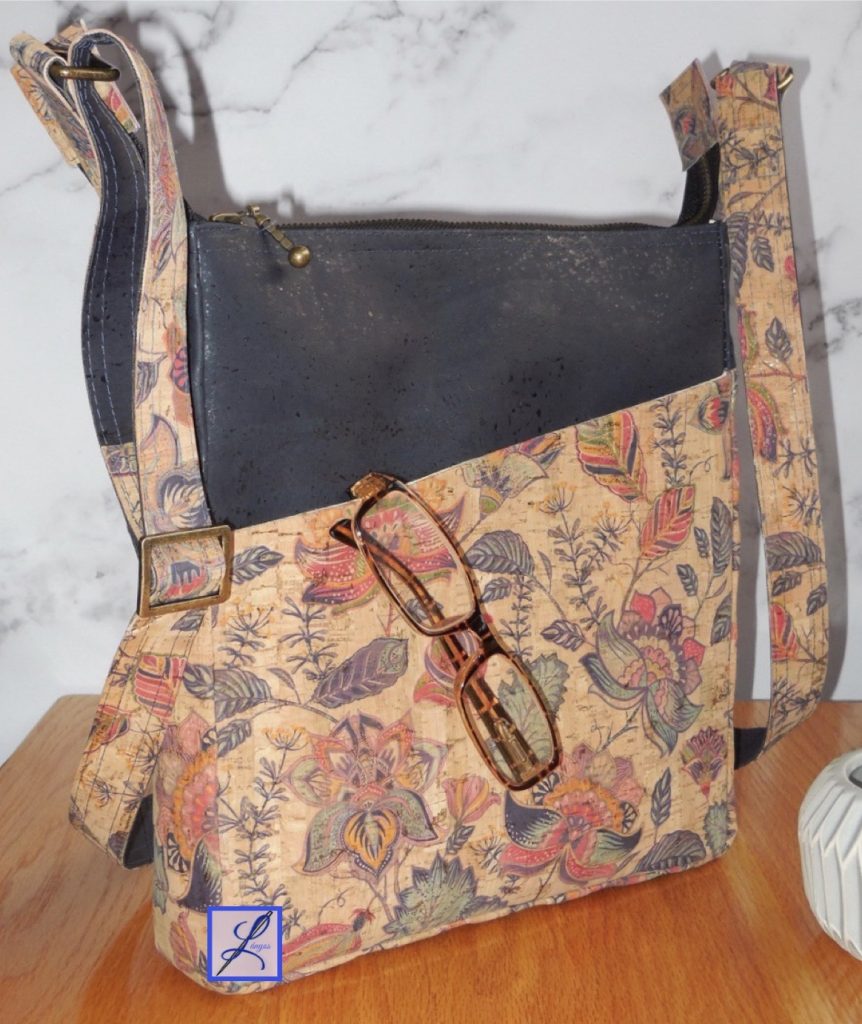
With handbag sewing, I’ve noticed the same thing … so many ways to do the same thing. Sometimes U.S. pattern makers do it one way, U.K. pattern makers do it another! Very fascinating!
Search “zipper pockets in handbags” and you’ll see a few methods. What’s right? What’s wrong? Again, neither! I love seeing new ways!
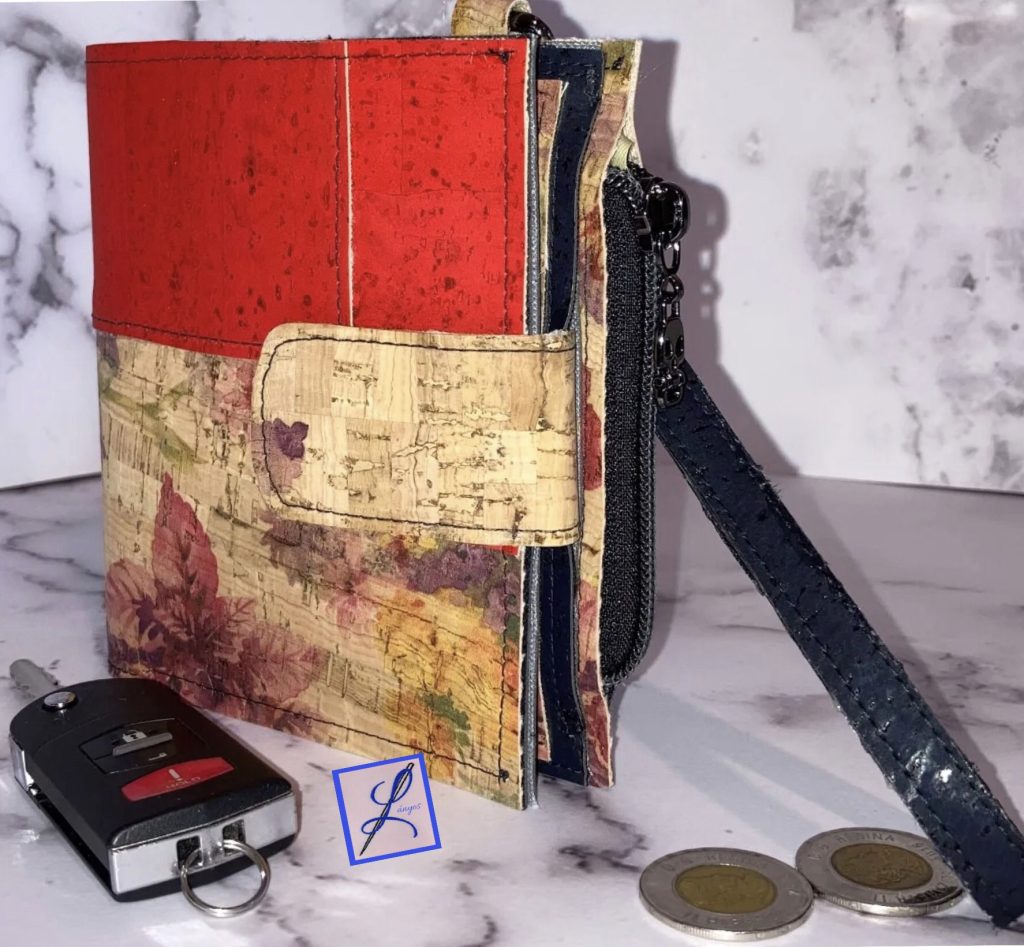
So just for some fun, let me show you how I did the zipper tabs in my newest pattern, the Lányos Tessa© Bag (sorry … not yet released) … perhaps this way is something new to you?
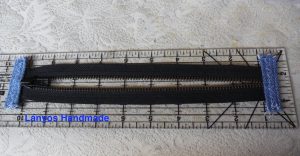
1 MEASURE two zipper tabs 2″ x 3″ (5 cm x 7.6 cm). TIP: 1/2″ (1.3 cm) wide zipper tabs should be made from 2″ (5 cm) wide fabric. (because 1/2″ x 4 = 2″)

2 SEW one end of your zipper onto one 3” (7.6 cm) long side of your zipper tab with a 1/2″ (1.3 cm) seam allowance (SA), right sides together (RST). Then FOLD your zipper tab wrong sides together (WST), 1/2″ (1.3 cm) again.

3 FOLD over the other edge of your zipper tab WST, 1/2″ (1.3 cm) again. PRESS.

4 FOLD over again 1/2” (1.3 cm), PRESS. EDGE STITCH close to the zipper.

5 REPEAT with the other side of the zipper and the other zipper tab.

TIP: If your seam allowance (SA) is 1/2″ (1.3 cm), your zipper with tabs is always 1/2″ (1.3 cm) shorter than your bag sides to stay free of your seam allowance (SA). I do not cut the 3” (7.6 cm) long zipper tabs shorter. It makes them easier for me to poke out when turning my bag!
ANOTHER TIP: On the end of the zipper with the zipper pull, unzip the zipper a bit in order to edge stitch your zipper tab, but make sure the zipper tape sides are still as close together as possible. Keep your needle in the down position if you raise the presser foot to move your zipper pull out of the way as you sew.
YET ANOTHER TIP: 1/4″ (6 mm) Double sided tape (DST) or adhesive tape helps to hold the zipper in place as you sew. You can leave the DST on, but you have to tear off the adhesive tape. You can use pins but they might make the zipper bumpy. Don’t sew within the 1/4” (6 mm) edge of the zipper tape where you have your DST though, it might gum up your needle!

TO BE CONTINUED when my Lányos Tessa© Bag pattern is released!
Oh! and before I forget, I’ve started a YouTube Channel “Lányos Handmade“! Here’s the link!
I’ll be posting bag making tutorials, sew-alongs (starting with my Lányos Tessa© Bag pattern) and sewing tips! Still lots of time to subscribe before the Lányos Tessa© Bag sew-along starts! Let’s see what we can create together!
Happy Sewing!

I haven’t sewed in ages, in fact the last time I sewed I made a curtain (with you!). Anyway, I enjoyed this post and loved the name “burrito” yoke. You sewists are so creative 🙂
Thank you! 😂 I remember that curtain and I think I blogged about it. That was the last time I saw you many moons ago 🤗
I learned the burrito method from Janet Pray too. Thanks for the tab tutorial!
Your welcome! I think that Janet Pray’s course was one of the best I took on Craftsy. Actually I bought a few of hers!
Congratulations on the YouTube channel. That is very cool. Im afraid I dont have tips on sewing zippers. 🙁 I do know that when you throw pants in the wash, make sure the zipper is zipped up with the top button fastened because it will make the zipper last longer.
Thank you for the kind words! And for throwing in your advice re zippers too! 😊👍
Thanks for this advice.I have a bag in my fall/winter sewing plans – will check this out.
Thank you! Have fun with your bag project!
Good post with good instruction! Going right now to follow you on YouTube.
Thank you kindly Samina, that means a lot to me! ❤️ Stay safe! ❤️
My eyes glaze over when it comes to quilting and bag making, but I do enjoy it when experts go through things. Shows me where to turn if ever I change my mind! Like yourself, have been sewing since forever, but I do try to read through a pattern before starting it. Most o’ the time. 🤣
😁 I used to think quilting and bag making was hard, but I started slowly and I’m really liking bag making!! Now quilting! THAT’S hard! 😂😂😂
I used to sew a lot but seem to have dropped off. When I was sewing, I was always under the impression that you could only buy the zipper that was nearest the size you needed and adapt a little. Where were you when I needed someone to show me, “there is no one size fits all” when it comes to zippers? These tips would have been a God send way back then. Nice job.
🙂 My ability to research and then “make do” is endless!