I have pretty much finished my cotton/Tencel Sewaholic Nicola – after sewing on the last of my buttons the only thing left for me to do (seriously) is take photos. That’s it!
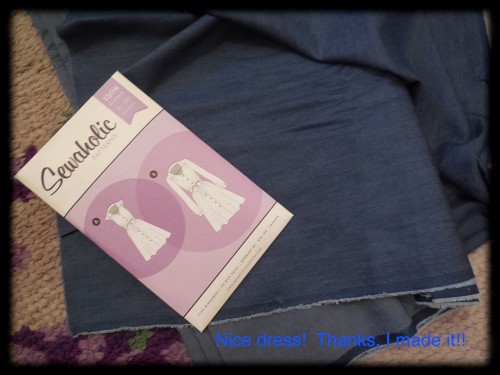
Since I haven’t got the photos done yet, I thought I would share some techniques and changes I have made in the pattern with you and perhaps we could share tips!
I remember when I was younger reading about, practicing and being shown how to do math. I was then very confident that I could do it. But of course as soon as I was asked “How do you do this then.” My answer would be “I don’t know.” It was gone, every bit of what I just learned!
I have done the “burrito” technique only twice now, here and here, this is my third time. I first learned of it when I took the Craftsy course “Sew Better, Sew Faster” by Janet Pray. I didn’t want to fall into the same trap with my “burrito” technique as I did with my Math long ago, so I decided to test myself and not use the pattern instructions and see if I could actually do it, and show you how to do it, on my own.
Apparently, I think I can?!? Here I have come to the crucial point – all my bodice pieces have been sewn together and my bodice is lying face up on the floor.
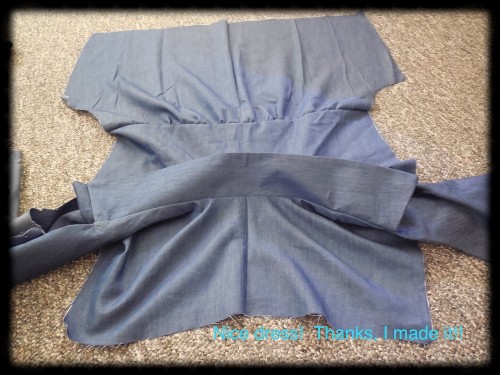
I rolled up my back bodice as far as it will go towards my collar, exposing my inside back yoke seam.

I pinned both yoke seams of both yoke pieces together.
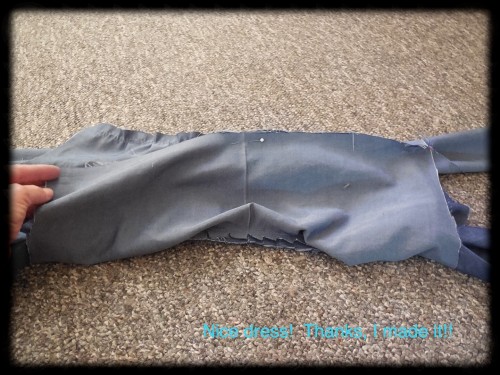
My whole bodice is being held captive in my “burrito”.
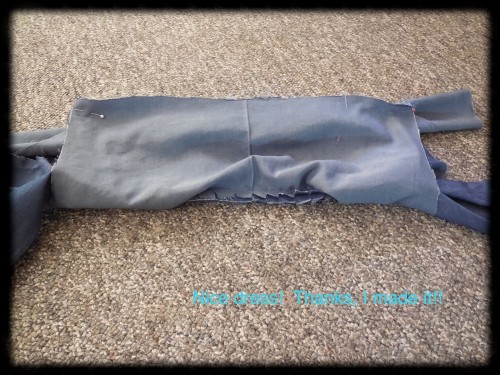
I sewed the yoke seams together – trapping my bodice pieces inside forever! Now bordering on a state of panic I pull everything out of one end of the “burrito” and Viola! My bodice looks normal again!
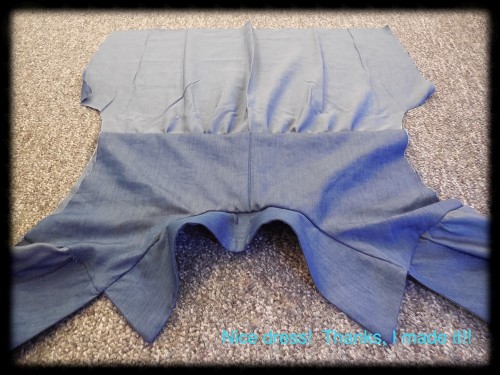
My next change was to alter my sleeves from a long sleeve with a button cuff (eww! too warm for the office) to a mid length sleeve with a rolled up cuff and a button tab. Usually when you roll up a sleeve you want neat french seams showing, not ratty seams. Using this method you don’t have to worry about the insides of your seams even showing.
I cut my sleeves off at 15″.
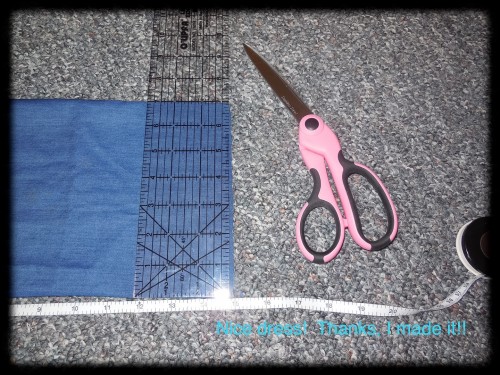
I sewed the hem up 1/2″ and then again sewed it up 4″, sewing through all the layers – don’t worry it won’t show when finished.
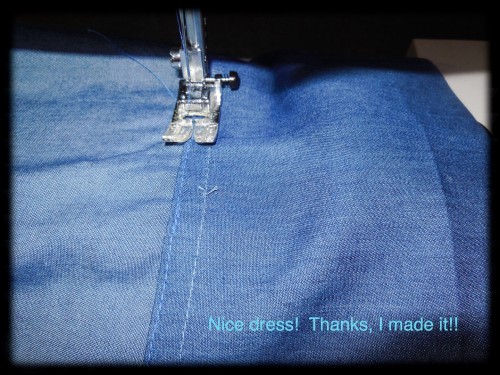
I then turned the cuff to the right side 3″.
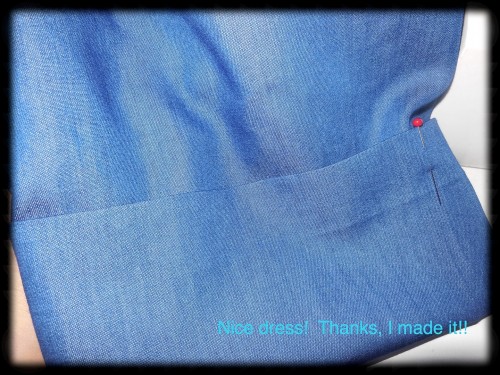
Tacked the hem up under the arm.
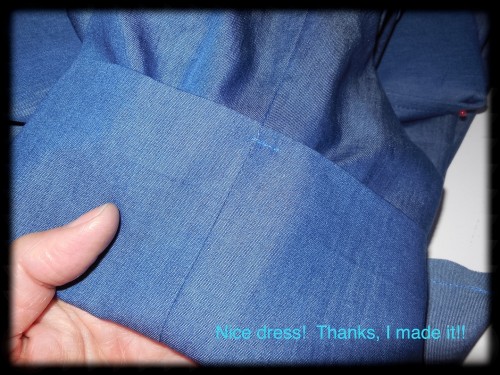
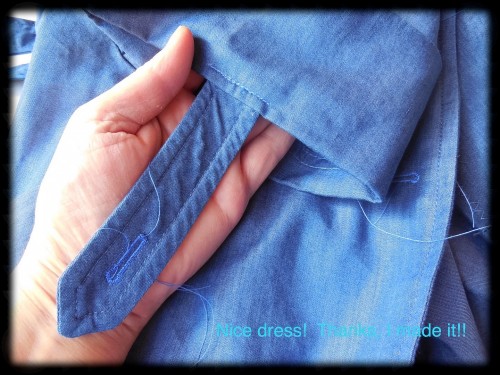
Sewed a button tab on the other side and folded the tab up to the button.
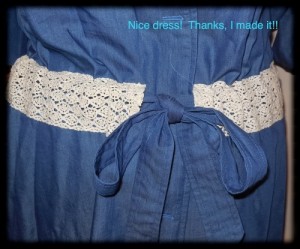
This next change I was particularly pleased with. I got the idea from Pinterest and saved it to my Pinterest page for a future reminder. Instead of following the pattern instructions (what’s new?) I decided not to make the usual waistline casing to run my elastic through.
I bought myself a length of lace about 3″ wide. I even ran it through the wash with my denim, just in case it would pick up some of the blue dye. It didn’t.
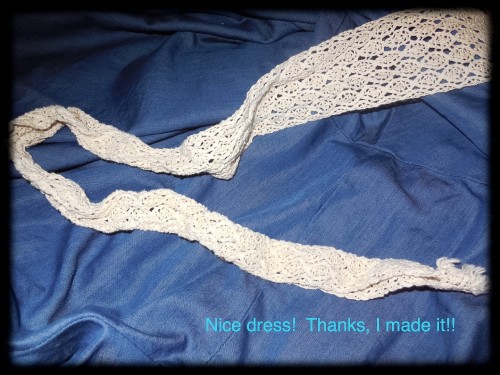
I hemmed the ends of the lace casing with Wonder Tape first and then a good zig zag to hold it. The lace casing was sewn on to the outside of my dress and my self fabric belt run through.
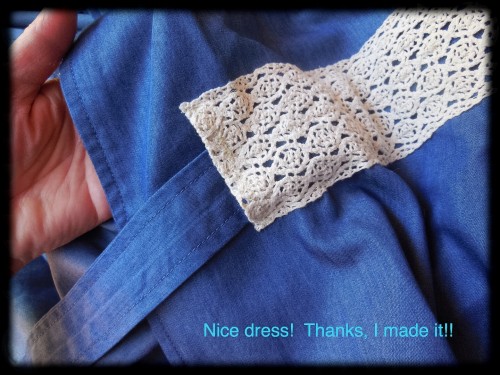
Finished lace casing and belt.
Have you got any tips to share on any of these techniques? Anything I missed mentioning?
I hope to get photos of my finished Sewaholic Nicola tomorrow. I’m praying for a sunny day, just like we had today, for modelling outside! Then I’ll share photos of my new dress.

Happy Sewing!
32 responses to “My “burrito” experience.”
Nice job! Those are great techniques. I think the burrito thing is like magic. 🙂
Definitely magic! Thank you for reading and commenting!
I have used the burrito method a few times now and there is always that terrifying moment when you wonder……. I love your way of doing the rolled up and tabbed sleeves and will definitely use it in future. Look forward to seeing your dress pics.
Thank you!
I love this dress! So many original details! I have used the burrito method on a couple of my husband’s shirts and I love how neat and tidy it all is. The first time I tried it I was convinced I’d gone wrong somewhere as my shirt seemed trapped with no way of getting it out again but I felt really pleased with myself when it all came out well! ☺
Thank you! I know! It’s as if “OMG what have I done!” Then out it pops!
I love doing the burrito – and try it on everything! Your dress is stunning, thank you for sharing!
Thank you for reading and commenting!
Fascinating technique, and it’s completely new to me’ it looks pretty efficient and I love the fact that there’s no hand sewing! Your use of lace for your casing is so clever..can’t wait to see the final photos…
Thanks! I thought it was something new when I learned it during Janet Pray’s class, but apparently Linda (in an earlier comment) says it is the traditional way to do a men’s shirt yoke. I love it! No hand sewing!
I am so impressed that you tested yourself on the burrito tecnique. I always have to study before trying it. Love the lace channel.
Thank you! I’m just weird that way. It drives me nuts when I read something over and over, something that I have done before, and just puzzle over it. So this time, it was “do” or “die”! Thanks for reading and commenting!