
Perhaps you remember the Designin’ December Sewing Challenge? Find a designer original you like and recreate it for yourself. I always say: Why buy when you can make it yourself – better and for less money? Last December, we had a lot of lovely entries and generous sponsors too. You can read all about it right here! Perhaps you would like to join in this year?

For my Designin’ December entry I chose to make my version of these “BY WALID” jackets! I loved the patchwork design, the repurposed denim and the stitching! Absolutely loved!!


So scrounging through the bottom of my closets, you know, that stuff that you know you should get rid of but never actually do, I found two unwanted pairs of my kids’ jeans. BINGO! Add to that a metre of denim fabric I had leftover from a project and we were all set. I had already sewn up this McCalls pattern #M6657 in January 2014, so I was very familiar with it. I still have and wear that original me-made coat – handmade lasts forever! I’d just have to adjust the front and maybe the length of view C. By the way, why is this pattern for sale on Amazon for $46.12 CAN?
As you can see here, I was determined to place the large back pockets of the jeans on the front of my repurposed denim jacket. Sophie came over to inspect the process!


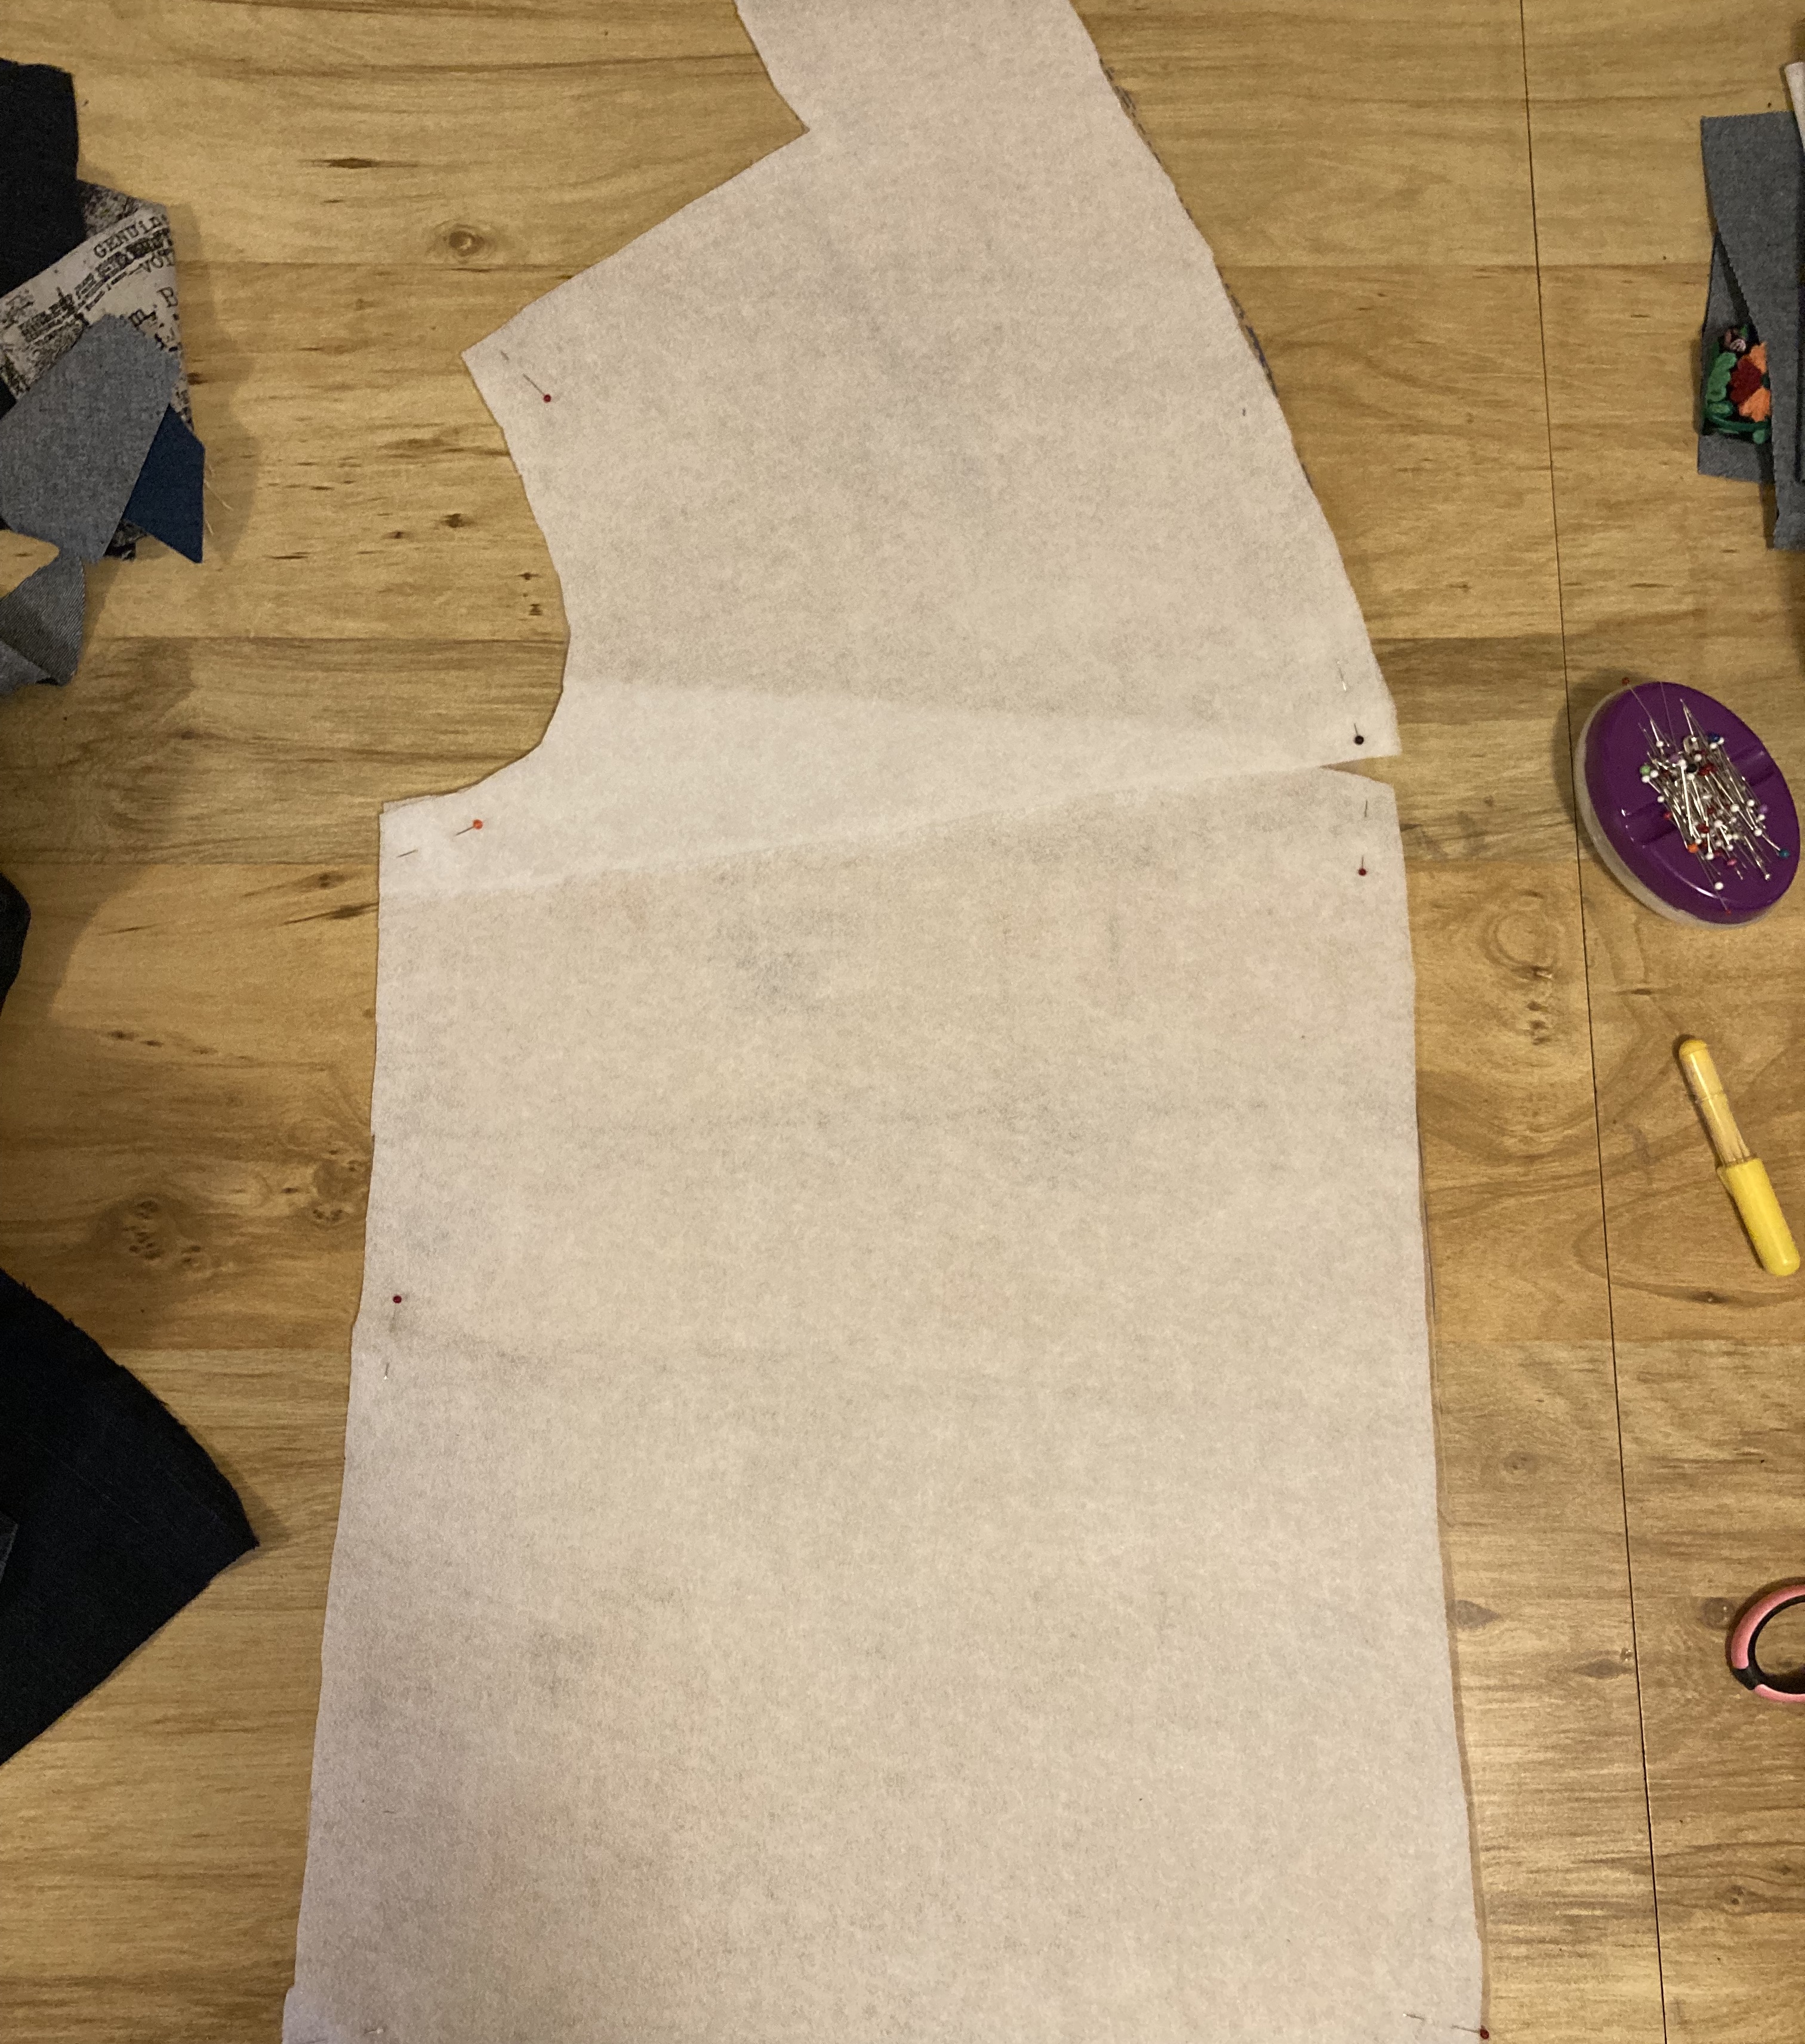
First step was to cut my fusible fleece to the correct shape and size as the front pattern piece. Then I cut the pocket off my jeans and cut the leg into pieces and laid all the pieces out on top of my fusible fleece until it was all covered. Notice the lighter coloured denim? I was a bit short so I just filled it in from my metre of denim. Some pieces I could just overlap as they were proper jeans seams. I would just top stitch them down. I didn’t mind if they frayed a little in the wash. Adds to the character! Some pieces had raw edges so I folded them under with a 1/2″ seam allowance and planned on sewing them down that way. A fun fabric puzzle!

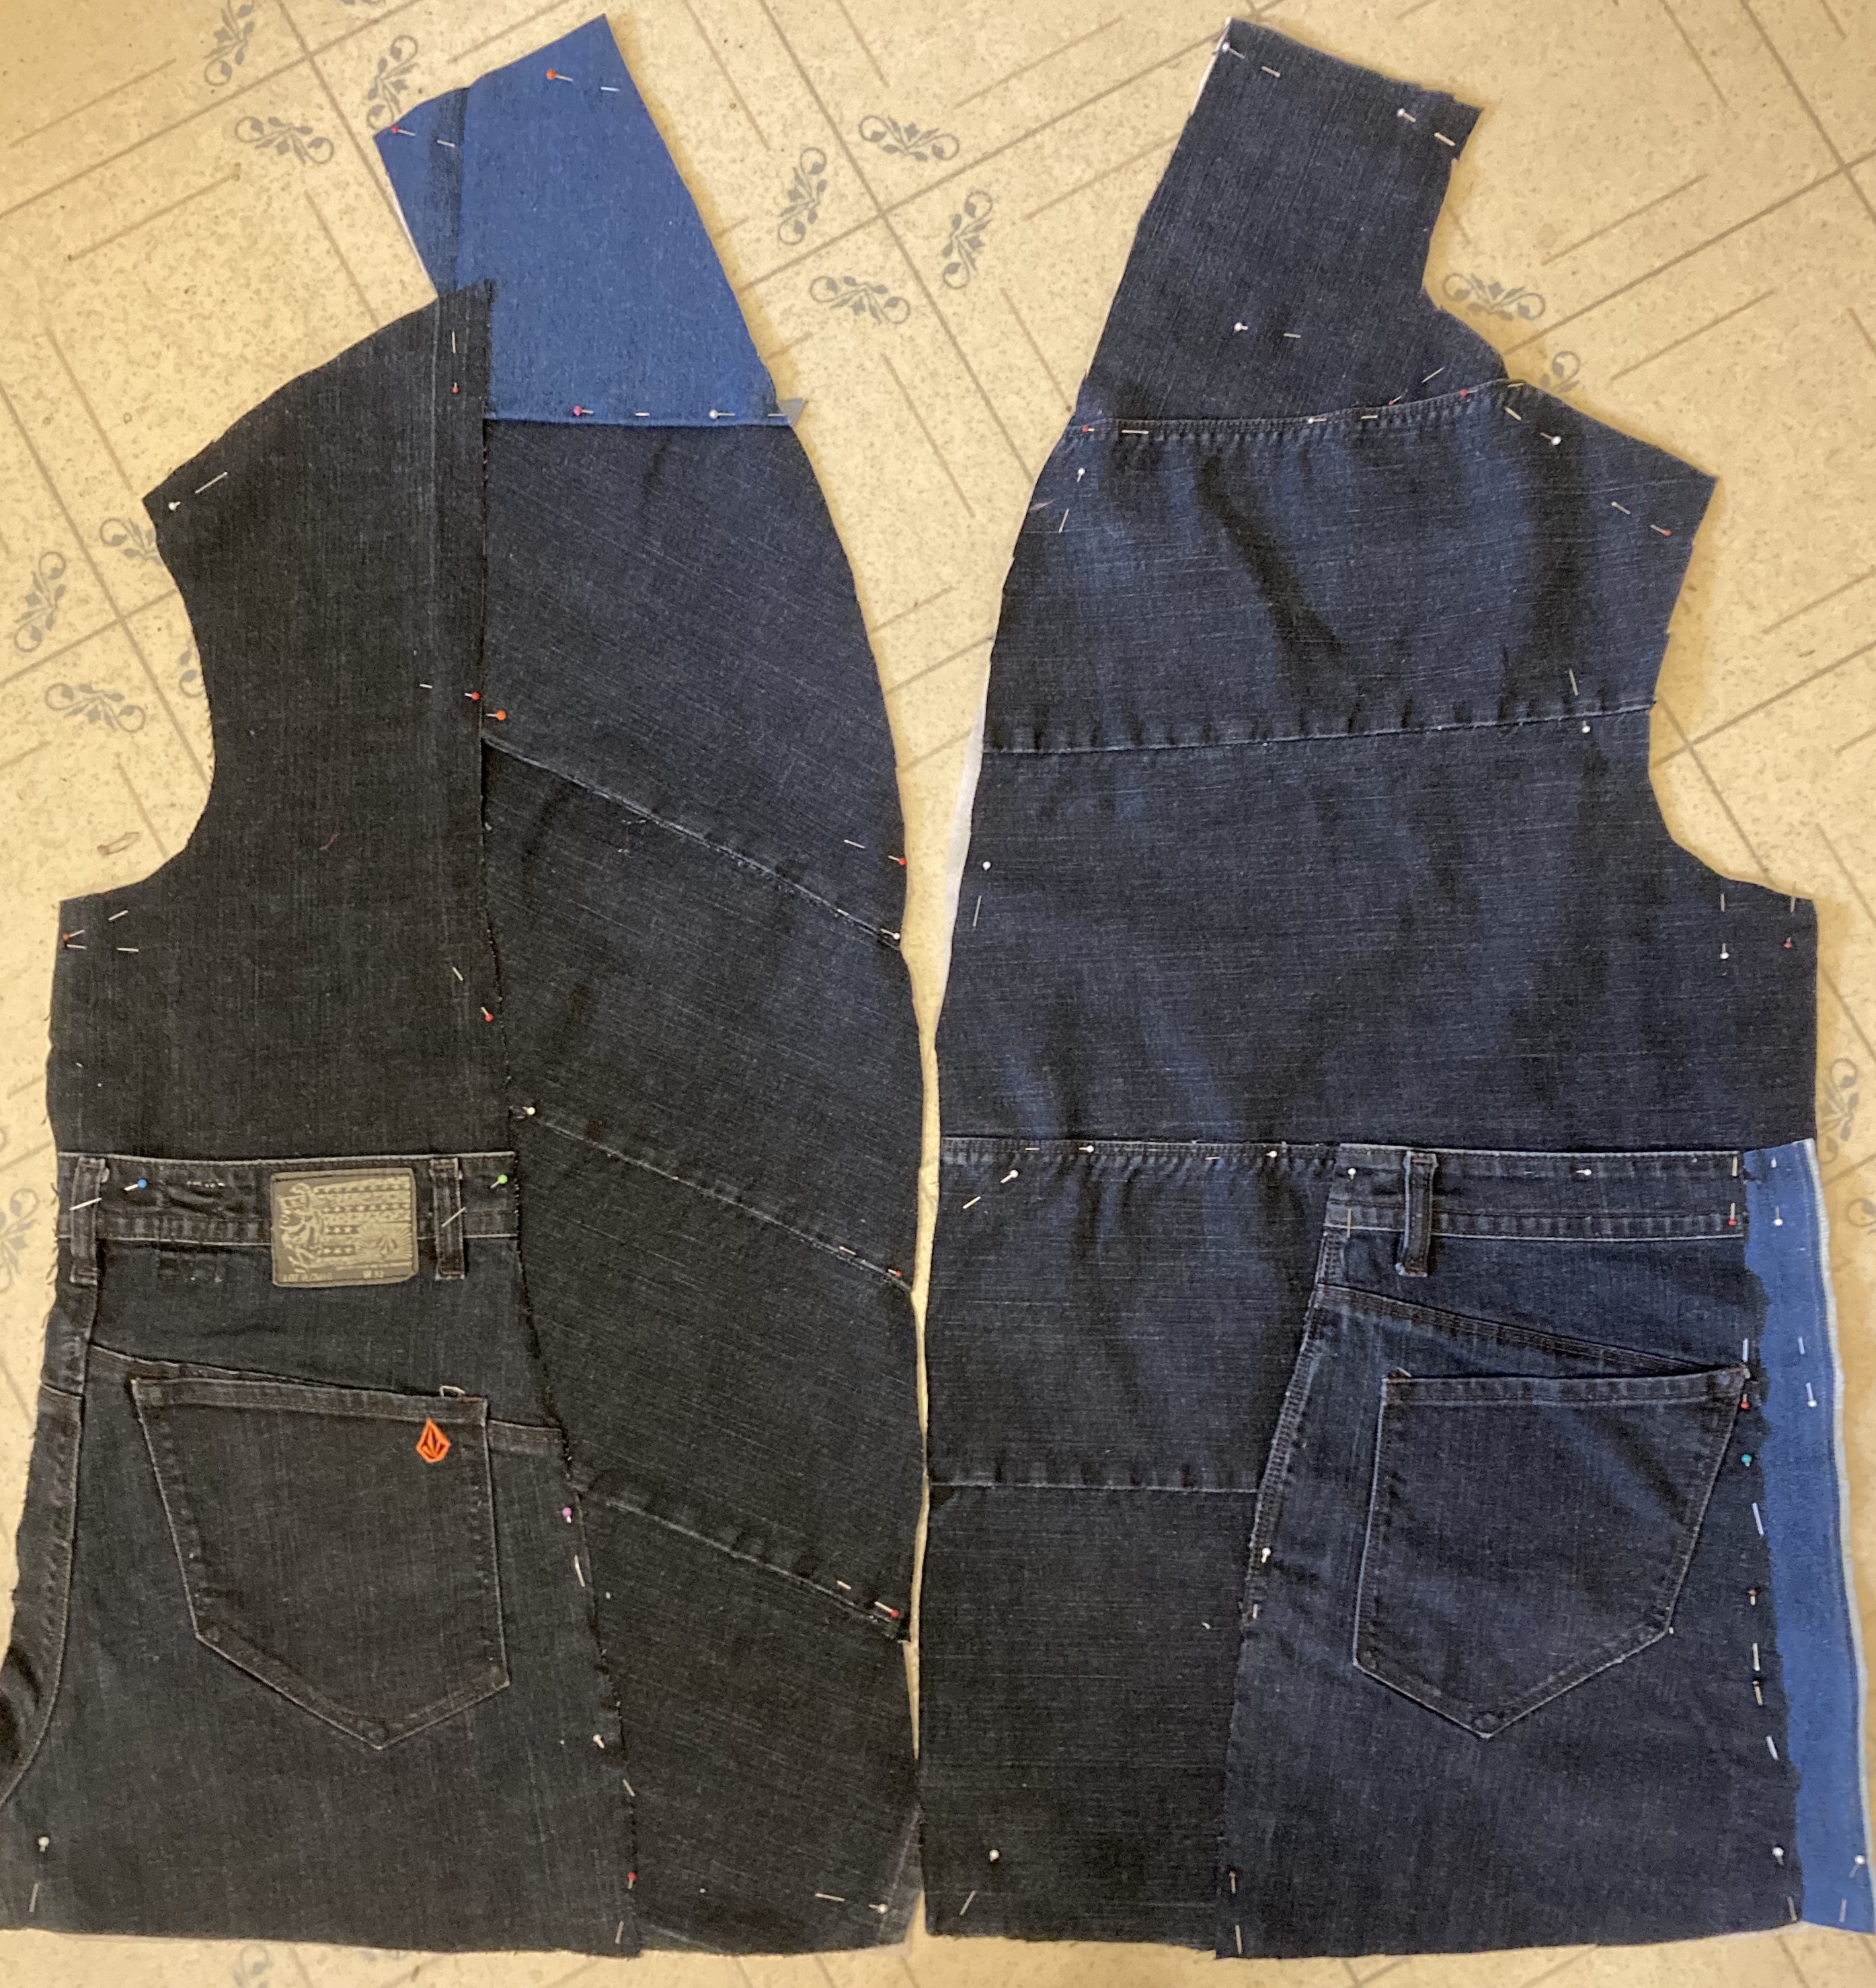
Now for the other side of the front of my jacket. I first flipped over my fusible fleece and cut a mirror image out of fleece. Then I pieced together my denim cuttings to fill the mirrored fusible fleece front. This time I needed a small scrap of light coloured denim on the bottom side seam. I love that the only thing matching between the two fronts are the precisely placed jeans pockets!
Of course, the jeans pieces of the two fronts were being held together with a thousand pins pushed through the fusible fleece, so now was the time to top stitch everything down! Did I say I LOVE TOP STITCHING? I didn’t have much trouble sewing through the thick denim seams and fusible fleece with my Janome HD 3000. I did use a strong denim needle and my walking foot (sometimes), regular polyester thread in the bobbin and top stitching thread in the top. I did forget to remove a couple of pins as I was sewing, and only discovered them after I used my iron to press the fronts. Ouch!


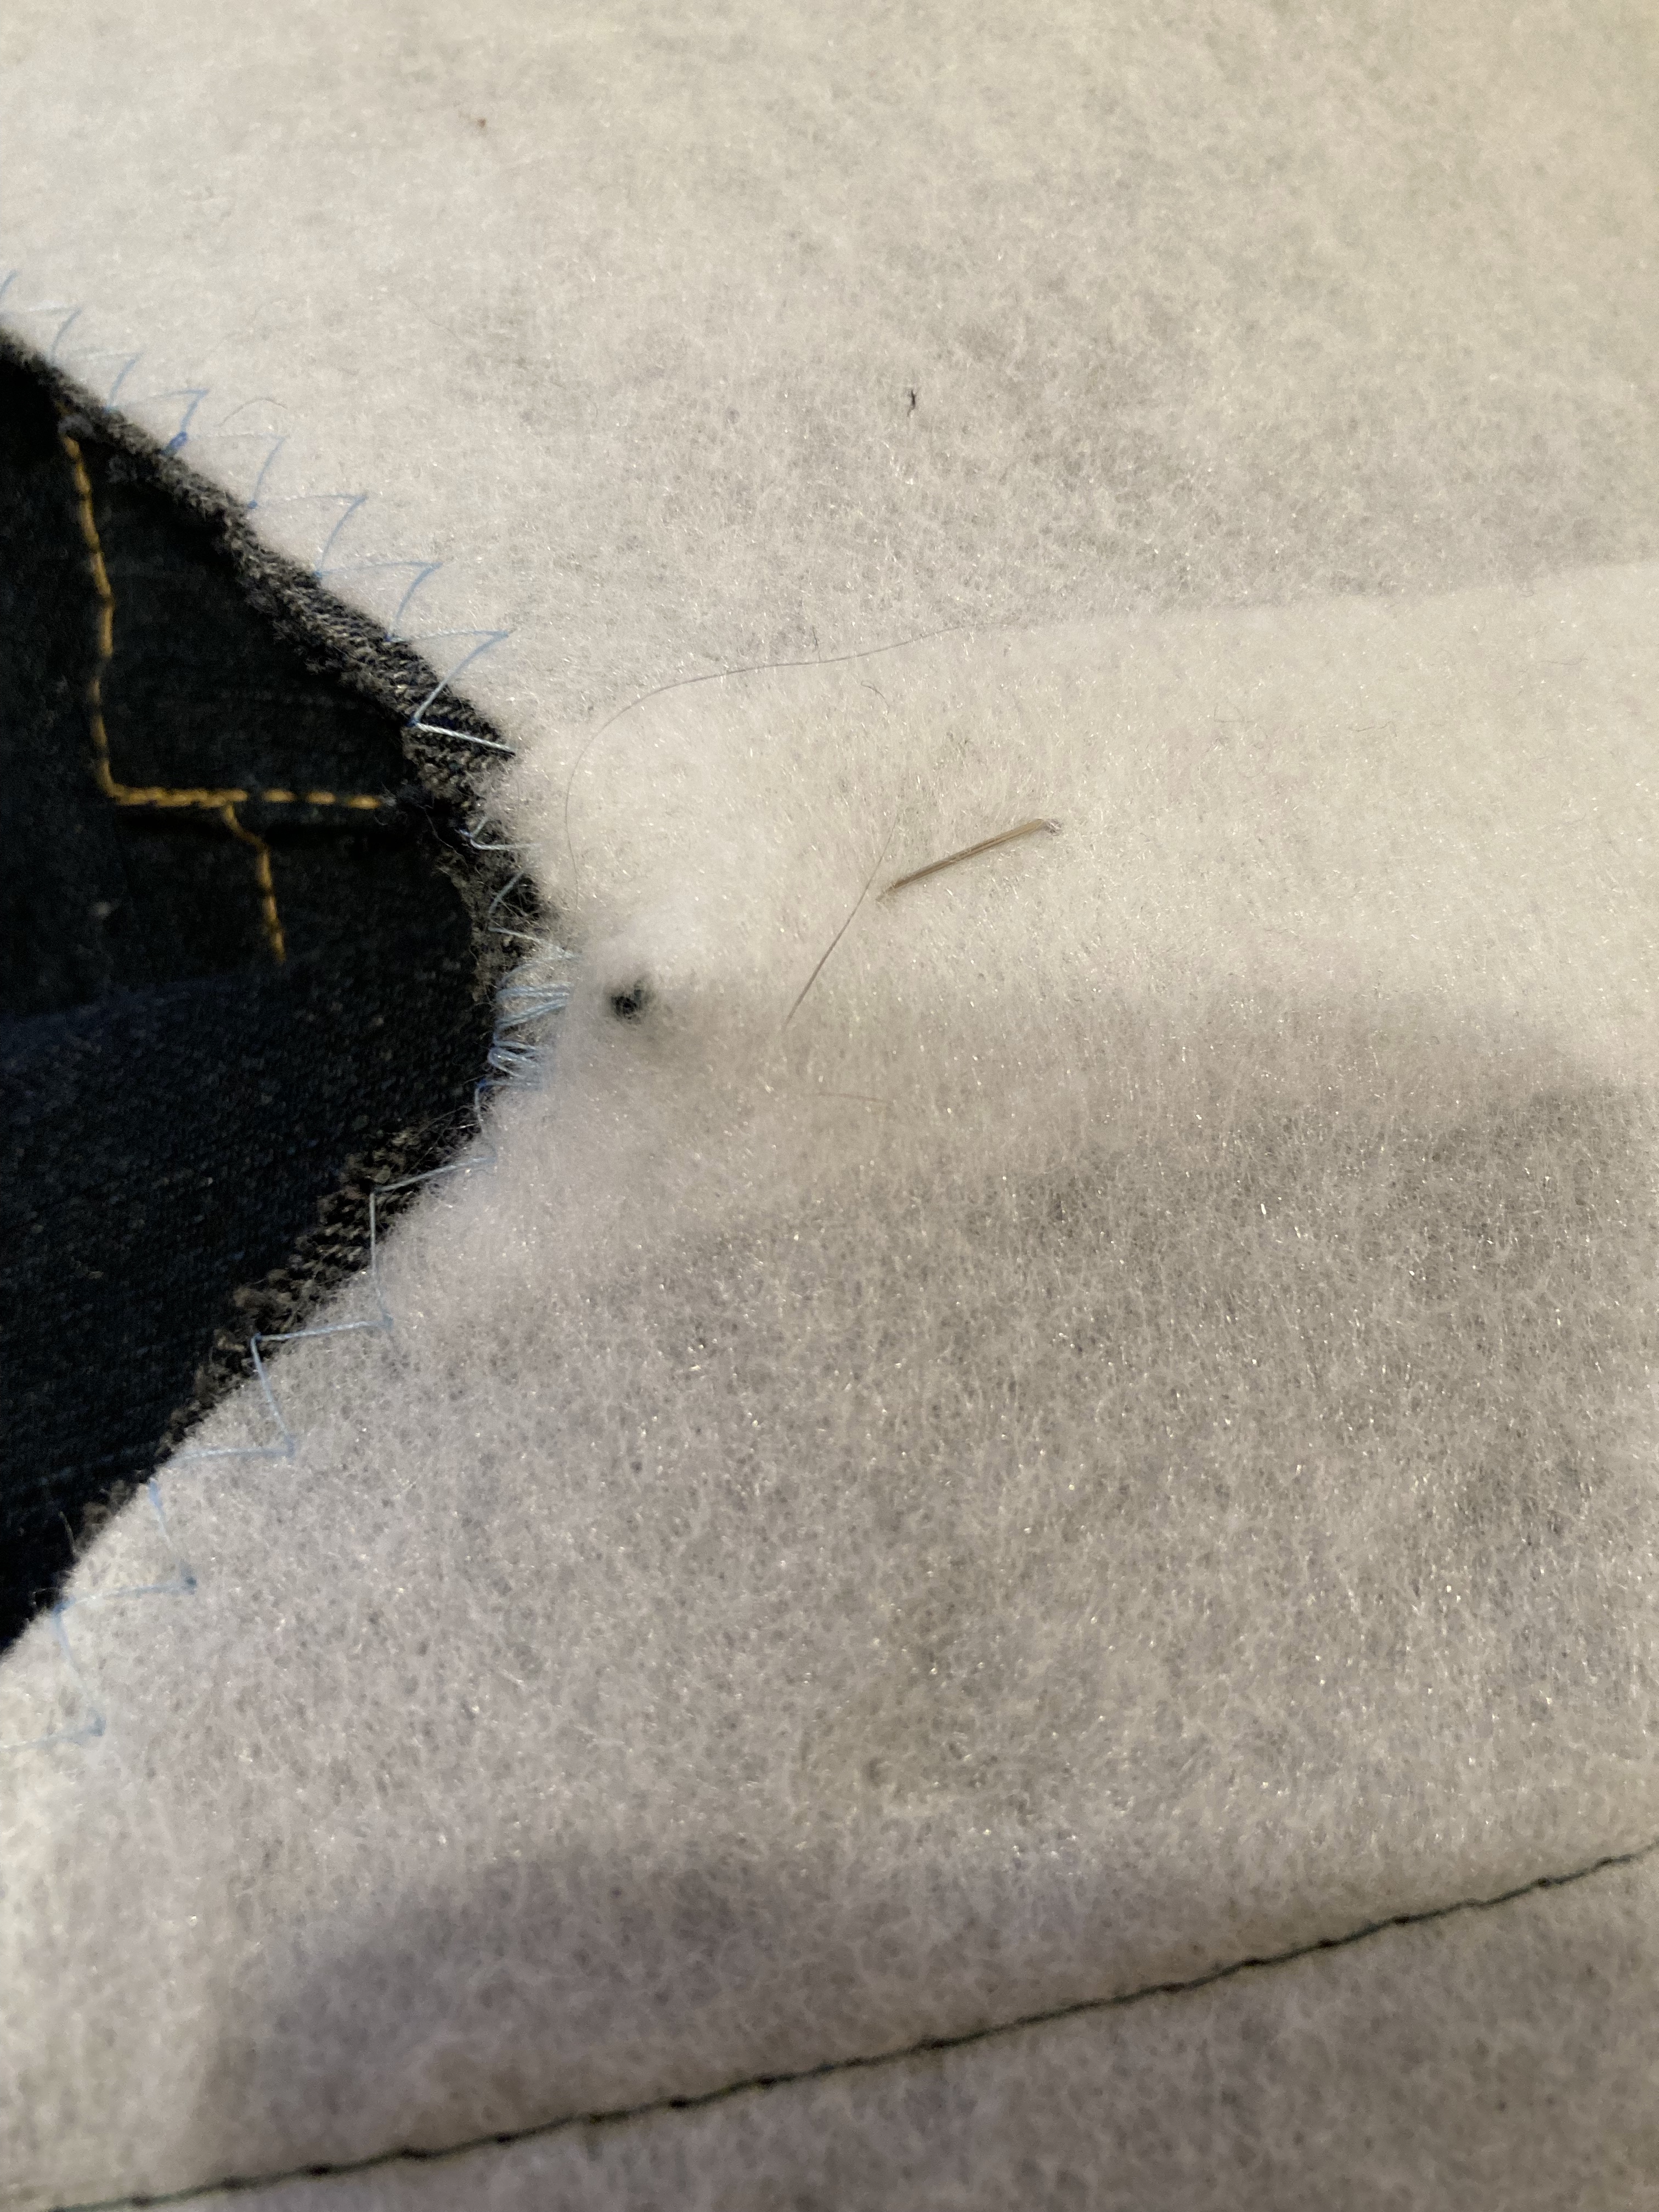
I used my “stitch in the ditch” foot with my needle to the far left position to help with even top stitching. I think I went through 1 1/2 spools of top stitching thread and I even played a game of chicken with one of the spools. Don’t you hate it when your top stitching thread runs out in the middle of a line of stitching? Don’t you LOVE it when you make it to the end of your stitching line without running out?

The back of the jacket was made using the same procedure as the front of the jacket, but I only had the one piece of fusible fleece to cover as it was cut on the fold. I used the legs of the small jeans, all cut open and flattened out, and again filled in the gaps on the fusible fleece with the lighter coloured denim.
The collar and sleeves were cut from my lighter coloured denim as well.
I did trim the excess fusible fleece out of all the seam allowances as much as I could. I also tried on the jacket as soon as I could, as I knew I would have to trim down the curve in the front opening of the jacket since I had made this pattern before. I absolutely LOVED filling in the so called “blank” spots in the jeans with random rows of top stitching!


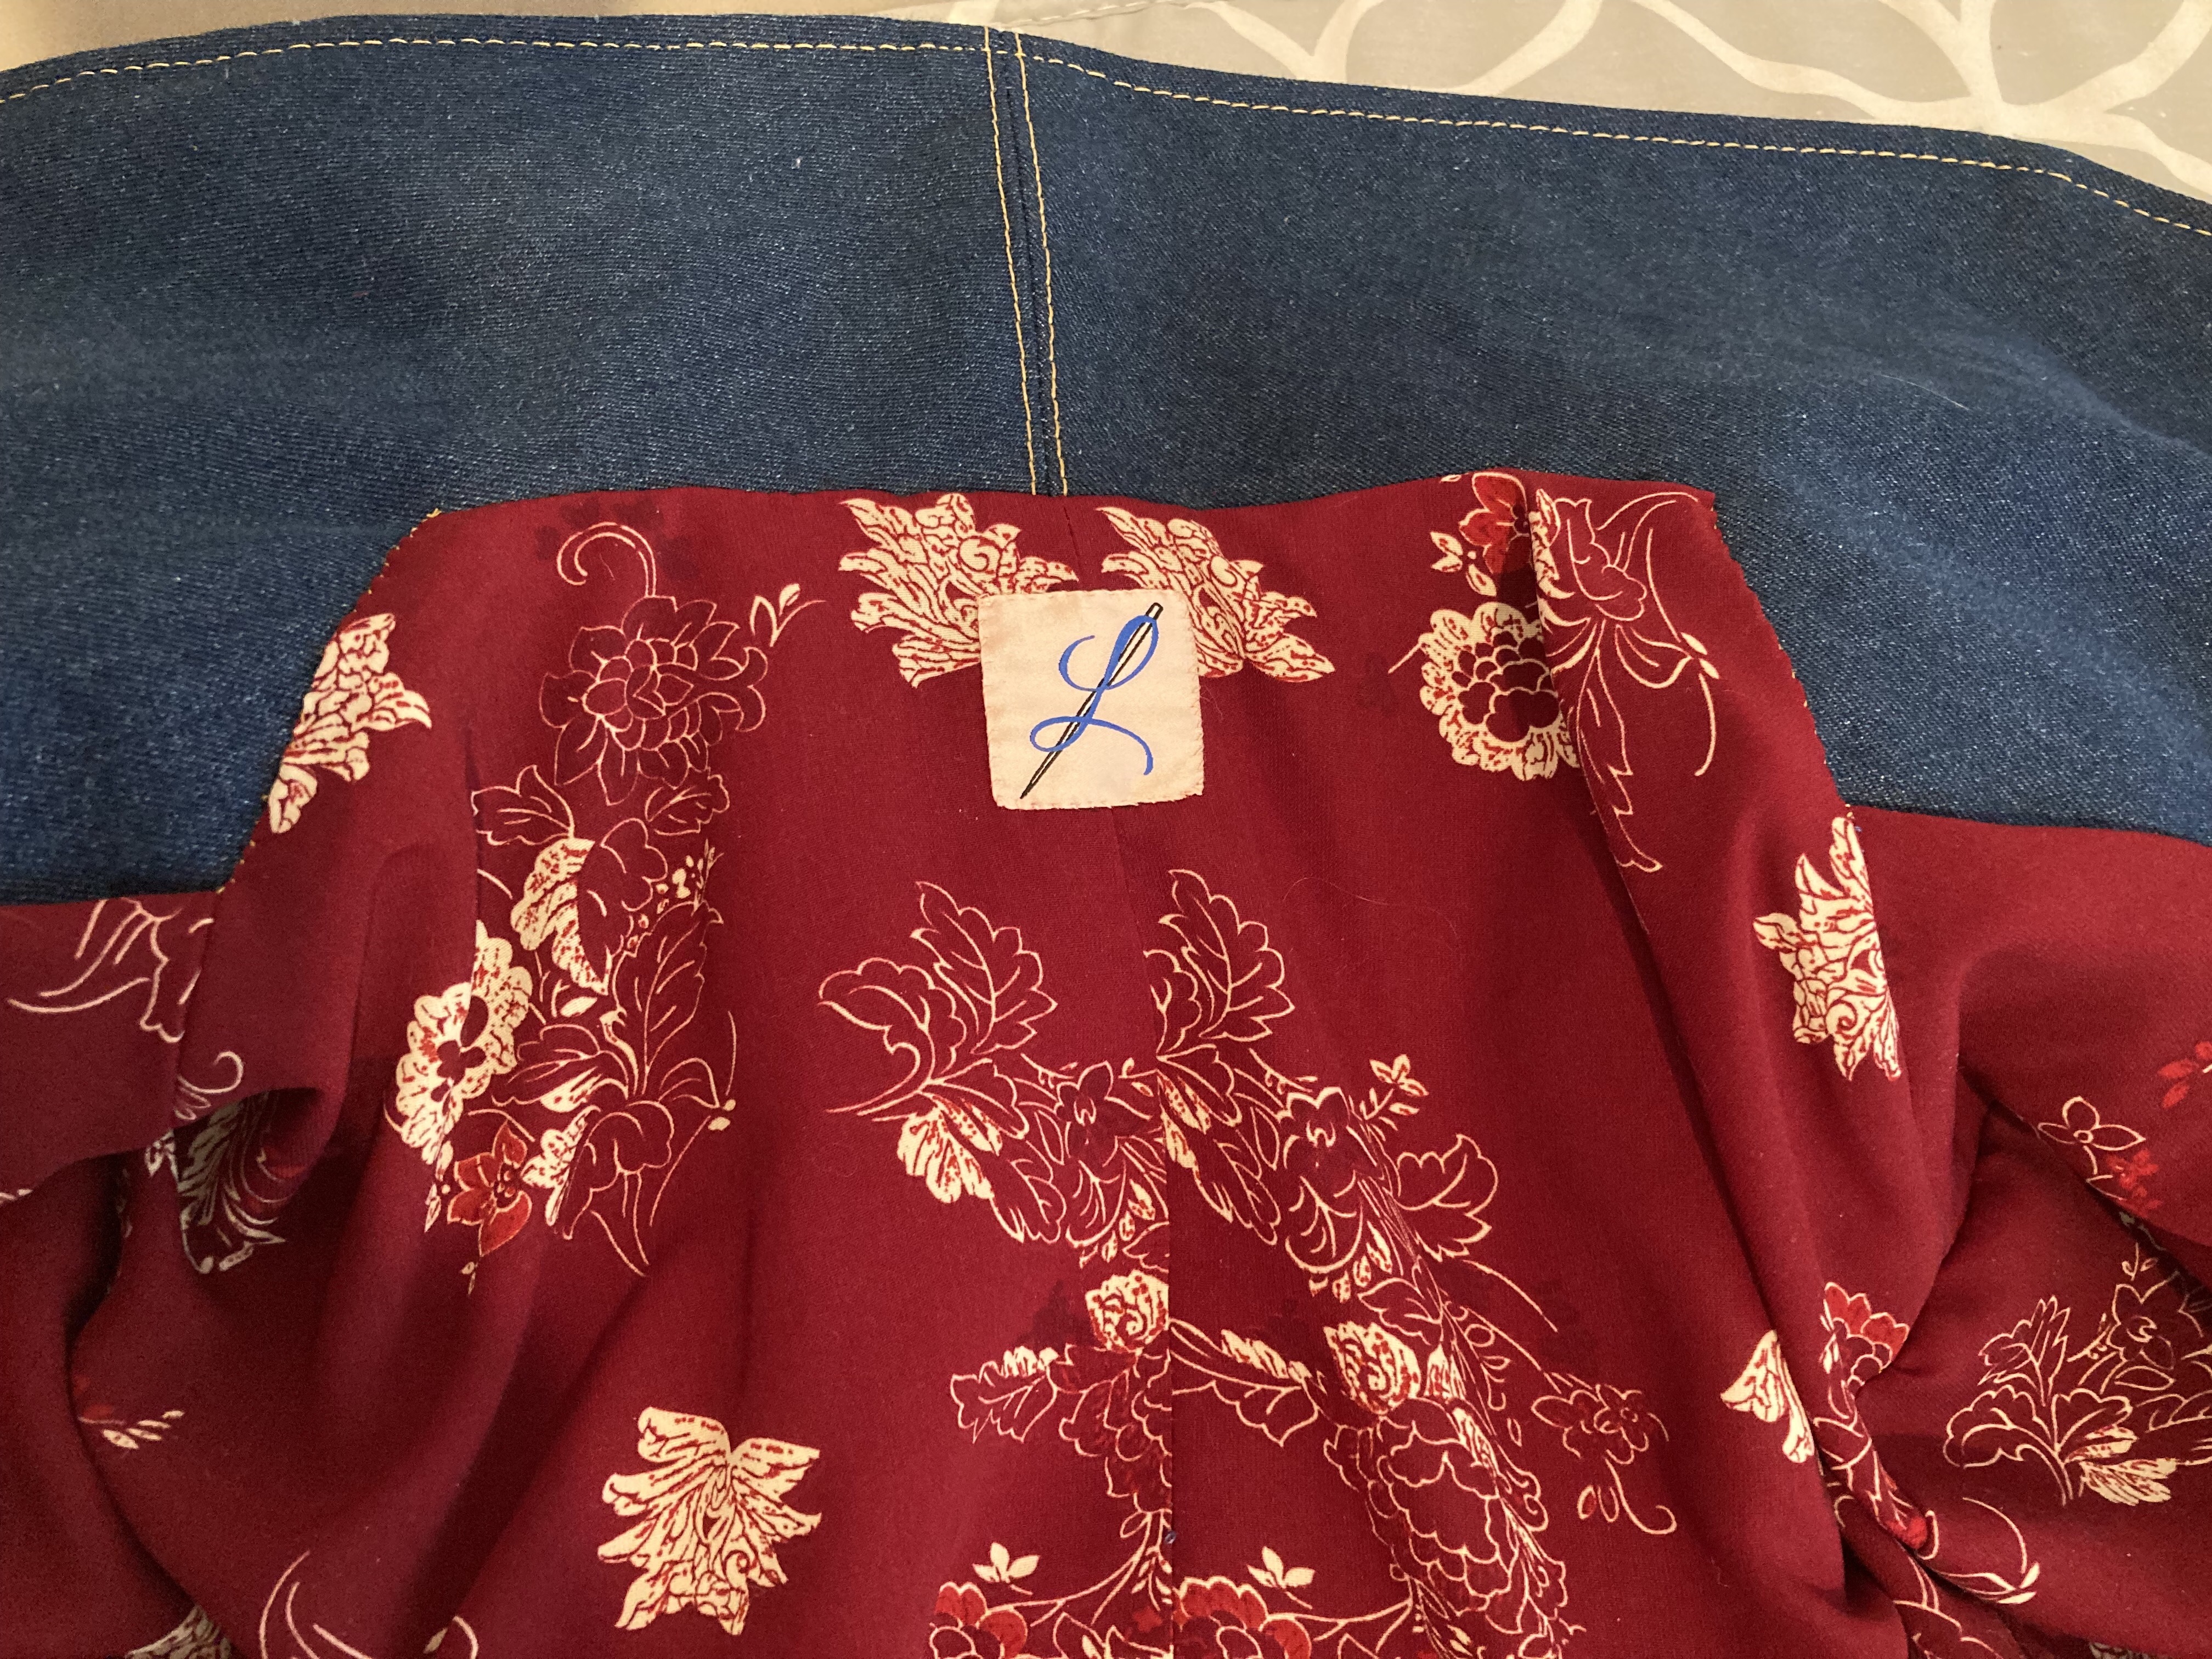
The pattern didn’t call for it but I wanted to try mitred corners when finishing and hemming the bottom up. I really enjoyed the look of the mitred corners so I’ll have to keep them in mind for future projects too! I am thinking mitred corners would make a good YouTube video. I’ll have to do that next! The lining pattern pieces were provided with the pattern so cut the pieces out of a bright polyester fabric from my fabric stash, sewed them up and sewed it in according to the pattern instructions. I had the BEST buttons, saved from a purchase long ago from a button speciality shop.


Last of all photos of all the details…


and photographic proof of how warm bag making fusible fleece (yes that is what I used) and denim can be on a cold, snowy day …


Thank you for being very indulgent with me and browsing through this long post, full of photos! If you have any questions, perhaps I have missed providing some detail, please leave a comment and I shall try to answer! If you have an inkling to make something out of an “old” pair of jeans, please do, and let me know, I’d love to see it! It’s a wonderful way to bring life back to something that was previously headed for a second hand shop (hopefully) and a landfill (eventually).
Happy Sewing!
Thank you for reading and commenting!
Stash busting with this project was minimal – I used up some polyester for the lining and some denim for the sleeves and collar. I think I am still at 117 metres in the fabric stash! Oops, I better do a recount. I just recalled that I bought a few metres of knit fabric to finish off my casual capsule wardrobe!
Leave a Reply to Elaine Batiste Cancel reply