Let me tell you what I have been doing off and on for the last couple of months…
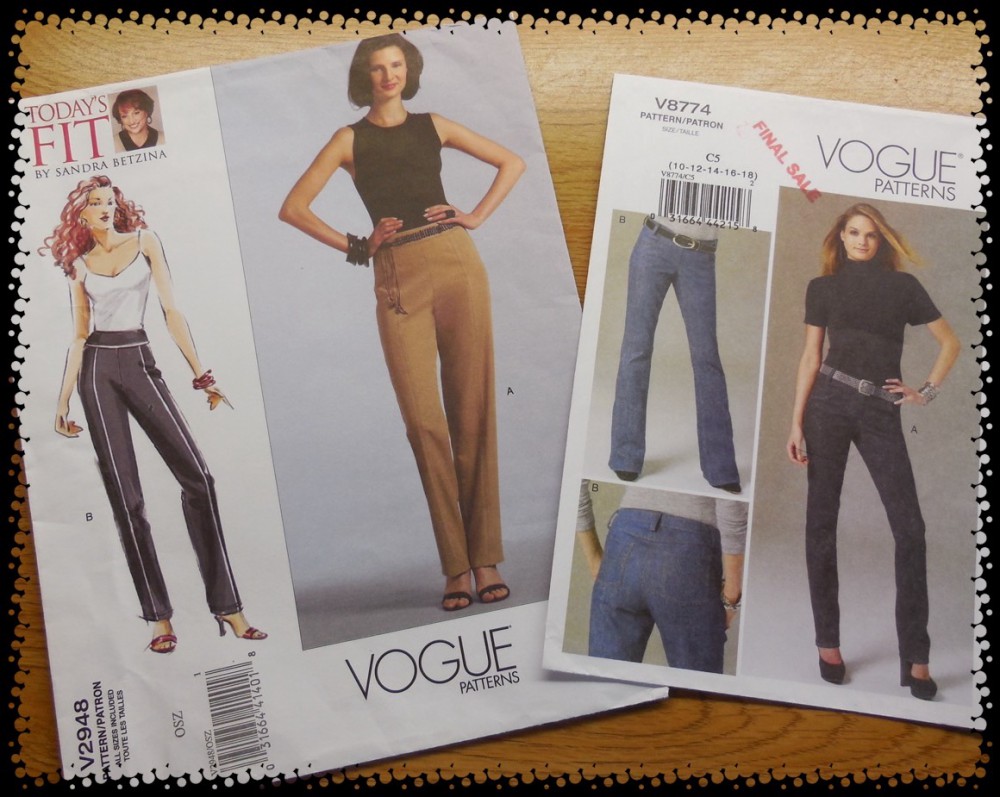
Way back, way, way back in the beginning of December, I started a Craftsy course, “Sewing Designer Jeans” with Angela Wolf. I enjoyed the course and was excited to start my own jeans. I had in my pattern stash my Vogue V2948 pants pattern, which I did my pants fitting course with, and my Vogue V8774 jeans pattern. I just couldn’t not use the Vogue pants pattern, since my Pants Fitting Shell was so comfortable, but I would have to take the pockets and the fly front from my other Vogue pattern, V8774.
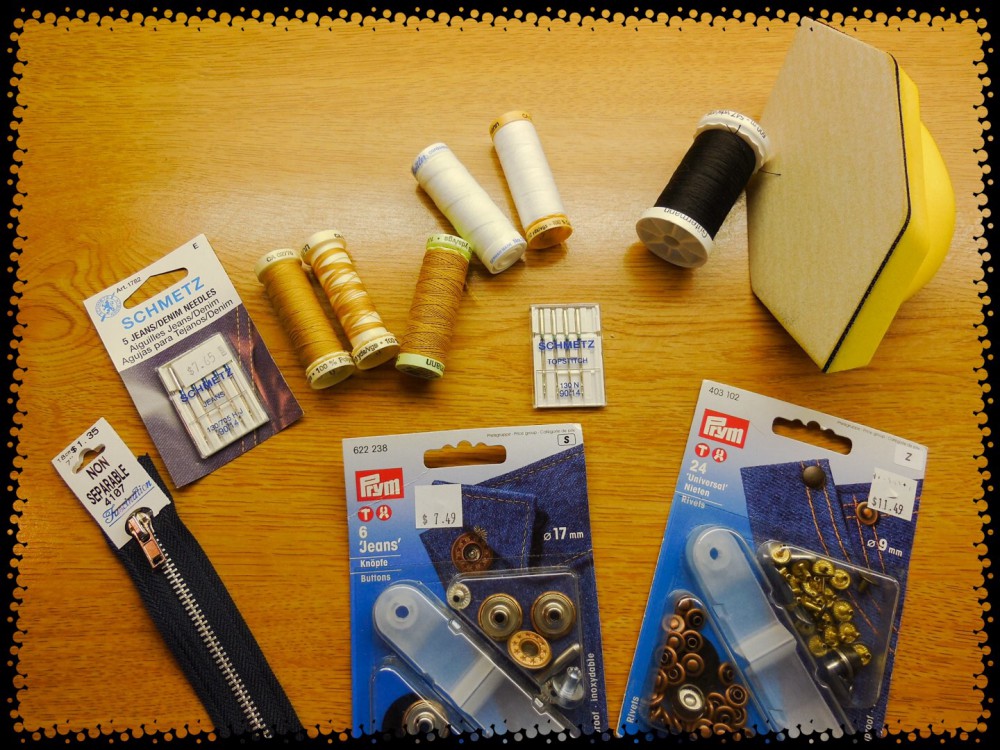
I had purchased my supplies previously, with plans to make my own jeans some day: #220 grit sandpaper and a handheld sander for “distressing”, zipper, Jeans buttons and rivets, Denim and topstitching sewing machine needles, and topstitching and regular threads in a “jean yellow” and a white.
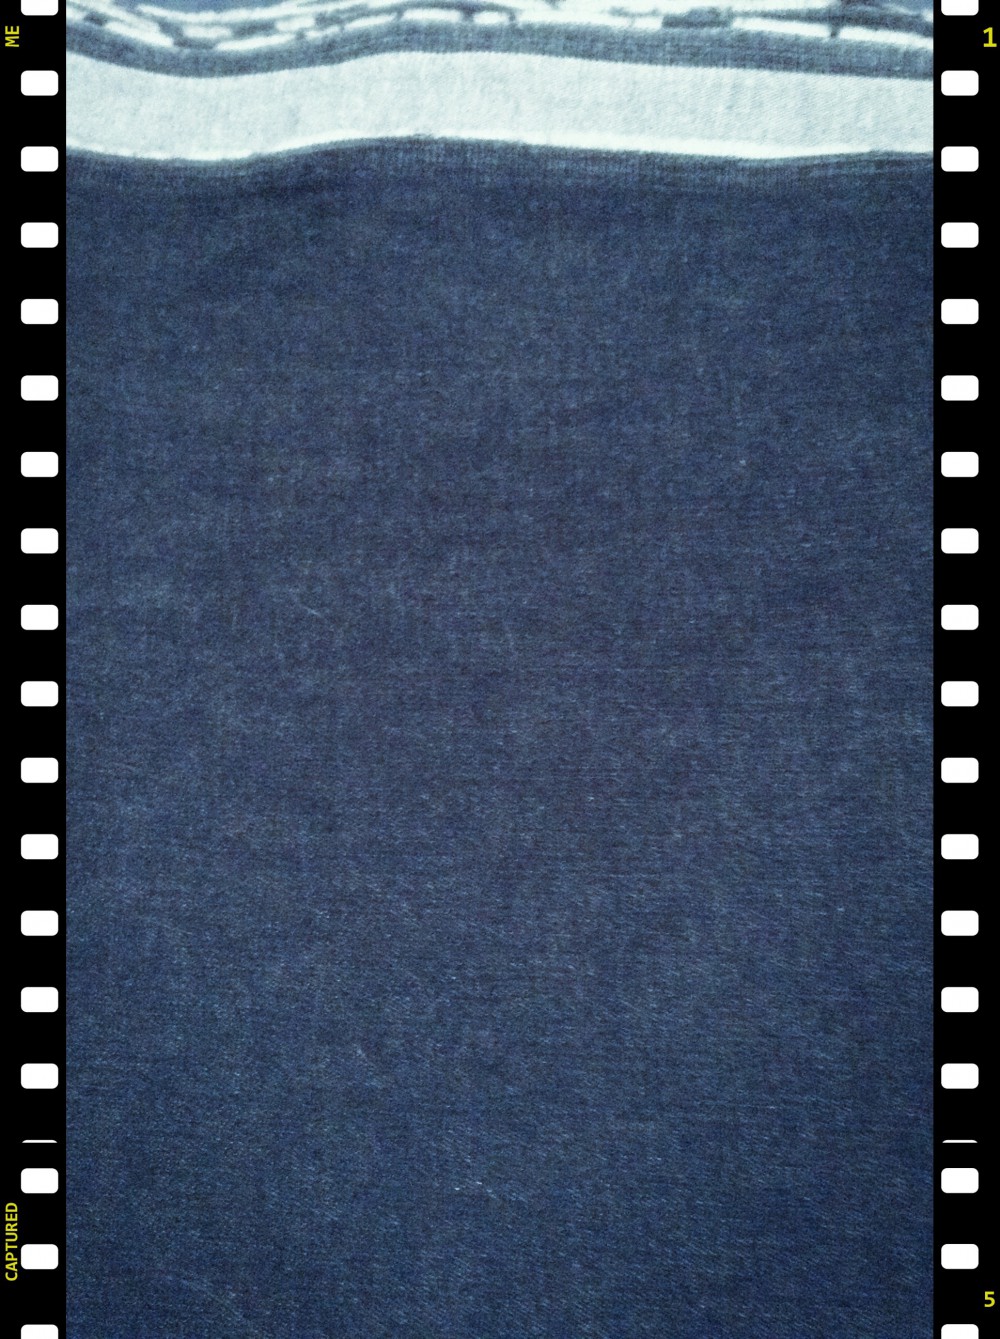
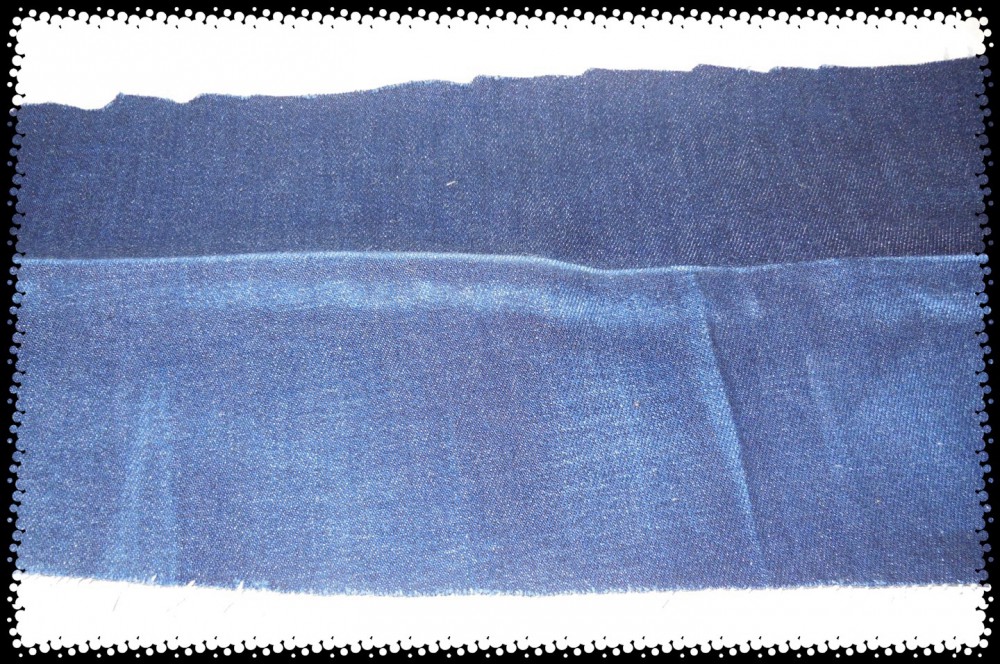
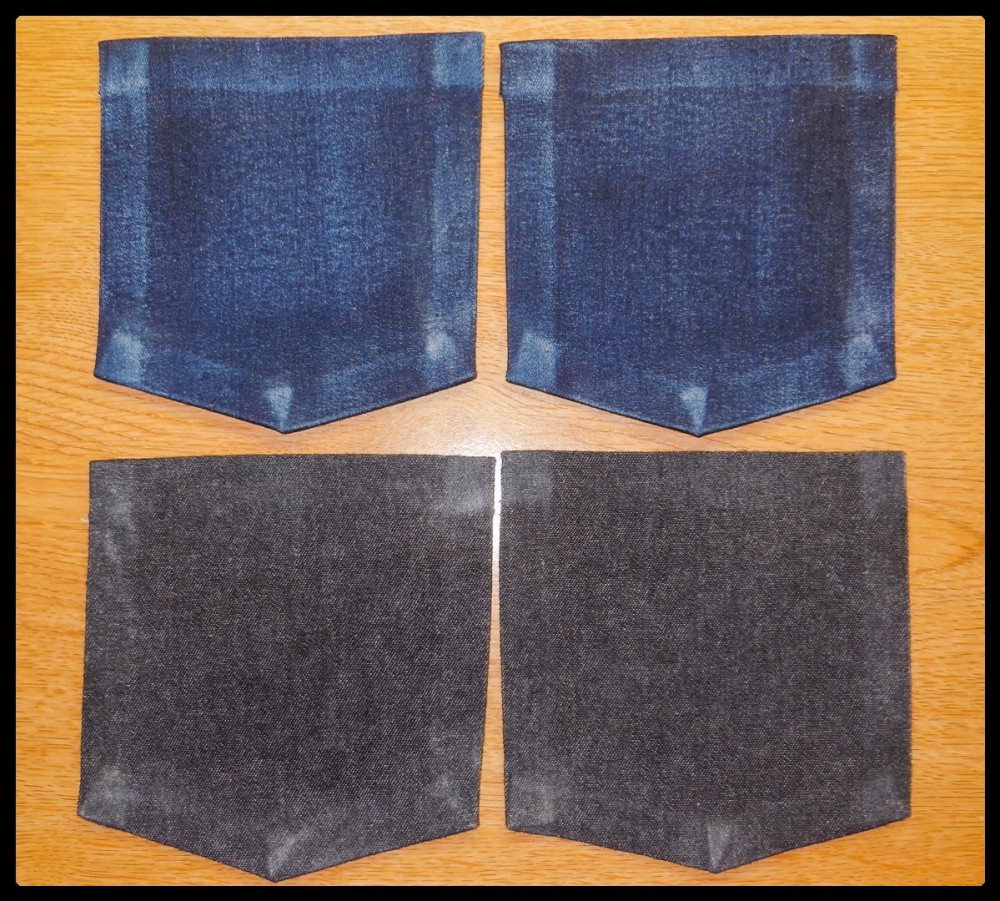
I picked two fabrics out of my stash – a blue denim 96% cotton/4% lycra and a black denim of unknown fibres. Now I have learned that cotton distresses better than polyester, so the black denim obviously had some polyester in it.
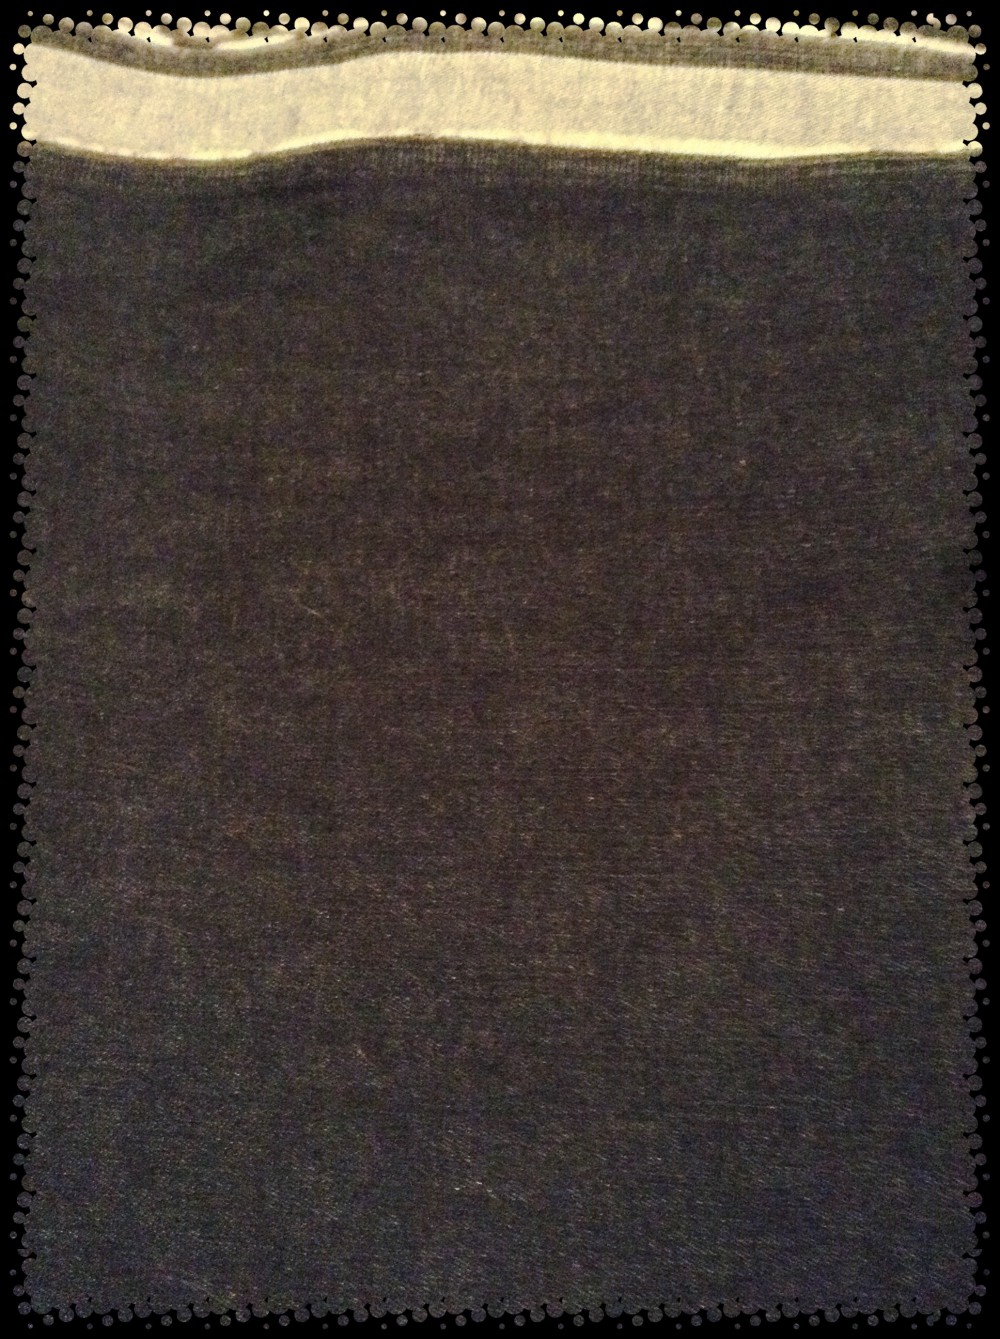

Seriously, I literally counted how many “rubs” I was giving each fabric just to see the outcome. It took six times as much to get any visible results on the polyester blend and this is the best result I got.
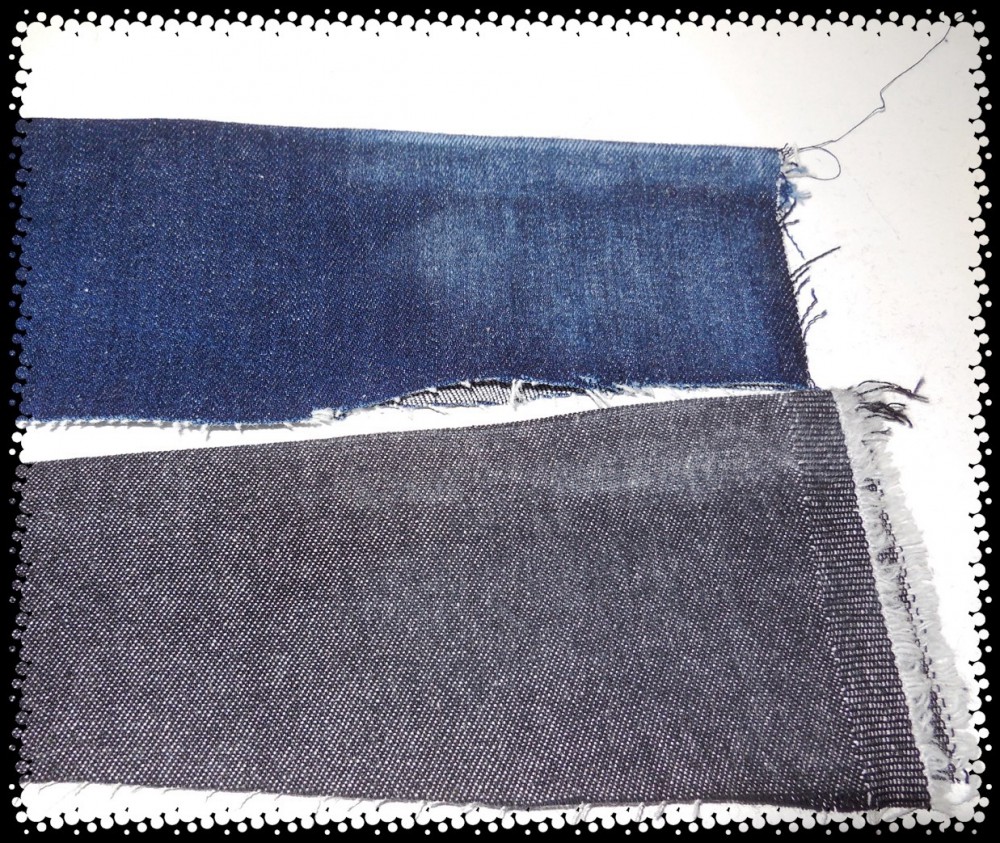
Oh but the cotton/lycra blue denim distressed so well!
Did I start sewing then? No … then I tested my topstitching sewing needle and thread and stitch length with my denim fabrics. I used my 1/4″ foot and my blind hem foot to make the stitching line straight and practiced with different stitch lengths. I liked #4 length on my sewing machine.
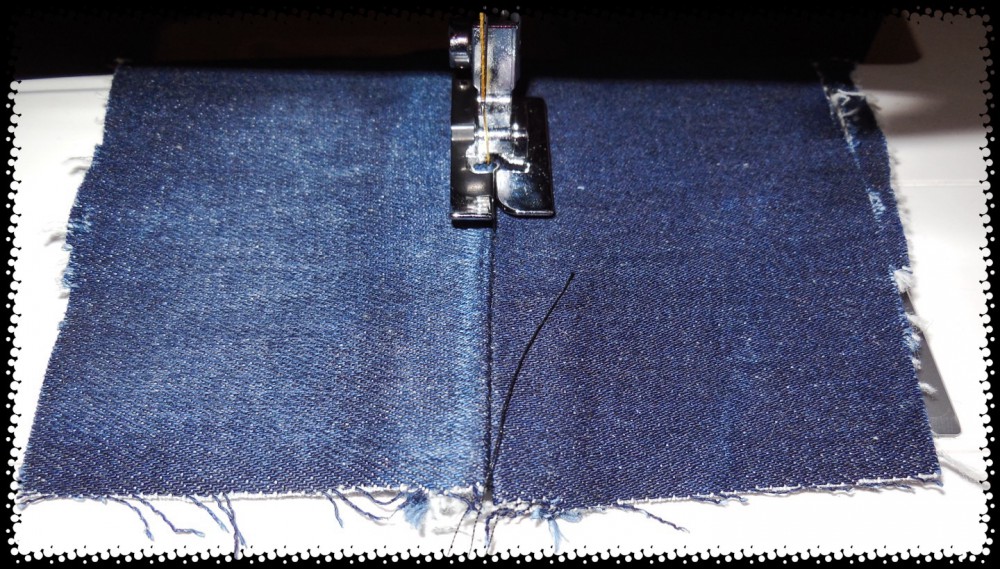
On the right was a #3 stitch length (not long enough) and on the left was a #4 stitch length (just right!). I made a note of the stitch length I liked because I knew once I started I would forget what it was!

Looking good!
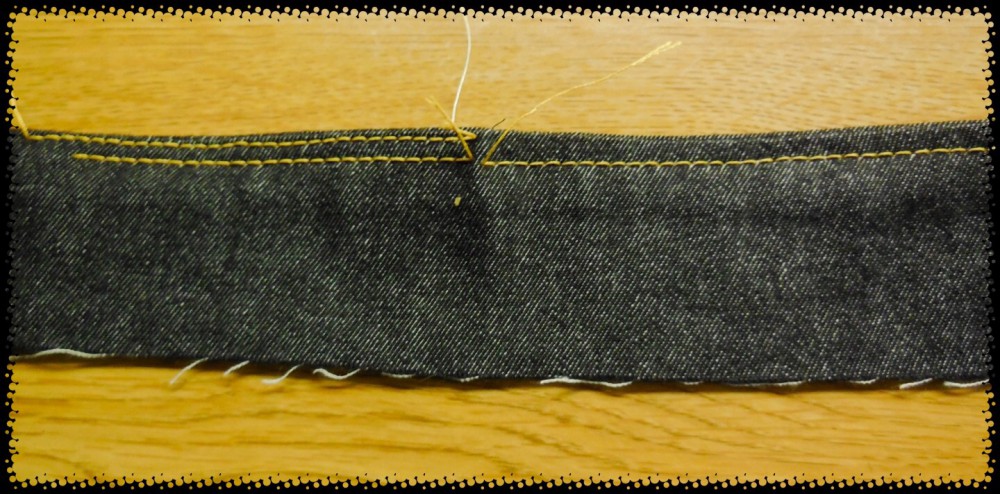
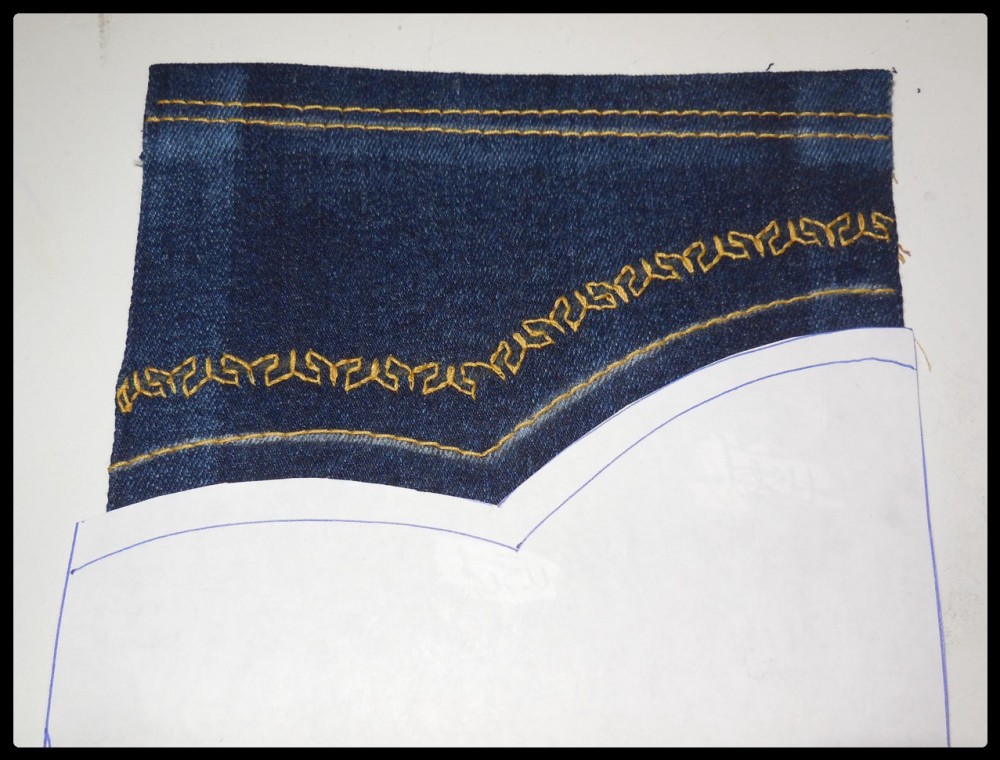
I also tried out some different decorative stitches on my sewing machine to create a design for my jeans and I made note of which ones I was going to use.


Now I was ready for assembling the patch pockets. I used a fusible interfacing first on all 4 pocket pieces and then ironed the tops of the pockets down 5/8″.

Then I sewed the tops of the pocket flaps down along the short 5/8″ seam allowances and carefully turned them the right way out. More ironing – all along the tops and edges at 5/8″.

Now I hear some sewists use fabric glue too when assembling patch pockets, but I prefer to assemble them with a bit of sewing to secure the folded top edge and a lot of ironing. I’m pretty happy with the result and I do love the distressing! Too bad the black denim doesn’t take to it as well as the blue denim.
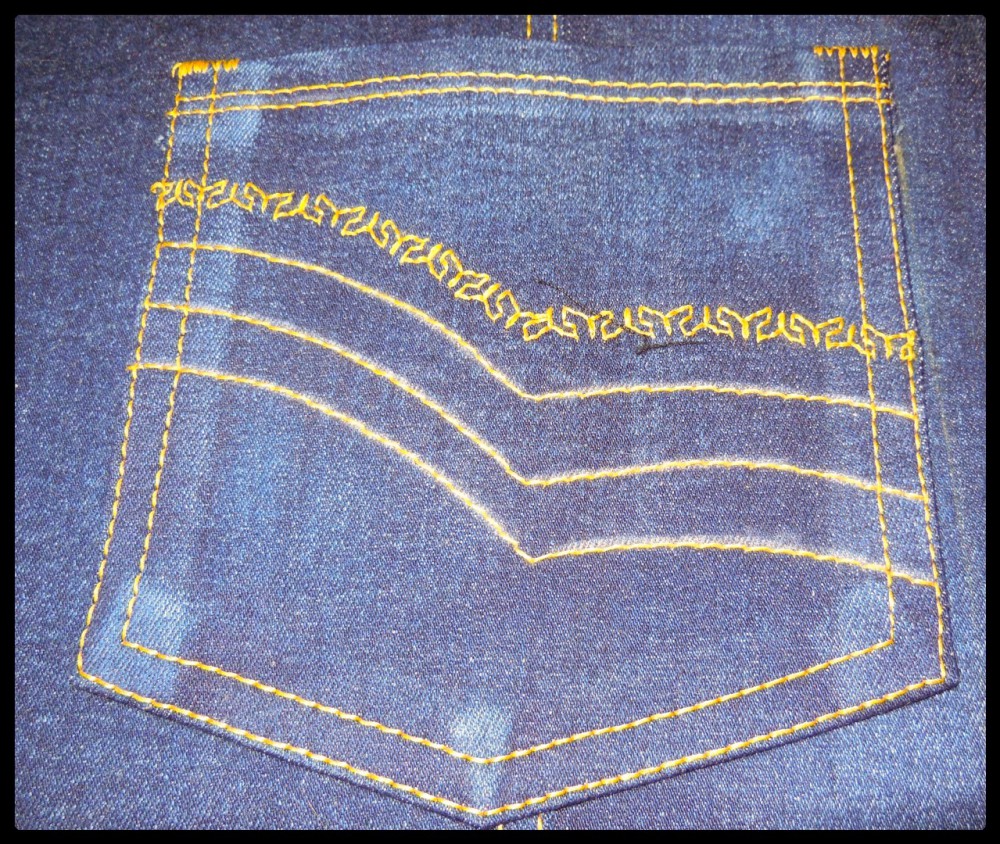
More fun, designing the stitching for my patch pockets and choosing which stitches I would use. I put my ideas on paper first and then made a template for drawing my curved lines with my new Chaco Liner.
I placed, marked and measured many times where I wanted my patch pockets on my jeans, just to be sure, and here is the finished result.

This was a lot of fun! I almost wish I could make more jeans pockets, but I better move on to the next steps – back centre seam (flat felled!) and the front pockets and front centre seam. I’ll post about those steps when I get them completed.
In the meantime, Happy Sewing!
46 Responses to “It’s distressing.”
I love making my own jeans they fit so well but I never do the felt seam I really don’t care for them. I will need to try one of those hand sanders that you have as well.. thanks for sharing!
Your welcome! The hand sander certainly was easier on my hands and nails, and there was more control.
Can you make me back pockets? Those are seriously amazing! I’m about to start a corduroy pants project too – which will also be a slower project. I can’t wait to see how these turn out – and am excited to follow along. I’m impressed with the distressing too – would never have thought about that!
I love making pockets! The distressing is fun too! I’ll be watching for your corduroy pants.
Hi Linda, isn’t distressing fun?!? I love the whole process of decorative stitches and coming up with designs as well as the distressing. Your pockets are beautiful! Can’t wait to see more! 🙂
It is fun. You’ve done this already! Which course did you take?
The same one you are taking now with Angela Wolfe, I also took the pant fitting course you took with Sandra. They are both great courses.
Nice to know, because I am still going through the Wolf one. I watched it once through now I am doing it step by step. I love the Betzina pants, I intend on making some office pants with that pattern. Thanks for stopping by, I haven’t heard from you in a while! Time to get back to my blog reading now, I’m behind!
I got that class for jeans as well! Your pockets are impressive! Love your design for them!
Thank you! I’m enjoying it. Have you watched your class yet?
I started watching it! It’s impressive! I just need to get cracking and actually make some jeans. Also got ginger jeans pattern! Soon! Famous last word!
This is amazing Linda… 🙂 Those pockets are so original and funky.. can’t wait to see the pants all together.. 🙂
Thank you! Hopefully everything else turns out as well! 😄
It will.. 🙂
Forget the pants, just keep pumping out those decorative pockets. I loved them!
I know! They are fun, small, quick, creative, but totally useless on their own! 😣
I’m impressed with the sanding, that’s something I never would have thought of. I’m procrastinating over starting my Crafty Jeanius course, I need to pull my finger out and now I’ve seen your pockets it’s got me thinking….
The class I did was good, more about th look of the jeans than the fit, which is what I wanted. I didn’t know about sanding until I took that course. I have heard good things about the Jeanius course. Let us see how it’s going if you do go ahead with it!
Well I’ve just watched how to start making a copy of the pattern and making up the toile so tomorrow evening I’m going to start. I’ve been putting it off as they feel like such a big job but I just need to break it down in stages – just like the course online – and not get myself too overwhelmed!
That’s right. I do a step, then do something fun and quick, then do another couple of steps…. Have fun! You’ll be amazed at the end results!
The pockets alone look amazing – I can’t wait to see them once they’re attached to the jeans! I must admit, the idea of sewing jeans rather terrifies me, so I’m always impressed at people who tackle such a project. Have fun with it!
Thank you! It is rather fun! I am just taking it step by step and it doesn’t seem so BIG!
The pockets look great. I purchased a store bought denim jacket for my husband and the distressing looked crappy. I don’t think machines can do as good a job as hands on distressing. I took the jacket back. Looking forward to seeing the end project.
Thank you! Unfortunate that your store bought jacket wasn’t quite right. Hopefully mine turns out okay in the end!
Looking good so far–the distressed effect on those pockets looks fantastic! And I love the way you incorporated the decorative stitches, too. Can’t wait to see how these turn out!
Thank you! Hopefully they will turn out just right!