
Let me tell you what I have been doing off and on for the last couple of months…
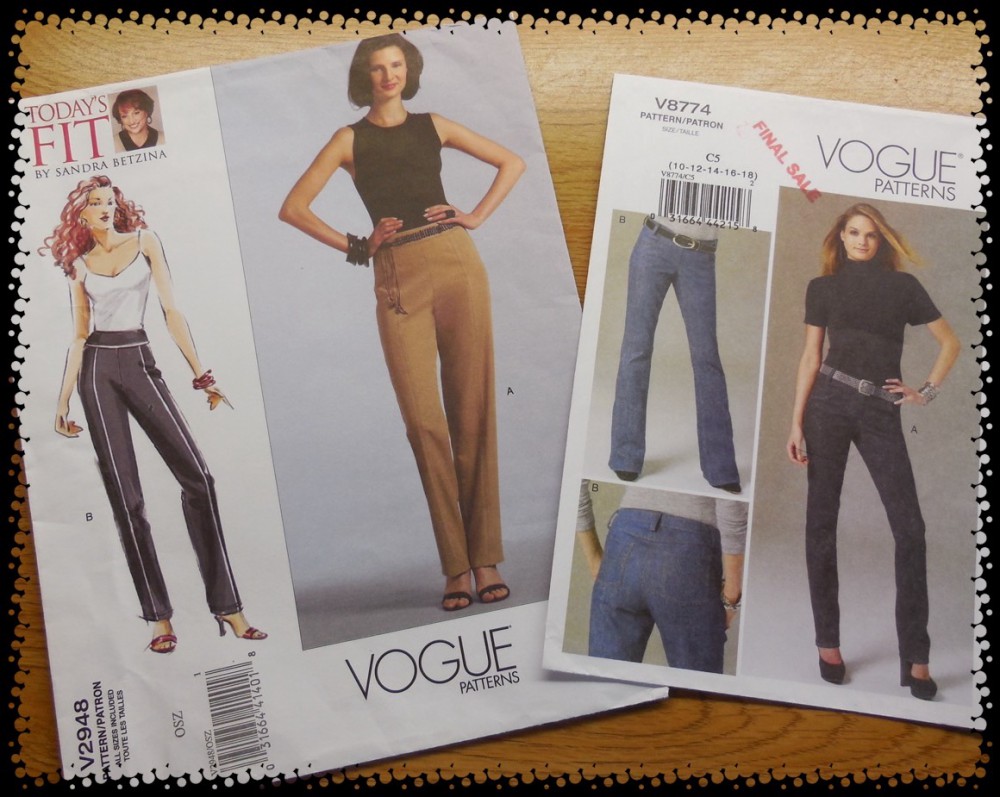
Way back, way, way back in the beginning of December, I started a Craftsy course, “Sewing Designer Jeans” with Angela Wolf. I enjoyed the course and was excited to start my own jeans. I had in my pattern stash my Vogue V2948 pants pattern, which I did my pants fitting course with, and my Vogue V8774 jeans pattern. I just couldn’t not use the Vogue pants pattern, since my Pants Fitting Shell was so comfortable, but I would have to take the pockets and the fly front from my other Vogue pattern, V8774.
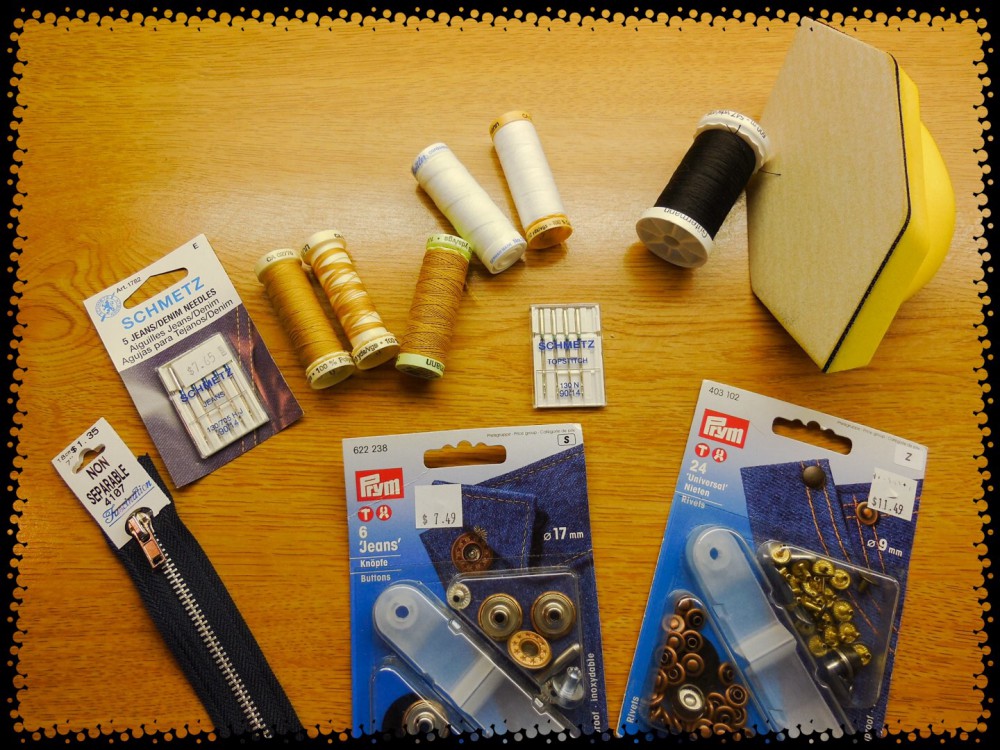
I had purchased my supplies previously, with plans to make my own jeans some day: #220 grit sandpaper and a handheld sander for “distressing”, zipper, Jeans buttons and rivets, Denim and topstitching sewing machine needles, and topstitching and regular threads in a “jean yellow” and a white.
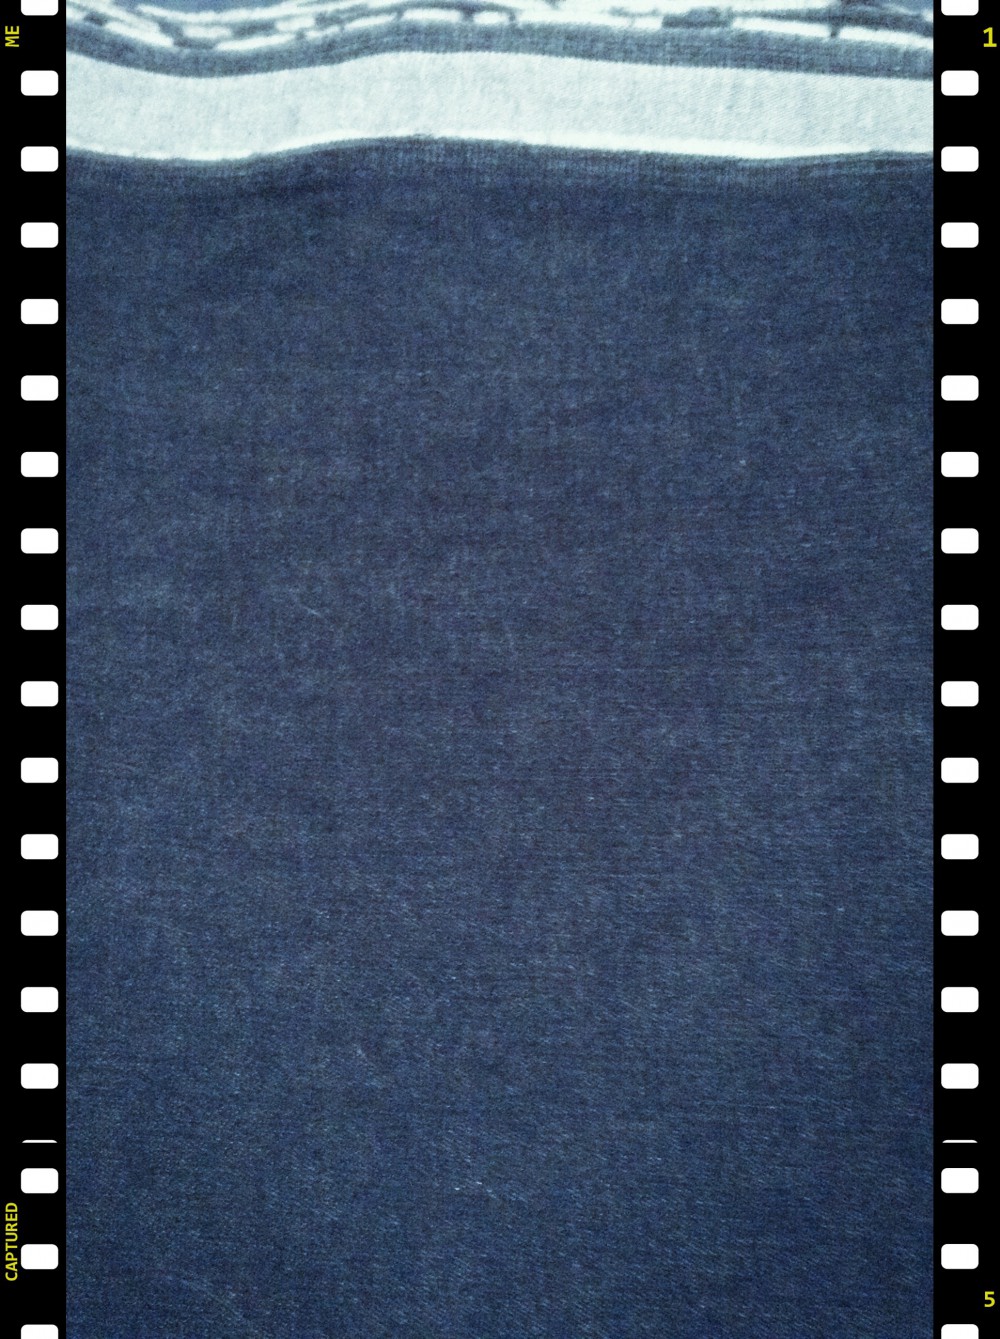
I picked two fabrics out of my stash – a blue denim 96% cotton/4% lycra and a black denim of unknown fibres. Now I have learned that cotton distresses better than polyester, so the black denim obviously had some polyester in it.
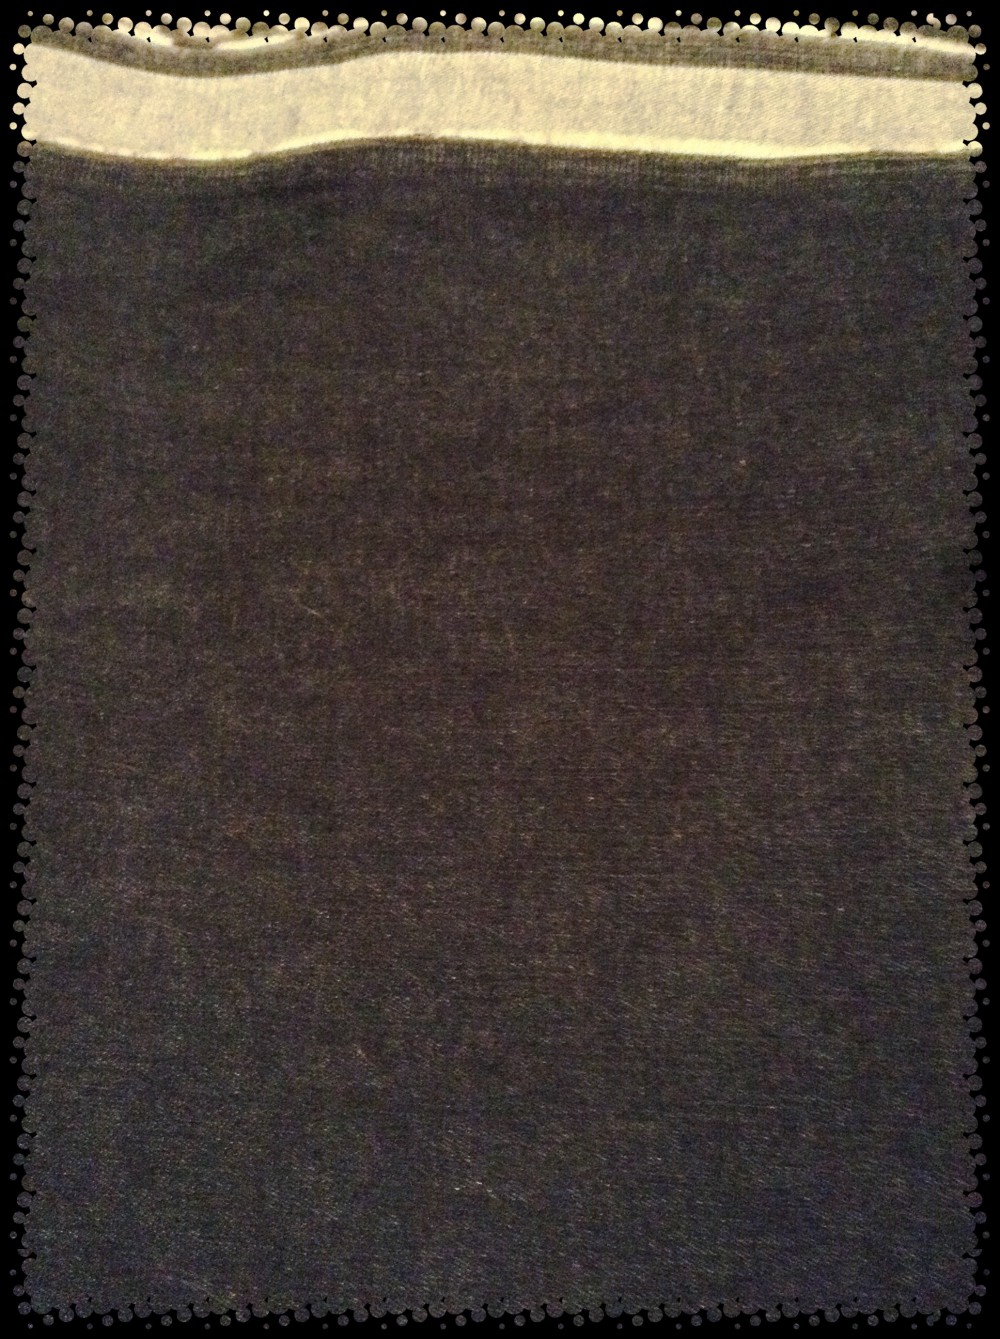

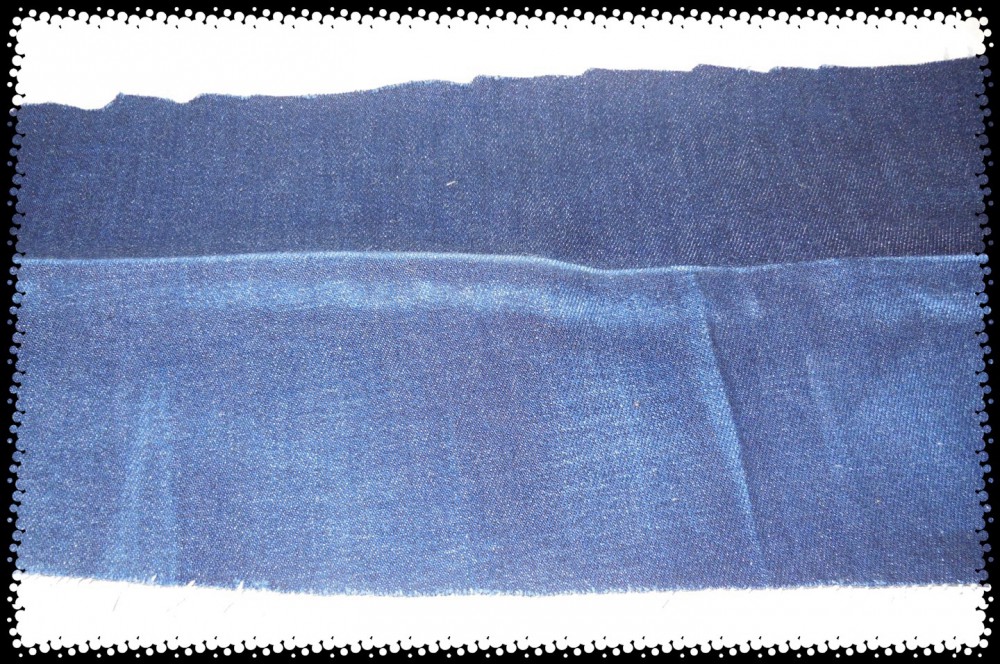
Seriously, I literally counted how many “rubs” I was giving each fabric just to see the outcome. It took six times as much to get any visible results on the polyester blend and this is the best result I got.
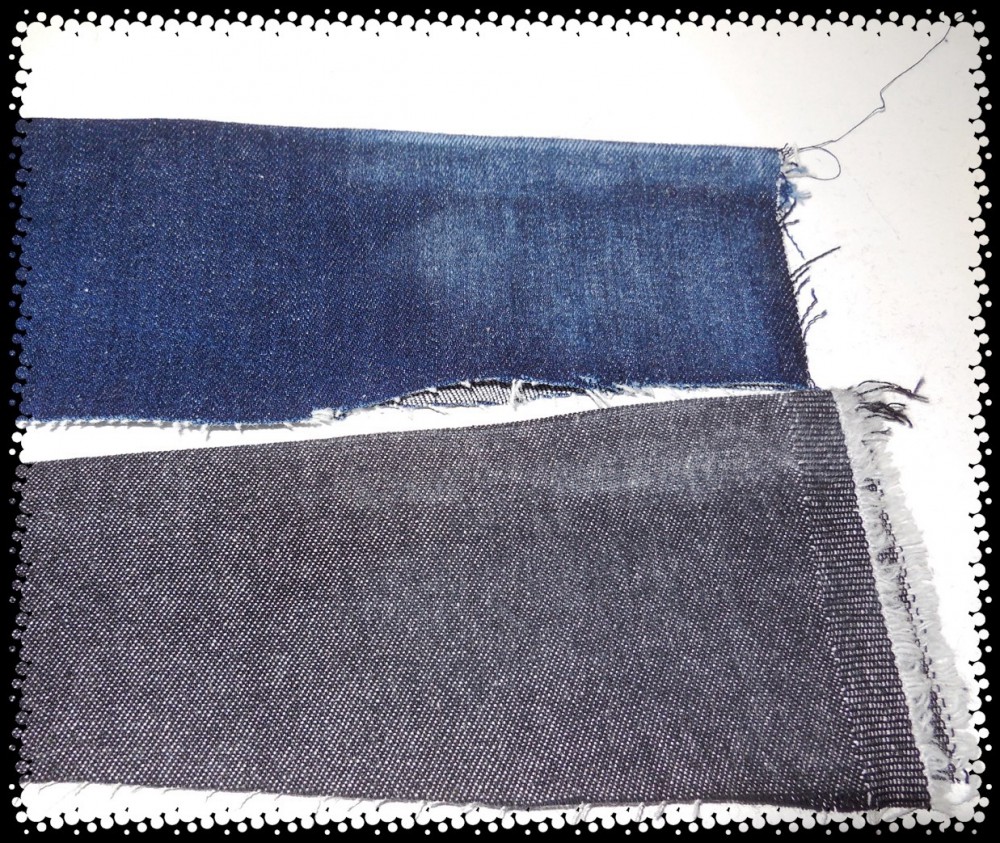
Oh but the cotton/lycra blue denim distressed so well!
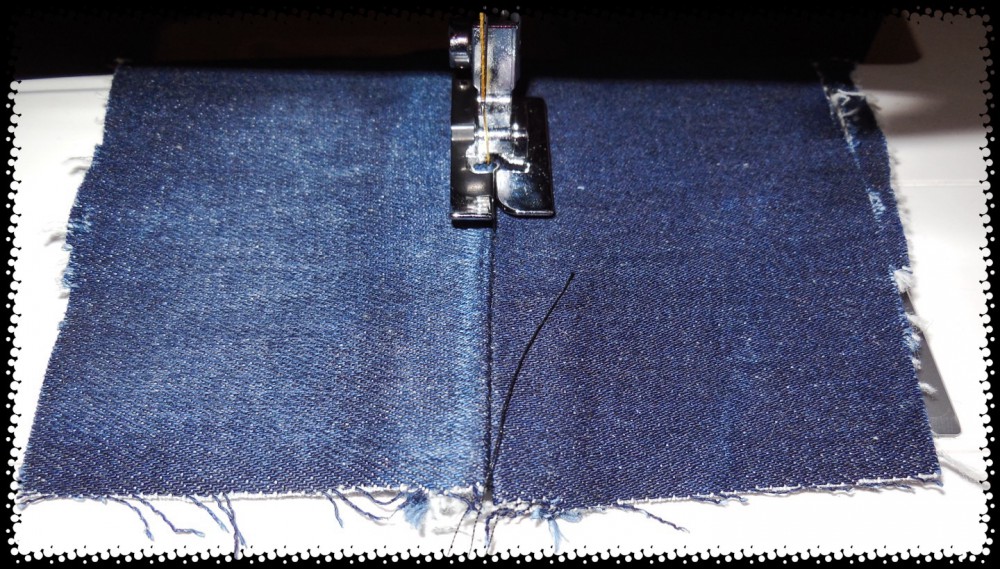
Did I start sewing then? No … then I tested my topstitching sewing needle and thread and stitch length with my denim fabrics. I used my 1/4″ foot and my blind hem foot to make the stitching line straight and practiced with different stitch lengths. I liked #4 length on my sewing machine.
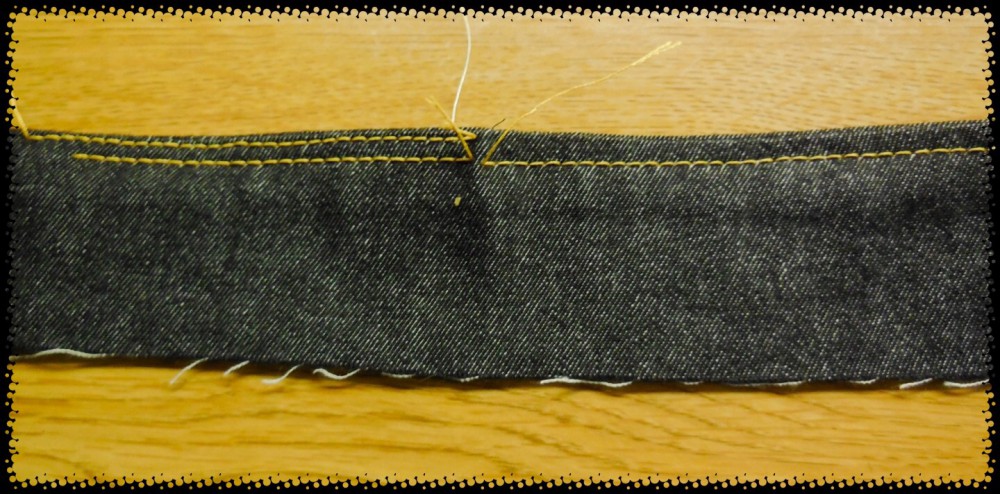
On the right was a #3 stitch length (not long enough) and on the left was a #4 stitch length (just right!). I made a note of the stitch length I liked because I knew once I started I would forget what it was!

Looking good!
I also tried out some different decorative stitches on my sewing machine to create a design for my jeans and I made note of which ones I was going to use.


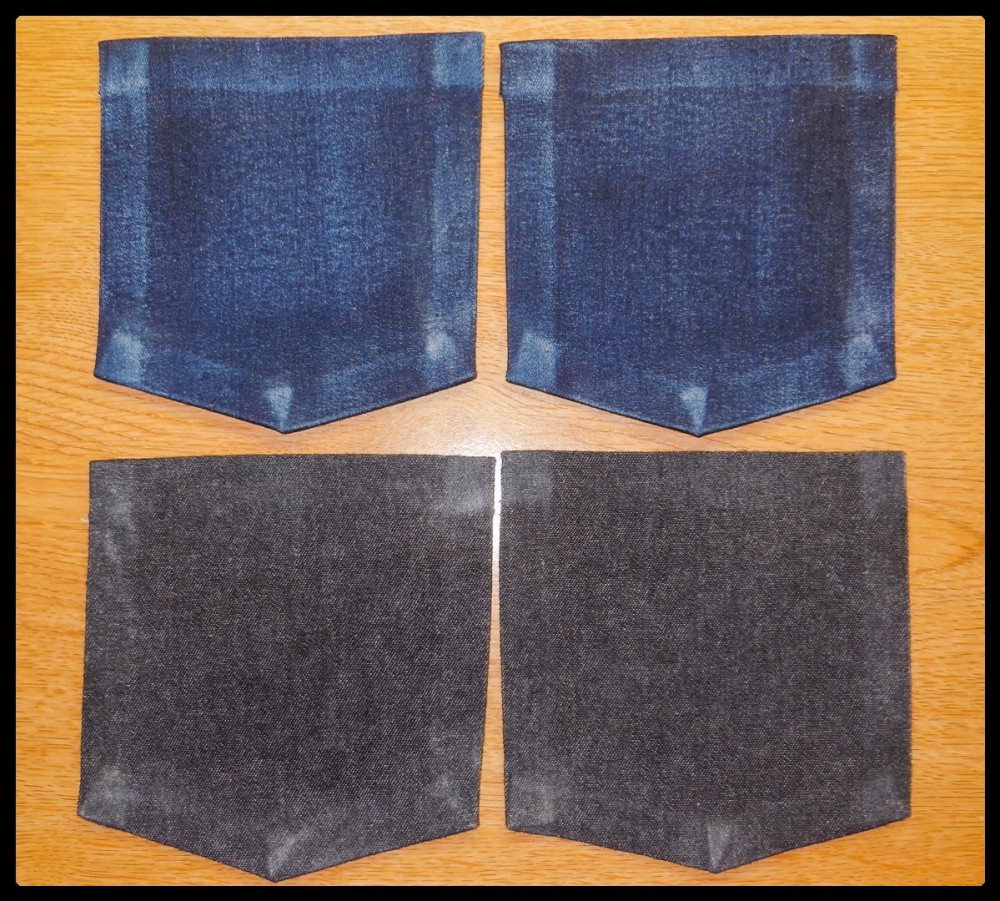
Now I was ready for assembling the patch pockets. I used a fusible interfacing first on all 4 pocket pieces and then ironed the tops of the pockets down 5/8″.

Then I sewed the tops of the pocket flaps down along the short 5/8″ seam allowances and carefully turned them the right way out. More ironing – all along the tops and edges at 5/8″.

Now I hear some sewists use fabric glue too when assembling patch pockets, but I prefer to assemble them with a bit of sewing to secure the folded top edge and a lot of ironing. I’m pretty happy with the result and I do love the distressing! Too bad the black denim doesn’t take to it as well as the blue denim.
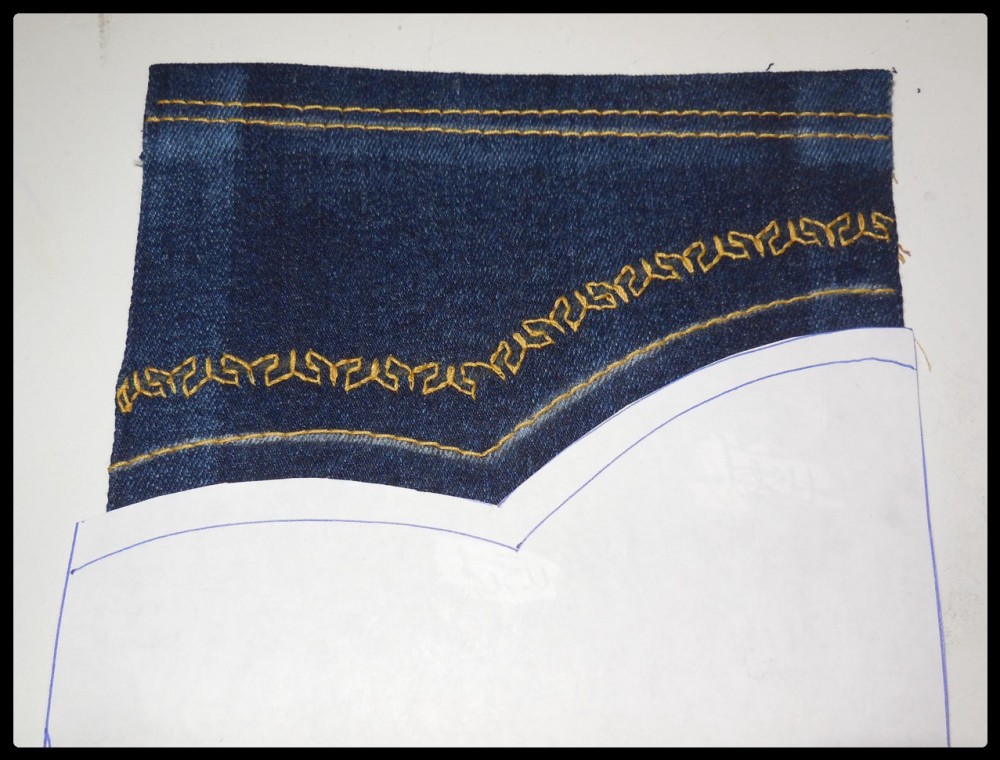
More fun, designing the stitching for my patch pockets and choosing which stitches I would use. I put my ideas on paper first and then made a template for drawing my curved lines with my new Chaco Liner.
I placed, marked and measured many times where I wanted my patch pockets on my jeans, just to be sure, and here is the finished result.
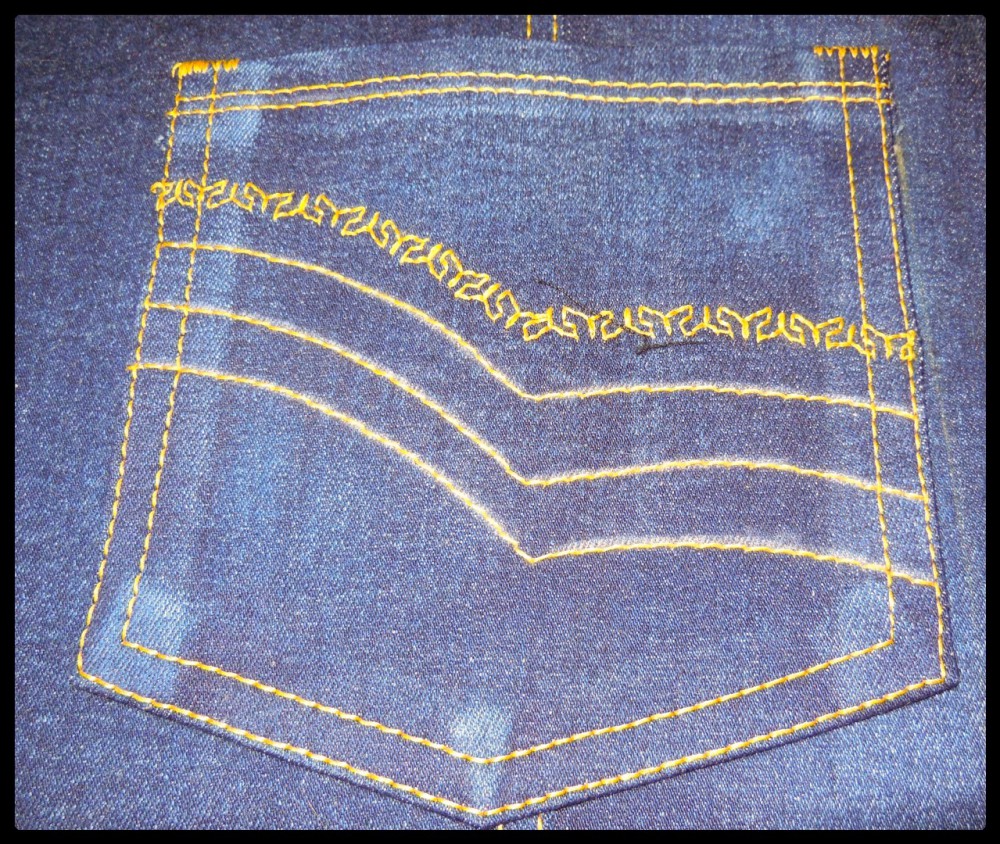

This was a lot of fun! I almost wish I could make more jeans pockets, but I better move on to the next steps – back centre seam (flat felled!) and the front pockets and front centre seam. I’ll post about those steps when I get them completed.
In the meantime, Happy Sewing!
46 responses to “It’s distressing.”
Wow, can’t wait to see the finished pair!!!!
Thank you! Hopefully everything will go well.
That’s quite the process. Sanding too? The decorative stitches look great. Looking forward to seeing the final product.
Thank you! Yes, I never knew sanding would do that. What’s next? Should I try “acid wash”? Oh oh!
Looking great! Can’t wait to see how you get on with these. Those decorative stitches are divine! 🙂
Thank you! When I was thinking of a design, I almost regretted not buying the embroidery sewing machine like Sewing with Scoobies has.
Fab-u-lous!!!
They are just THE best pockets. Can’t wait for the next instalment. ✂️😃✂️
Thank you! 😃
Fabulous and interesting post. You almost have me wanting to make jeans again!
Thank you! I’m addicted to pocket making. Don’t suppose you want me to draw up some pockets for you? Anyone? 😄
Wow your pockets look fantastic! Look forward to seeing the next stages!
Thank you!
Your pockets are fantastic. I am such a wimp that I leave my pockets plain, but I think you’ve inspired me to play!
Thank you. I have a sewing machine that is limited in stitch choice compared to others so it was fun trying to think up something.
Looks like a fair amount of work but so worth it! Good luck with your next steps.
Thank you!
I love how much thought (and fun) you’ve put into designing these pockets. The stitch you’ve chosen looks great. I need to take a leaf out of your book and learn to enjoy slowing down!
I usually alternate the slow projects with the fast ones. I love the slow detailed things, but they can drive you bonkers after a while!
That’s a lot of research but well worth the results. Looking forward to seeing the finished jeans
Thank you, I’m getting there… I keep getting distracted by the fun parts of it all!