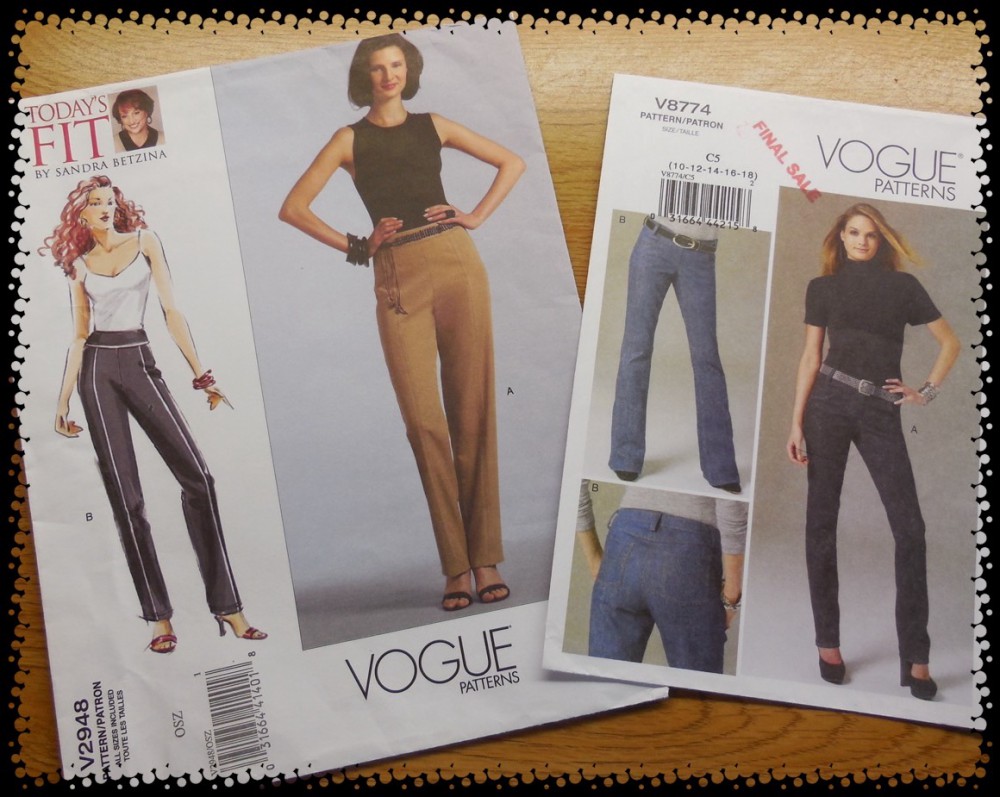
Seriously! MY. JEANS. ARE. ALL. DONE!
I haven’t had too much trouble finishing them off and I love the look and fit of the cotton lycra fabric. I pieced them together with these patterns: Vogue V2948 and Vogue V8774, along with watching these Craftsy courses: Angela Wolf’s Sewing Designer Jeans and Sandra Betzina’s Pant Fitting Techniques. If you wish to see my previous steps for assembling my black denim Capris jeans and these blue denim jeans, check them out here, here, here, and here.
While making my jeans, I loved distressing the jeans fabric and applying jeans buttons and rivets. So much so that I am now going to keep an eye out for jet black cotton lycra denim for my third pair of jeans!
Please click on the first photo in my gallery to run “How to attach jeans buttons and rivets”…


I was having such good luck, I decided to redo the jeans button on my black denim Capris pants. That jeans button ended up being a little loose when finished so it was easy to work it off. I lined the inside of the waistband in the small area where the button is to go with two layers of my heavier blue denim and reattached the button. It held much better with the thicker layers.
By the time the job was finished the rain came quite heavily so I have more indoor photos (the lighting is so strange in the house) of the details on my finished blue denim jeans.
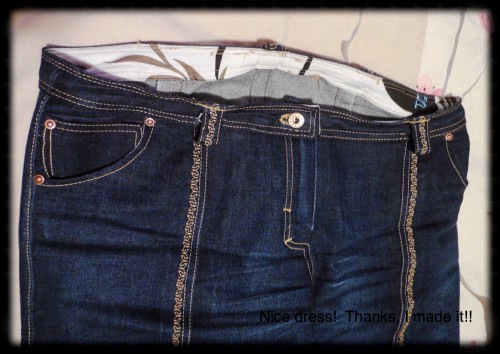
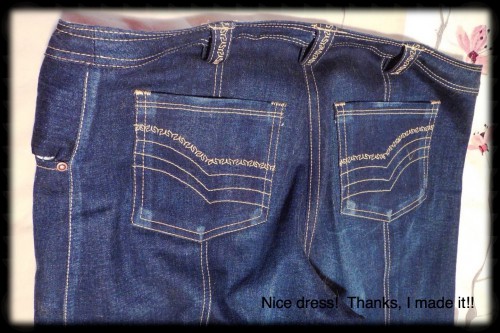
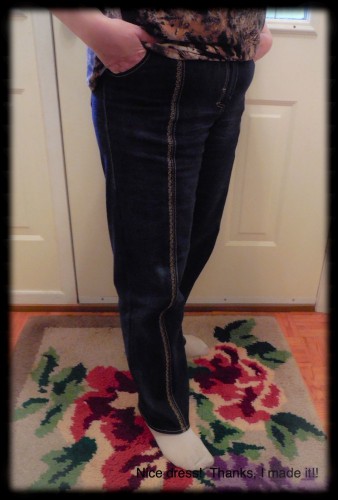
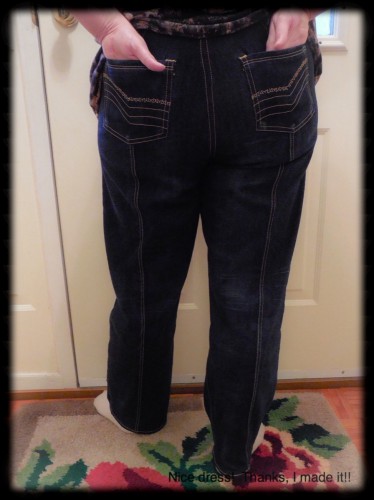
Since this fabric had some lycra stretch to it, I made this pair smaller than my black denim cotton Capris – I think I am going to make my next pair smaller again if I use a cotton lycra blend as these still seem a bit loose. Also, I would like to make my next pair with large “tummy control” pockets 🙂 and slimmer pant legs. I might even see if I can make this pair slimmer yet.
Now before I get too carried away with the celebration of a (finally) finished project, let me tell you the winner of last week’s Give Away! I used a random number generator … (drum roll please) … the winner is Thimberlina! Please email me your mailing address at imadeit362436 (at) gmail (dot) com. Congratulations Thimberlina and Thank you everyone for playing along!
Happy Sewing!
64 responses to “ALL DONE!”
And miles and miles of top stitching. Impeccable work – well done. This is on my list for this year and I will refer back to your posts when I get my nerve.
Well if I can help that’s great! The internet is so full of information, inspiration, how to’s, etc!
They look fab – and a great tutorial on inserting the rivets.
I’m wearing my me made jeans today after finishing off the rivets at the weekend and I feel such satisfaction!
Thank you! I’m going to have to see yours now! I love how sewist can take the same thing and put their own twist on it!
Aren’t those back pockets adorable? You’ve made them so professionally looking, I like the stitches that you used and that they are simetrical, that is usually a bro let for me, can never make two pieces of a garment totally identical. Well done Linda, enjoy wearing them.
Thank you! It helped to draw up a stencil first and trace it on with chalk and cross my fingers and bite my tongue!
Well done! These are very impressive, fit, topstiching, rivets, the lot.
Thank you!
Fabulous pair! I love all your topstitching and details. Makes for a one-of-a-kind! Congratulations, and here’s to more pairs of jeans coming out of your sewing room!
Thank you! Top stitching and rivets are addictive I find! I only hope to get better and quicker as I go along. It might take me a while to find the right fabric. Anyone have a realiable source for cotton/Lycra?
Oh wow, great job! My first attempts at pants turned out horrible, I couldn’t even imagine trying my hand at jeans! You’re so skilled!
Well thank you, but I guess, like knitting, it takes a while to get the knack for it!
Haha, that’s probably true! 😀
What a great slide show! I’ve made a few Ginger Jeans, and I’ve not yet attempted rivets or jeans buttons. Those gizmos look awesome! I will have to keep an eye out for the kits! And the masking tape tip is great too…I’ve been trying to hold things with my fingers…not such a great idea, LOL!
Thank you! I knew in advance that a hammer and my fingers were not a good idea!
Well done! Rivets are the part I usually skip – finding the kit is half a days work, but it does give yours a nice finish. I’m still admiring the topstitching too.
Thank you! I am lucky there is a store about 45 minutes away in the city that carries stuff that is usually unrecognizable to me! Their choice of fabric is sometimes the same old, same old though. They didn’t have any suitable heavy denim!
I love them!! Nice fit, rivets and jean buttons and all the bells and whistles 🙂 This design element of the princess seams I love as well for the jeans so cool!!
Thank you very much! I do like Sandra Betzina’s pattern – haven’t seen anything similar yet! I bought the Suzy Furrer course on pants fitting that you were talking about, looks like she goes into some great details!
You know I have been following your jeans adventure, and I am in awe also. I can see using the hammer with the rivets and buttons to relieve any stress the adventure would put me through, along with the cork screw. 😉 You did a fantastic job.
Thank you! And thank you for your funny comments too!