*EDIT* While moving my Shop site, I found a few blog posts that were never published. I’ll be proofreading them and publishing them now and then, since things have settled down.
*****
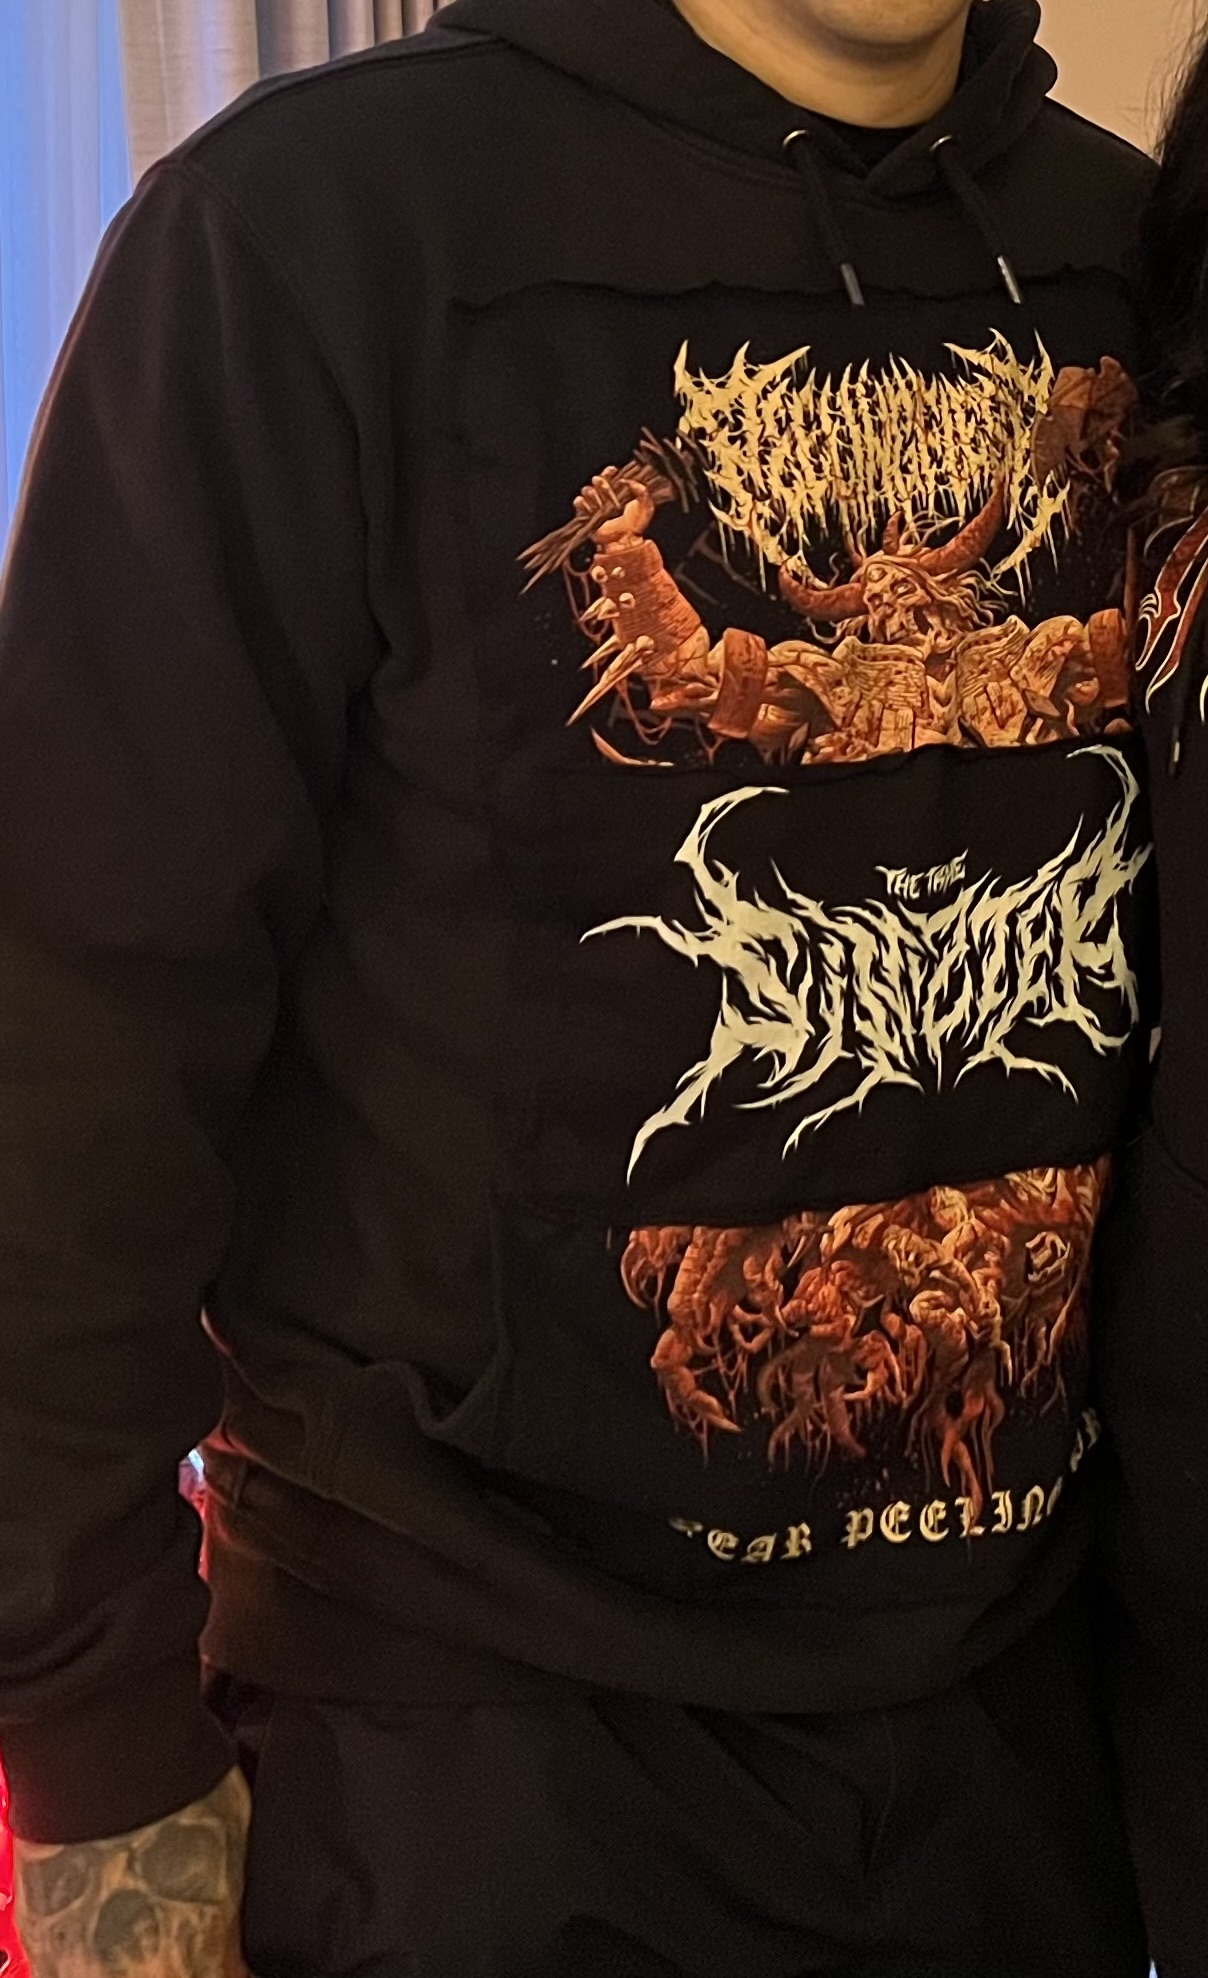
So let’s say you have a clever, resourceful customer who has a hoodie that’s in great shape, but they’re not too thrilled with the original image on it anymore? What to do? Why, REPURPOSE IT, of course!
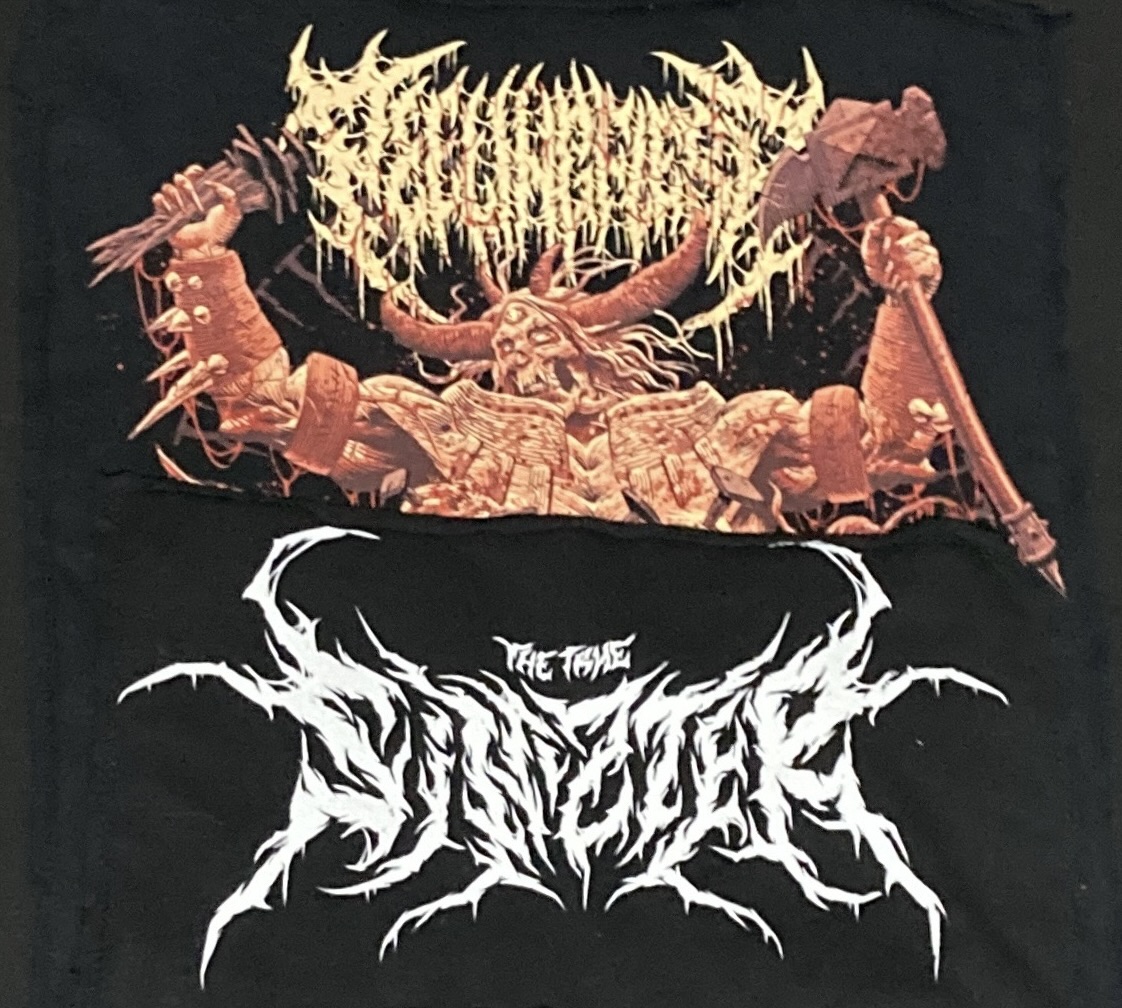
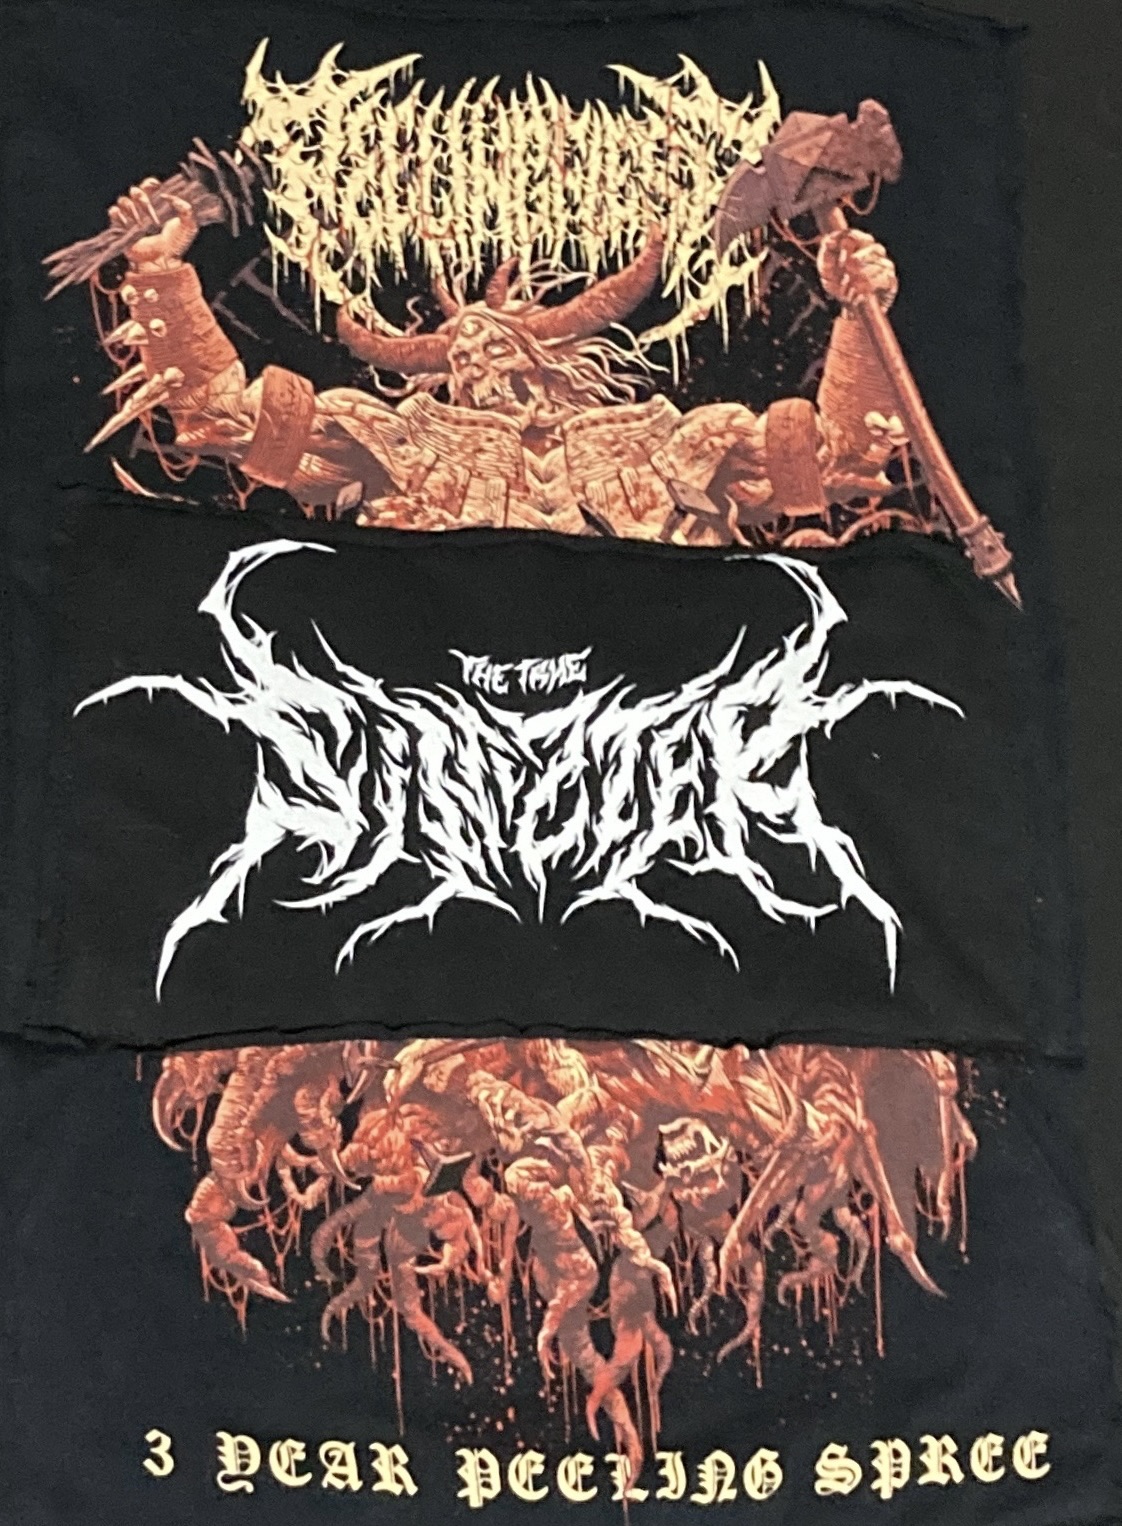
I was lucky to be given the hoodie plus THREE images carefully cut out from other hoodies & T-shirts!
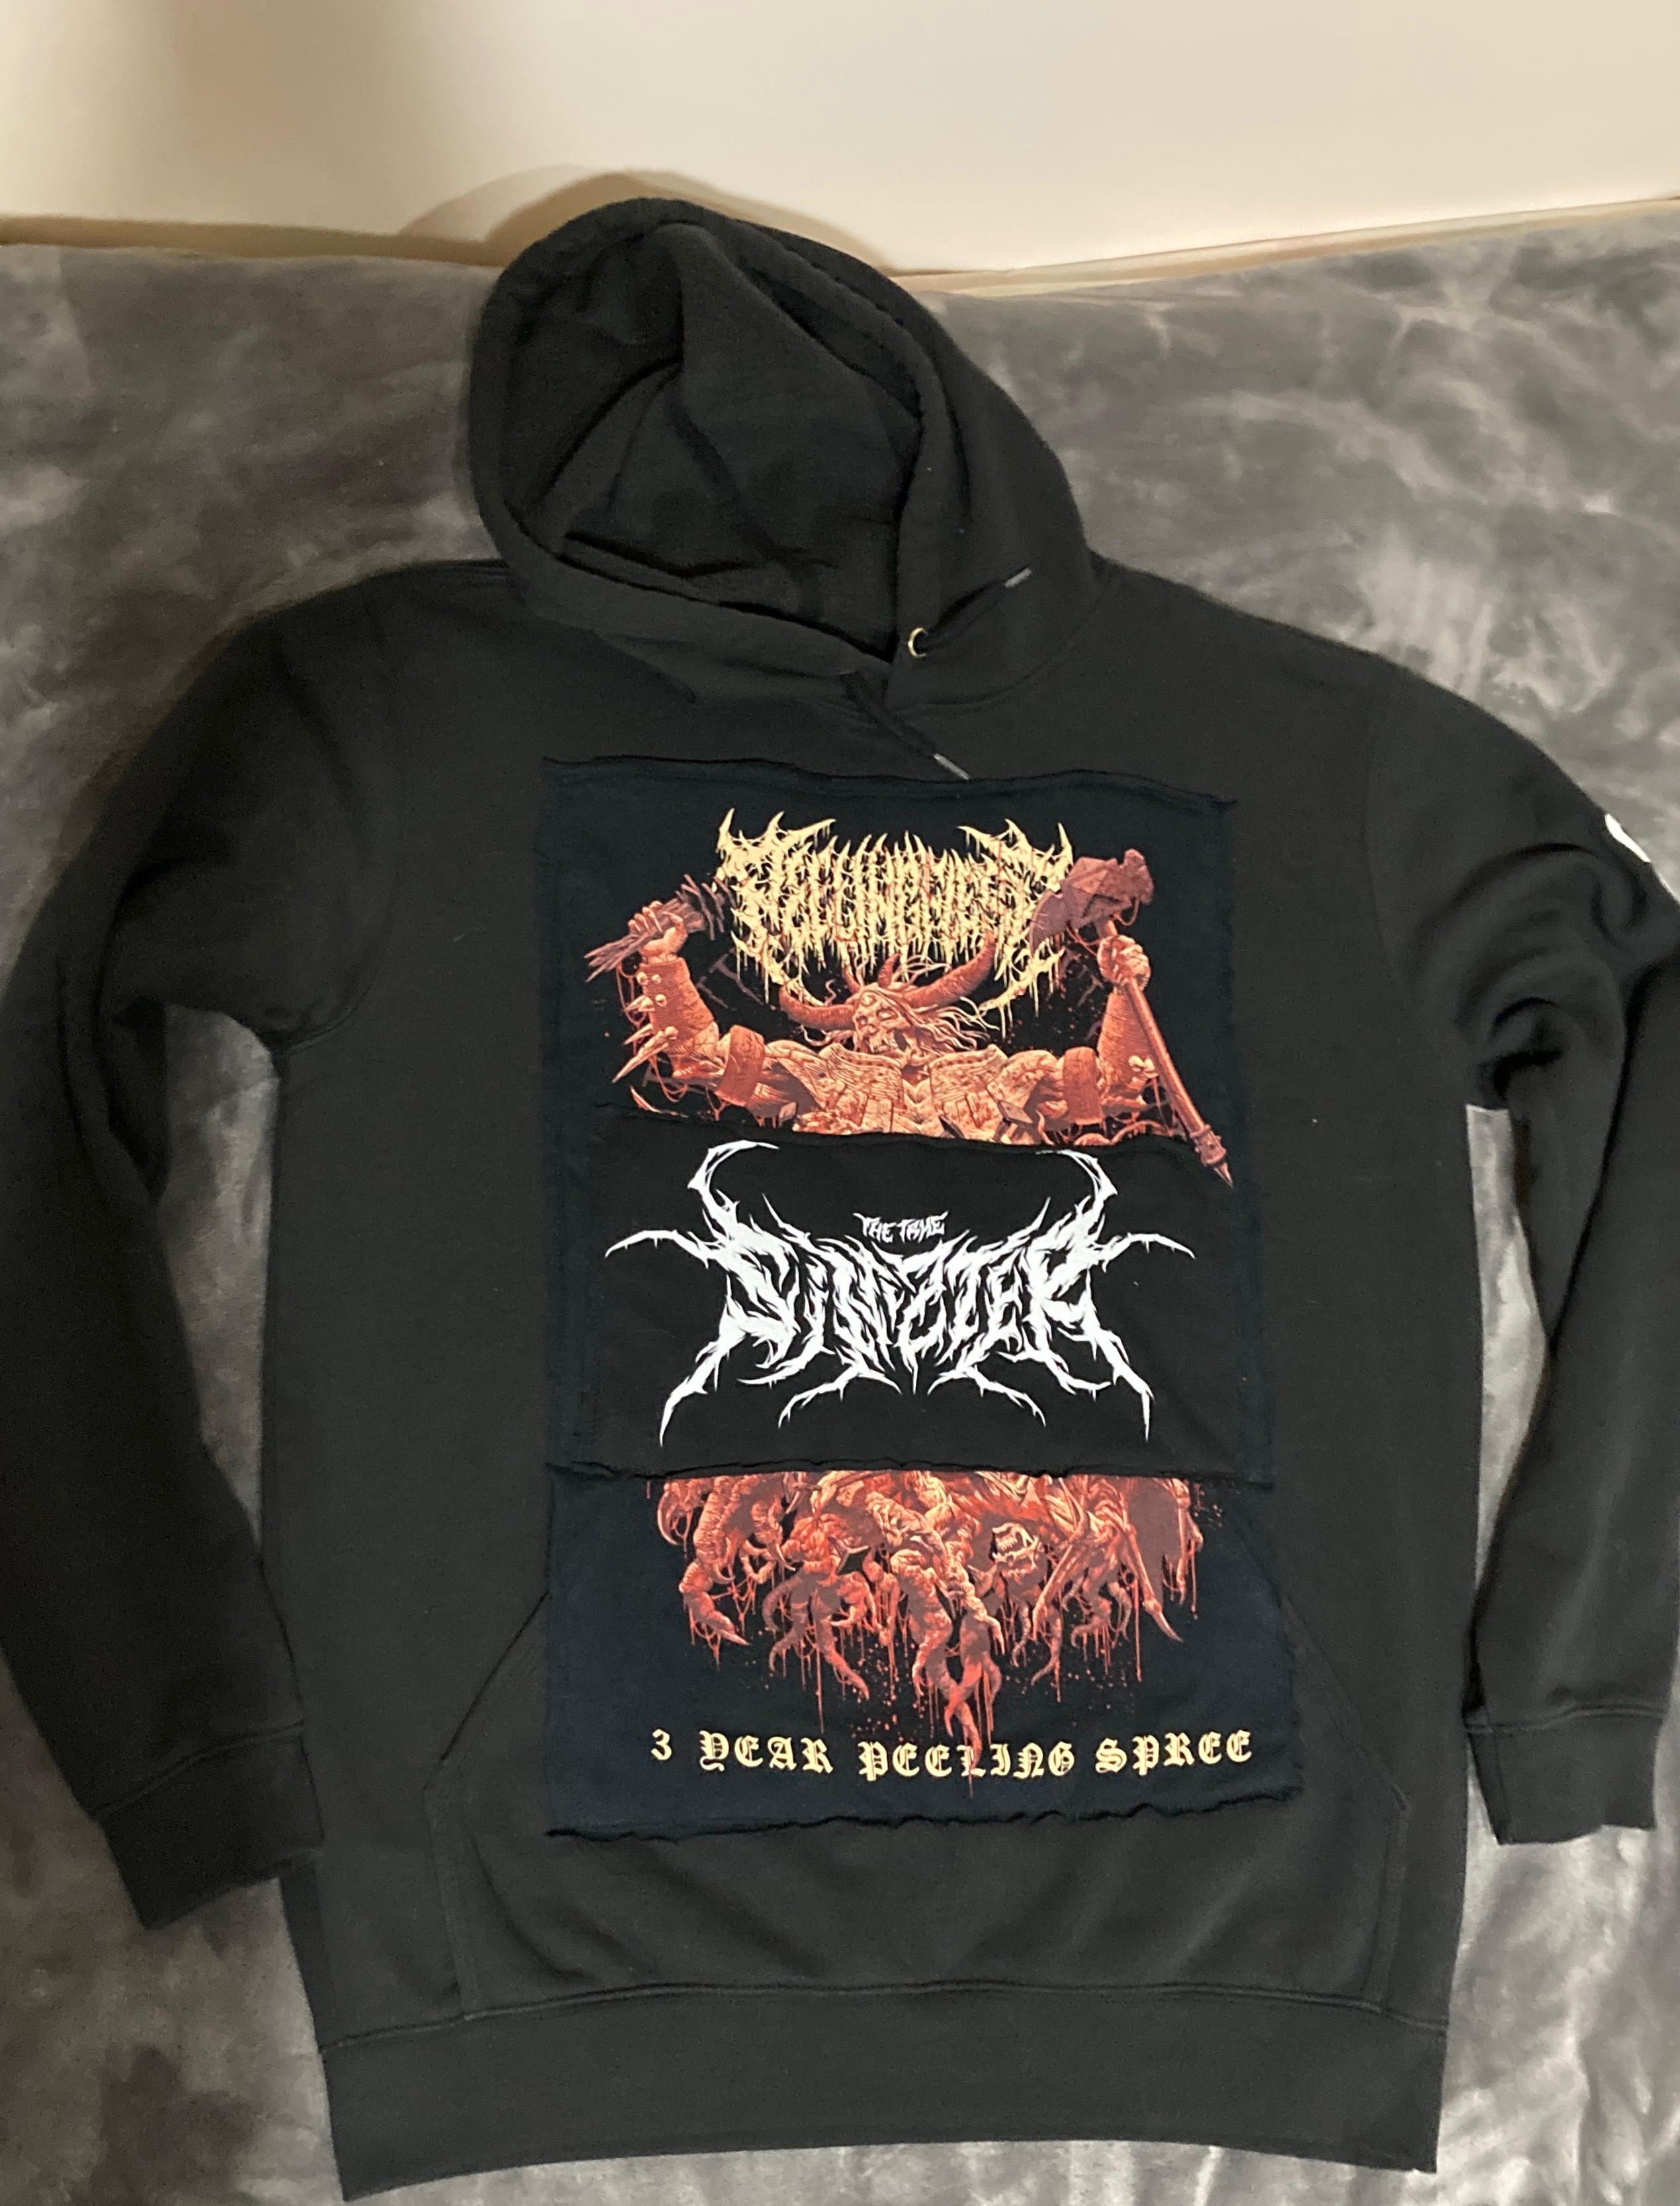
They spent some time deciding on the actual size and placement of the three cutout images they had, and then we spent some more time planning how to pull it off! It had to be not too big and not too small and obviously big enough to cover up the original “unwanted” image on the front of the hoodie.
For the front of the hoodie, it was decided to put half of the “orange dude” above the “SINIZTER” logo (Sorry, I don’t have the faintest idea who the “orange dude” is … if you do, let me know in the comments!) and the other half of the “orange dude” below the “SINIZTER” logo.
I prepped the cutouts by fusing some lightweight interfacing (SF101) on the backs to stabilize them for sewing. I didn’t fuse the interfacing right to the edges of the cutout images though, so it wouldn’t show under the raw edges I was leaving exposed. I was careful not to stretch the cutouts or the hoodie and the interfacing definitely helped with that.
TIP: I slipped a small cutting mat between the front and back of the hoodie so that all those pins didn’t go through the cutouts, the front, AND the back of the hoodie. I used a Schmetz Jersey/Stretch 90/14 needle, my usual Gutermann Sew All thread, and a simple zigzag stitch, on my Janome MCP 8200 QCP, to sew these medium weight knit fabrics.

I sewed all the cutouts on with a stitching line about 1.2 cm or 1/2″ away from the edges so that there would be a “raggy” or “ruffled” look on all the edges. We certainly wanted a “patched” look!
There was a pouch pocket on the front of the original hoodie that the customer was willing to lose access to, if the patches had to be just sewn on top of everything. I did manage to save the pouch pocket though. I mean who doesn’t need pockets! I simply sewed up to the pouch pocket, stopped and tied off my threads, and started a fresh stitching line sewing the cutout onto the pouch pocket layer only, not the actual hoodie front.
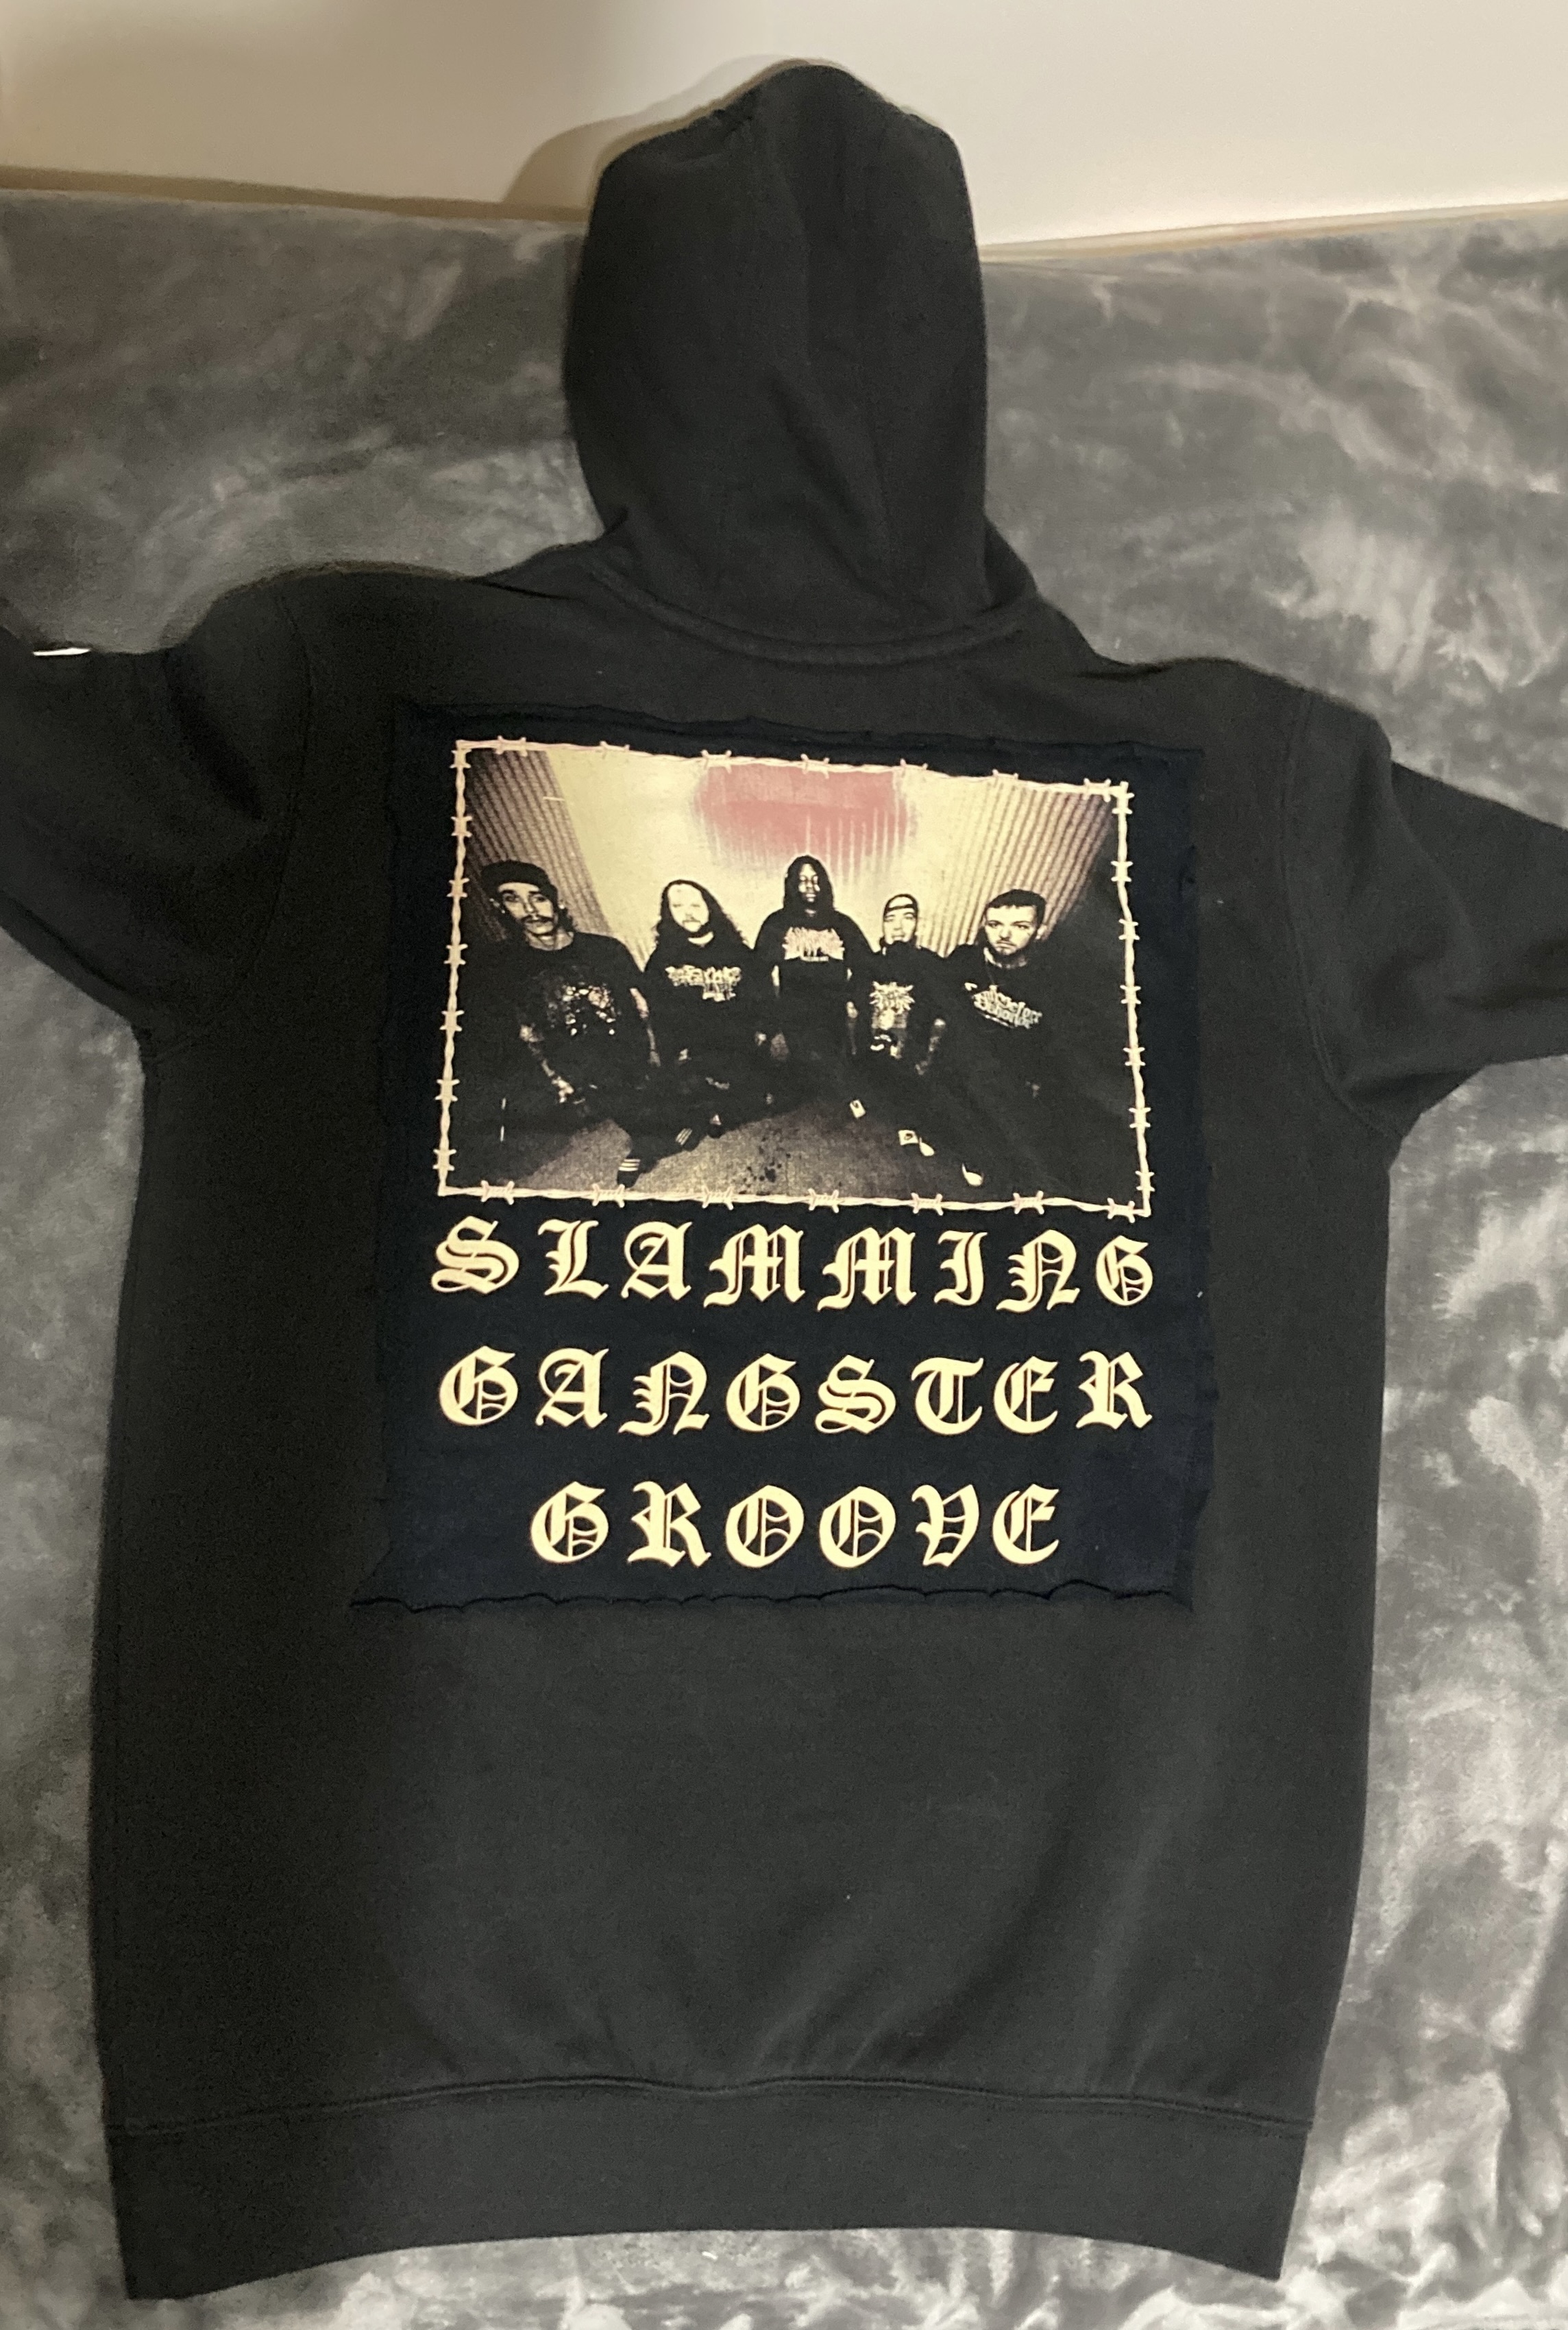
The back of the hoodie was covered with the third patch with the same method, except there was no pouch pocket to watch out for … so I just zoomed around the cutout!
Finished! and another happy customer!
Tell me … what’s the most unique repurposing task you have taken on!
Happy Sewing!
2 responses to “Repurpose your Hoodie with your own Style!”
Hello Linda, Nice! Clever work-around with your repurposed graphic.I like that the original white lettering on the sleeves, coordinates really well with the white lettering on the front of the hoodie. Overall, it blends well & it works! Always good to see all of your work🪡🧵 Monica White
Sent from AOL on Android
Thank you! I was lucky as the customer had in mind all the pieces that he wanted included in the new hoodie! 🙂