
… my UnFinished Object is only from April! I found it and two others when I was cleaning up my pattern and fabric stash!
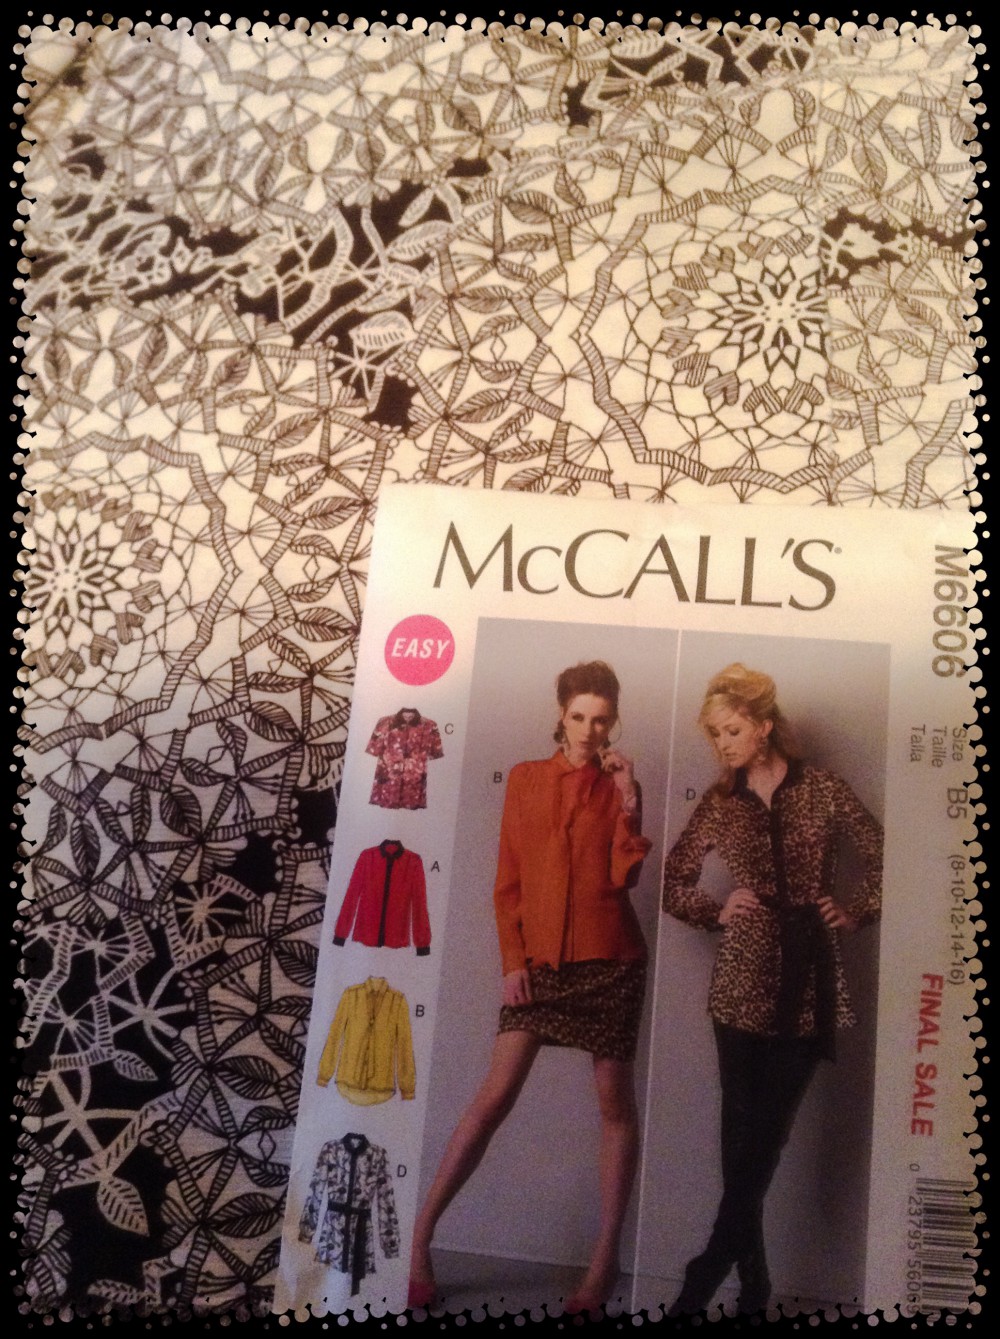
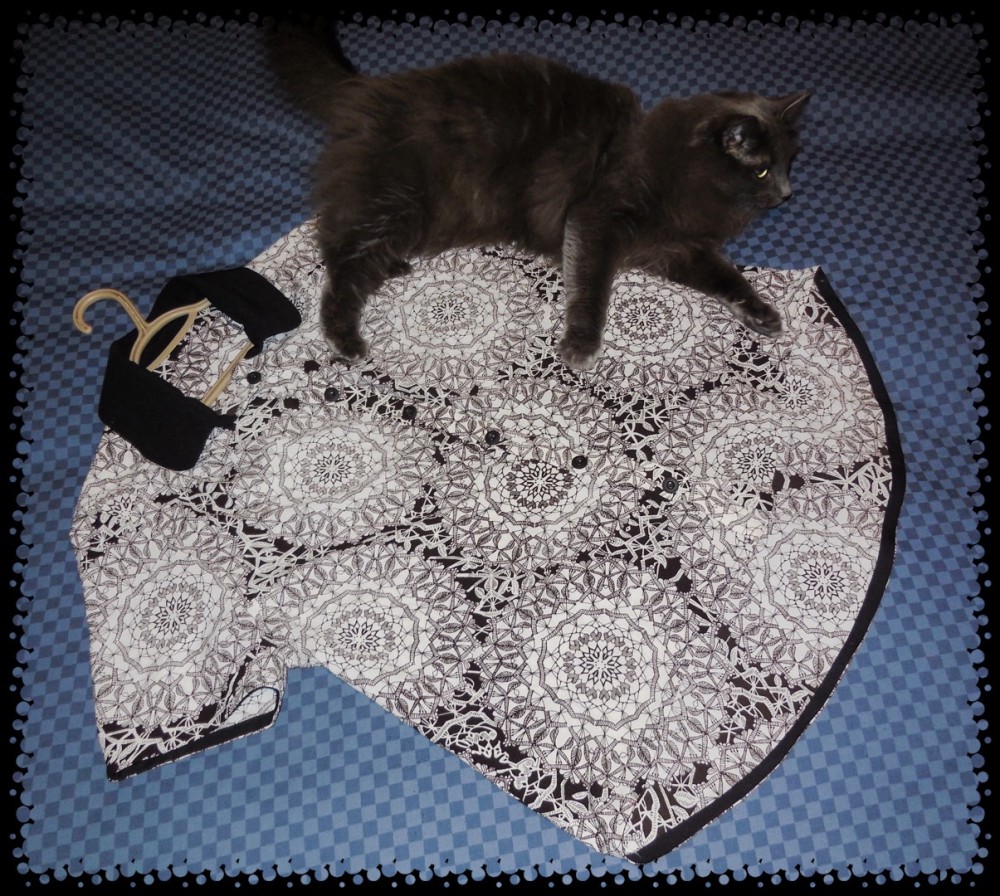
I’m surprised I never finished this shirt right away as I love this fabric! Then again, I am glad I didn’t finish it right away as by the time I did get around to sewing it up, I had some black remnants that I could use for the contrasting collar. My pattern was McCall’s M6606, view C with the hem line of view B. I’ve never had a shirt with a short hem line in the front and a long one in the back. A novel idea for me! My fabric was a 100% polyester called “Chiffon”.
I didn’t have too much problem putting together the collar and the collar band. You sew the finished collar between the right sides of the two collar bands. Then sew one collar band to the neck edge.
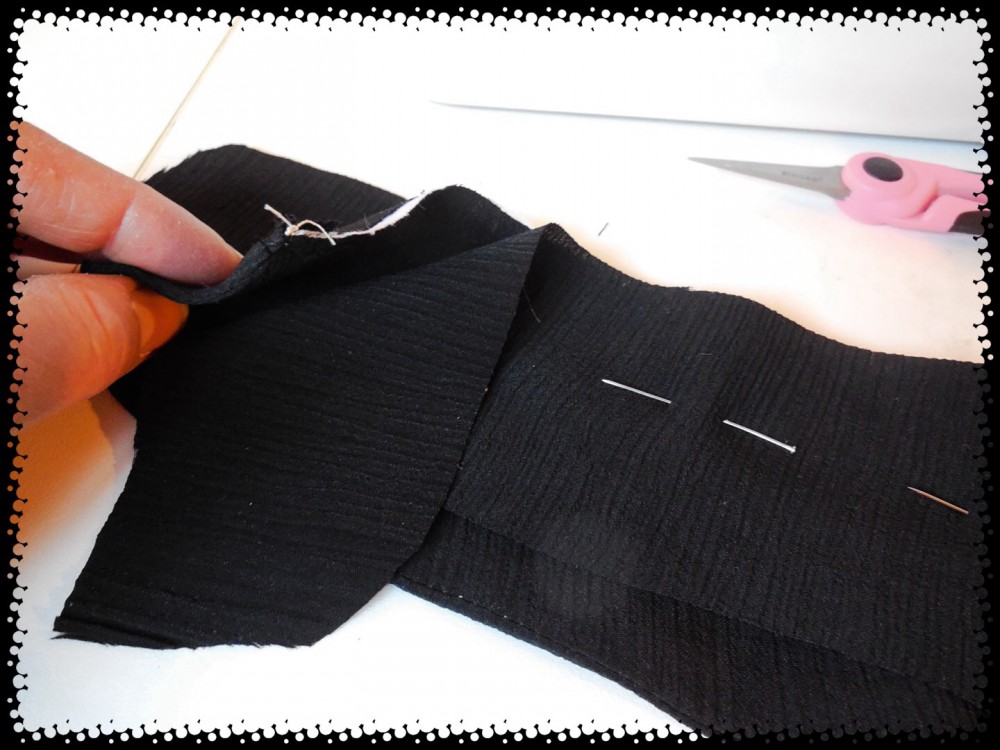
Then sew the sides of the collar bands together being careful not to sew your collar into it. I don’t know if everyone does it this way, but I find it easier doing it in steps like this.
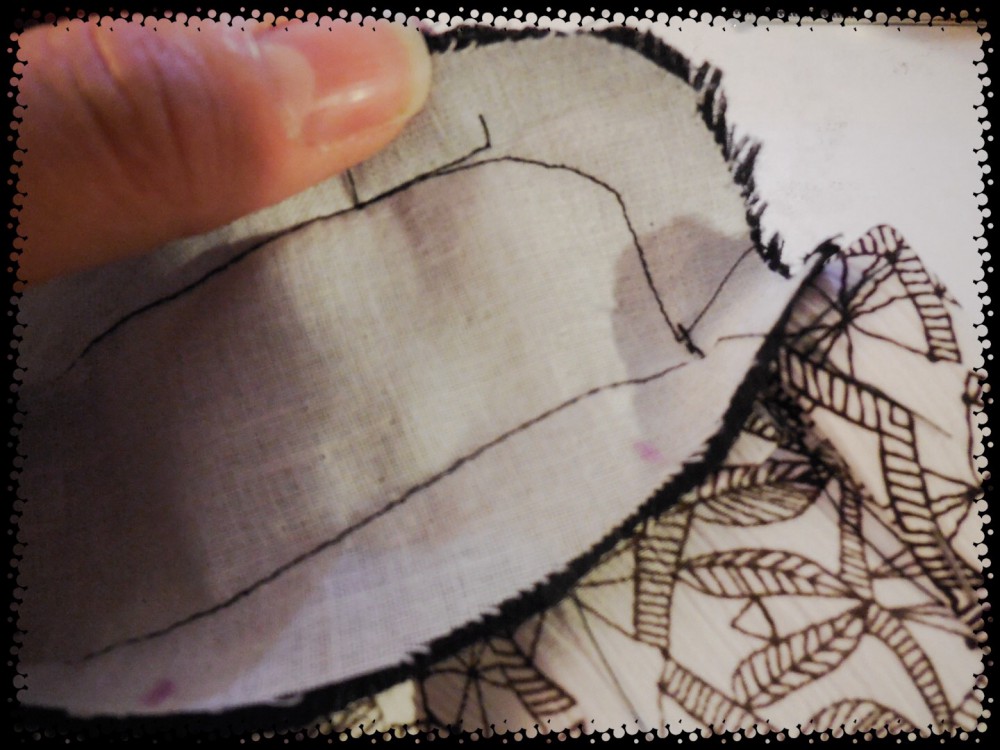
Now, pull it all right side out. Then slip stitch the other collar band to the neck edge. There was a button placket to sew on, turn and slip stitch on the inside.
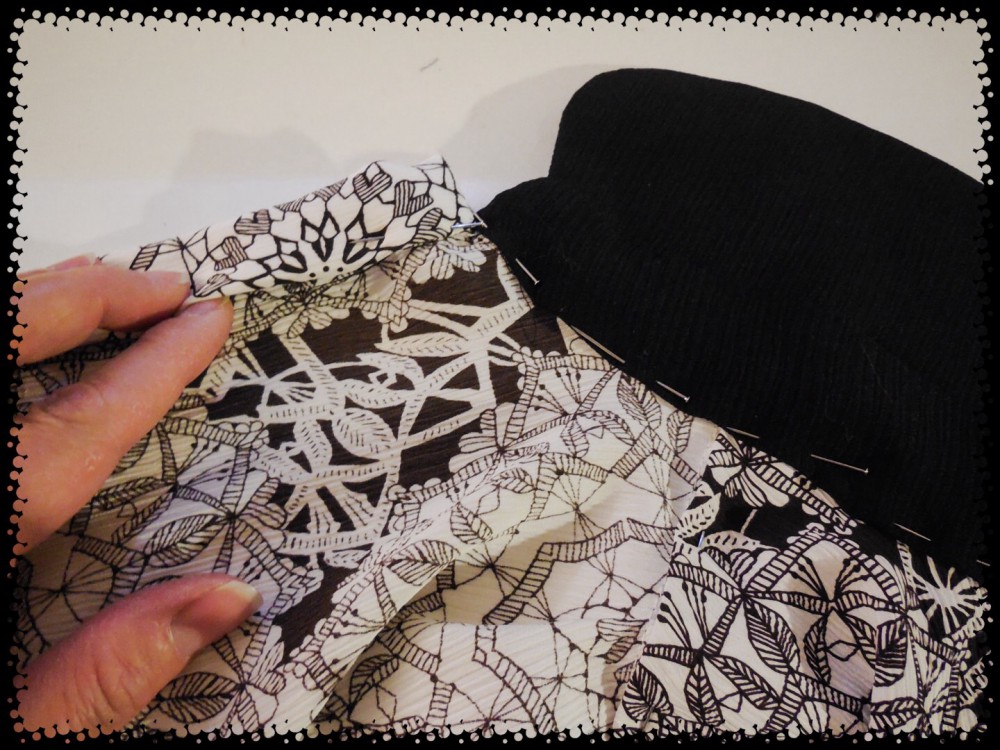
Then hemming of the sleeves and bottom edge. I used single fold bias tape for this light fabric to try to give it some stiffness.
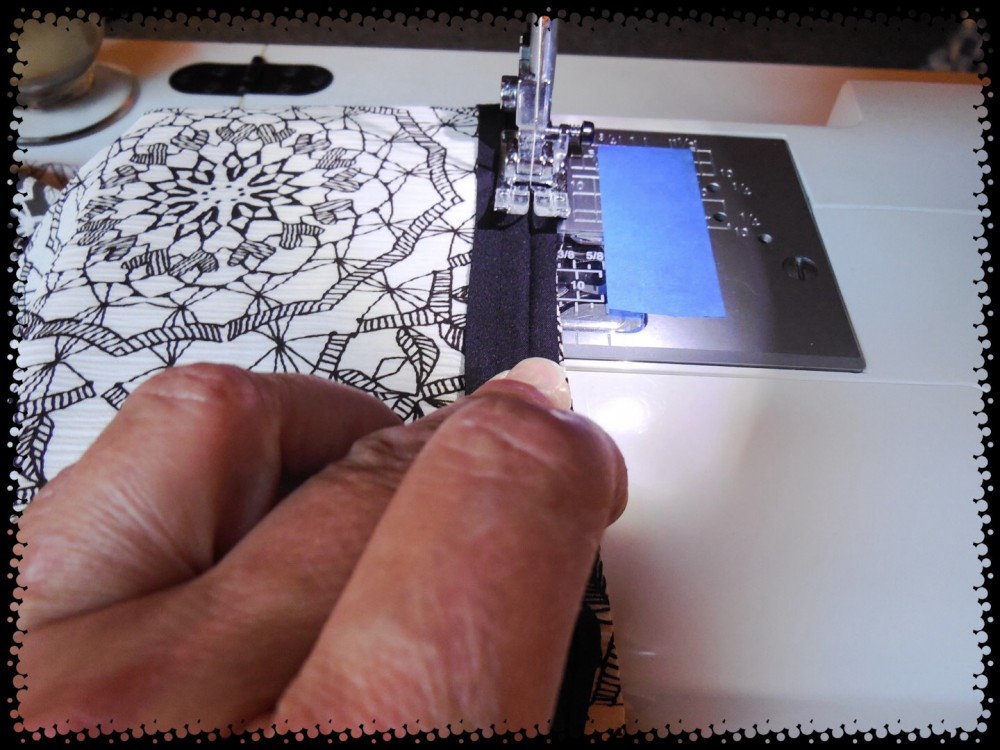
Finished shirt! (Simon, of course, approved!) You can see the inside of the longer back hem hanging lower than the front. I think using the single fold bias tape might even look more decorative than a regular hem.
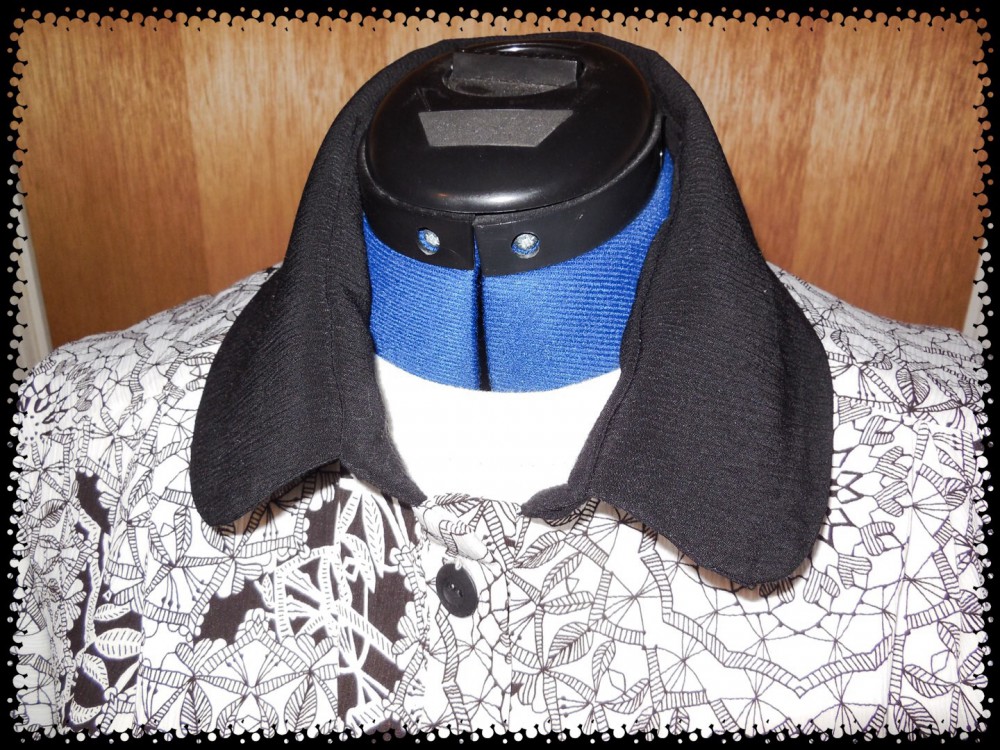
The stand up collar. I am happy with it BUT I have noticed that my fabric is light. I probably should have put interfacing on both collar pieces and both collar bands to give it a stiffer shape. I don’t notice it when I am wearing it, but I do notice it when Dolly has it on. Also the top buttonhole should have been put in a “smidge” higher. I had trouble with it though as I forgot to trim my seam allowance inside the top of the button placket and I couldn’t get my buttonhole foot to sew any higher through that thickness. I don’t usually button the top button of a shirt anyway, so this probably won’t be so noticeable. Oh well something to think about next time!
The back of the shirt showing the long hem line… a style I have to get used to yet!

The front of the shirt with the short hem line. This is a really comfortable shirt, I love the fabric design and the pattern was quite easy.

I almost didn’t get my photos taken for this post. When I came home my husband was making dinner.
“Well, I said, if you are making dinner, I will go finish my post. I’ll do the clean up and the dishes!”
“No problem”, he says.
After dinner, he was watching “Fast and Loud” or “Top Gear” or whatever and I ask, “Would you take some photos of me in my shirt so I can finish my post?”
“Now?, he asks.”
“Yes, I have to get it done.”
“Why?, he asks.”
“My 3 fans are anxiously awaiting my post!”, I exclaim. So I make a deal with him, “Take my photos and you can watch the rest of “Fast and Gear” or “Top Loud” or whatever you are watching and I will clean up and do the dishes.”
“Ok”, he says.
Isn’t he a sweetie?
Happy Sewing!
That is a gorgeous print! Way to go and thanks for sharing it with us at Talented Tuesday!!
Thank you!
“My 3 fans are anxiously awaiting my post!”, I exclaim.
Bwahaha! Every blogger knows that feeling. 🙂
visiting from Talented Tuesday.
I know! So much pressure huh? Oh well, if you can’t have fun with it, what’s the point! I say: Happy Sewing!