A good friend and co-worker asked me to make a dress for her daughter’s year-end “graduation” from grade 8. I have had experience working with her and her daughter before, making her a flower girl dress for a wedding. I knew that there would be lots of alterations ahead for this tall girl. But I enjoyed the opportunity last time and knew I would again!
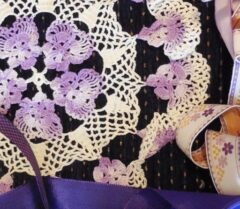
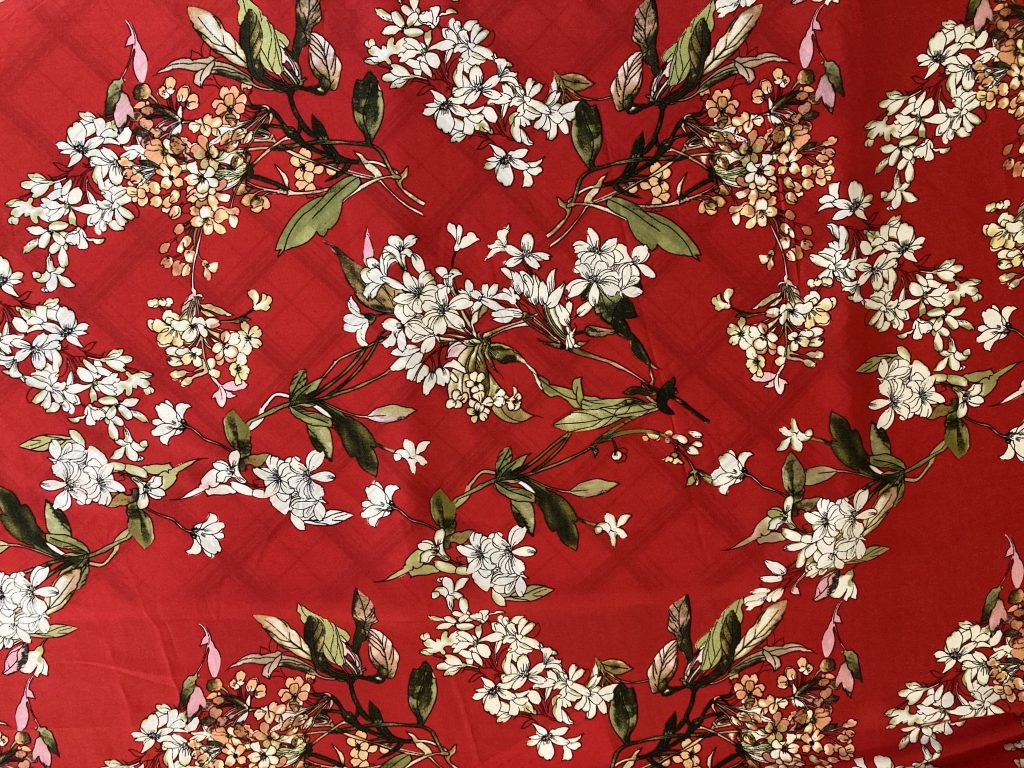
Her daughter knew exactly what she wanted. She wanted a dress that was a mix of this….

And this pattern, McCall’s 6754….
The bodice would be as is, sort of, but the skirt had to have box pleats instead. The daughter choose a lovely orange polyester spandex knit called “Wella Wave”. I don’t know if it is easy to see or not but it has a “wave” embossed in the fabric. Just a beautiful choice. I traced the pattern bodice with alterations for bust size, length and I raised the front and back necklines (that at the mother’s request 😀).
I left the remainder of the fabric almost untouched, two strips of fabric 21″ long (the length of the skirt, plus hem) and 85″ wide. Lots to work with to make my 4″ box pleats.
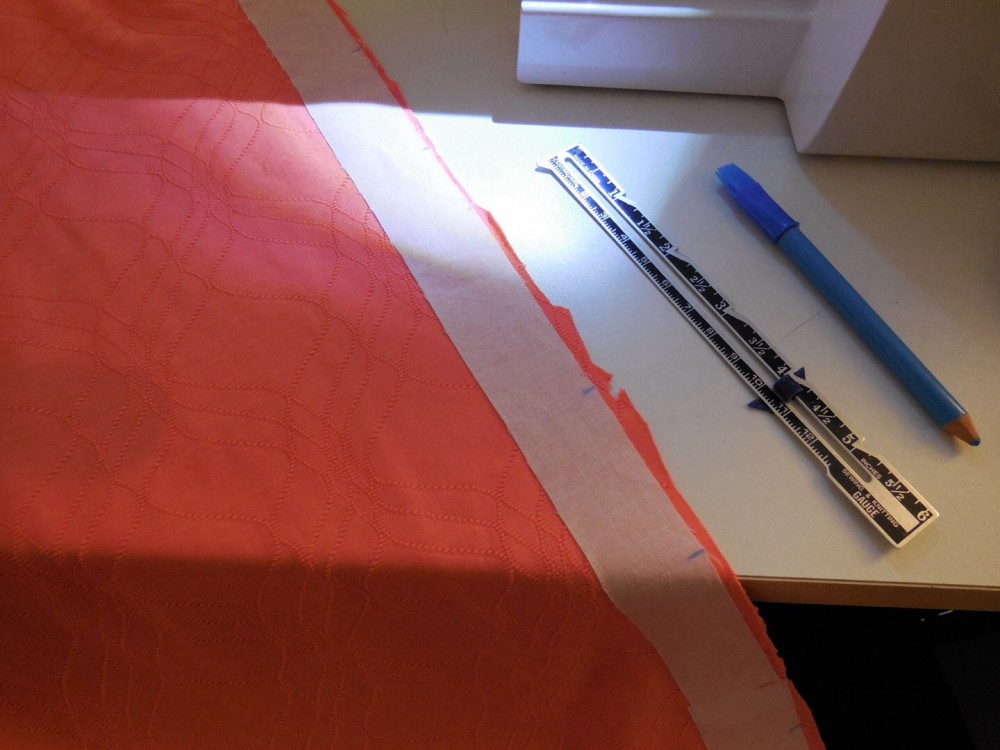
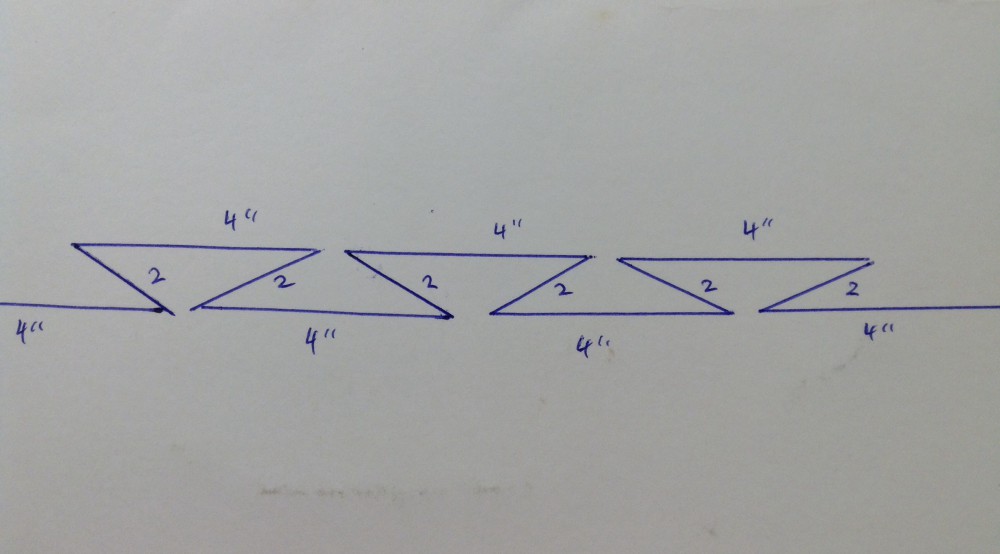
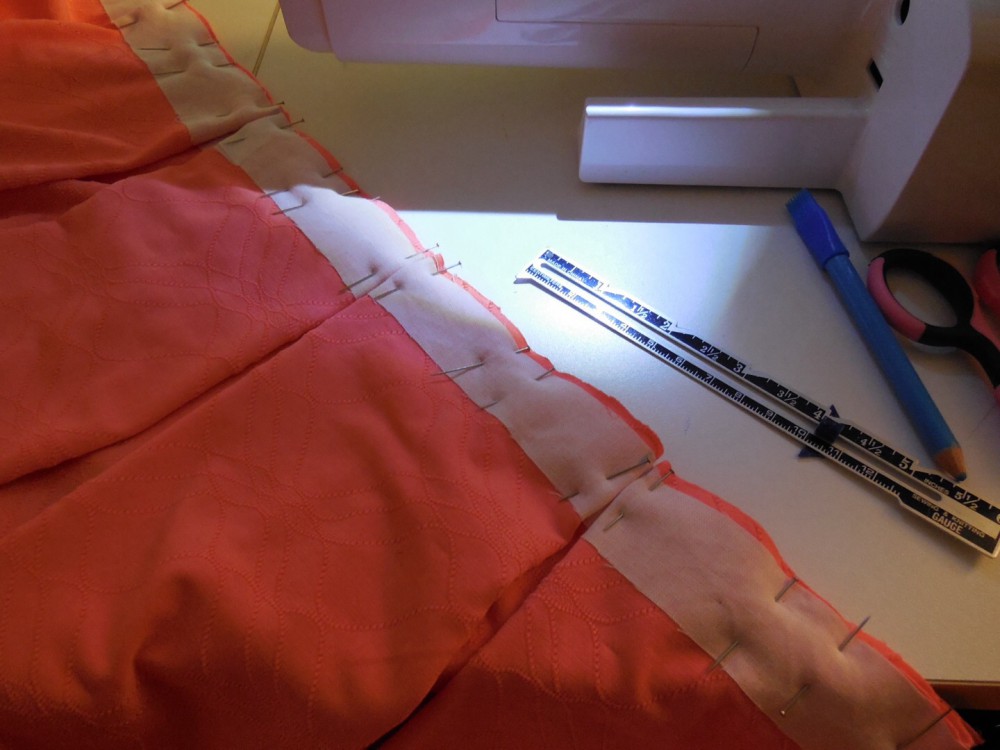
First, since this was a stretchy knit fabric, I ironed on interfacing at the waist line to ensure it wouldn’t stretch. The interfacing also gave me someplace to mark my 4″, then 2″, then 4″, then 2″, and on and on.
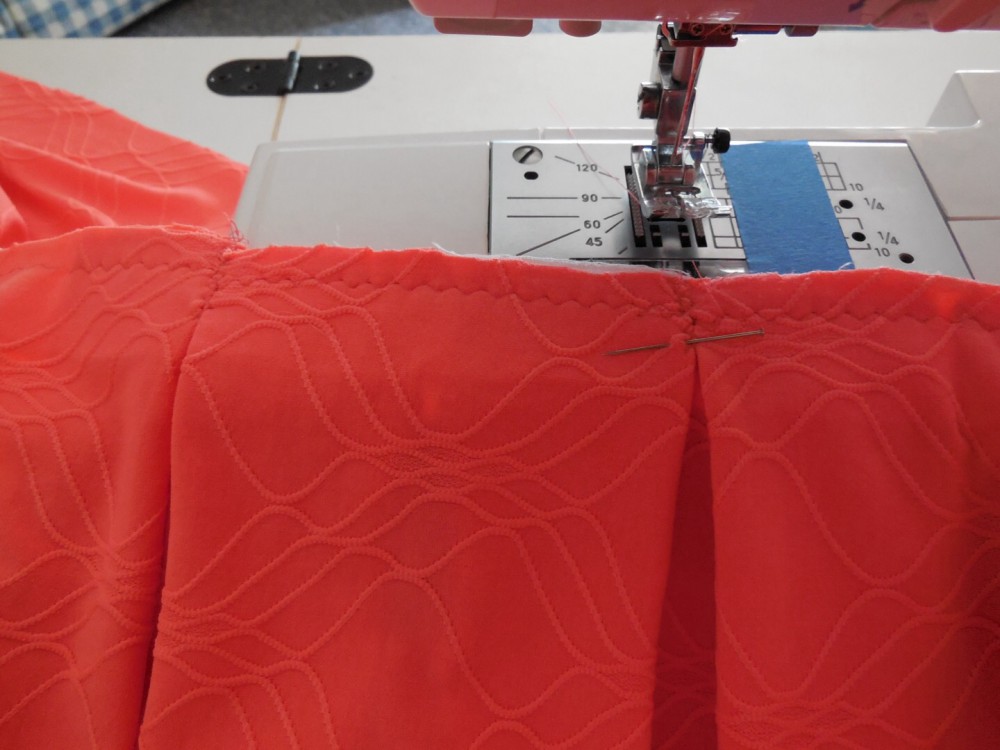
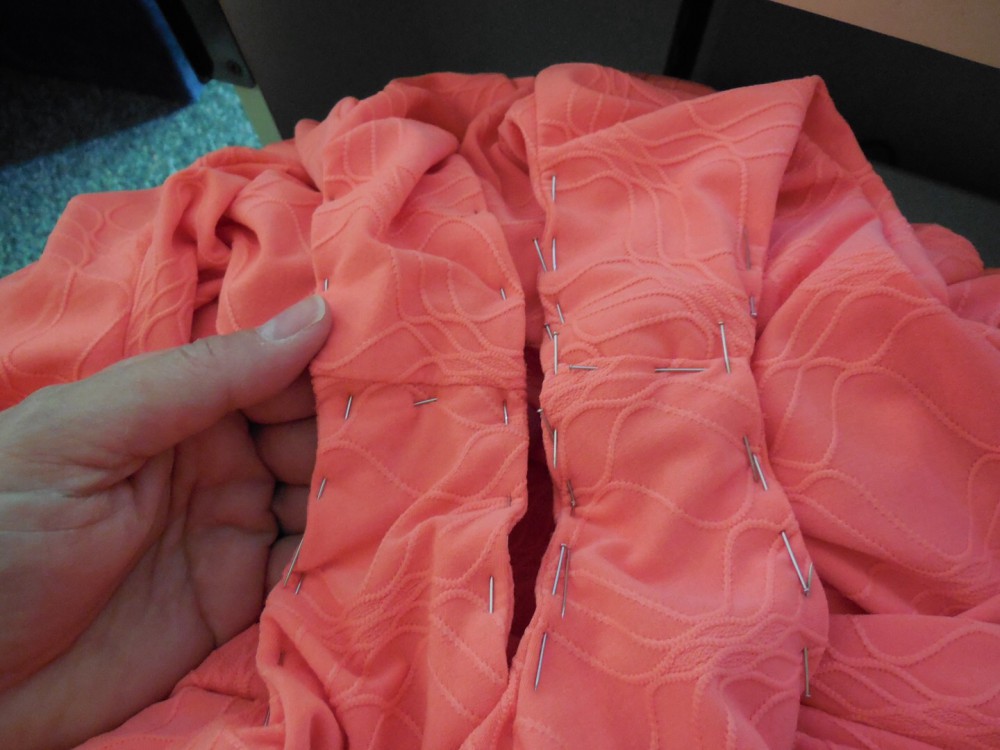
Then I folded and pinned my fabric at the marks like this….
I sewed across the waist line to secure all my pleats and also, since it was a stretchy knit, zig zagged the top of each pleat together, making sure not to go past my 5/8″ seam line.
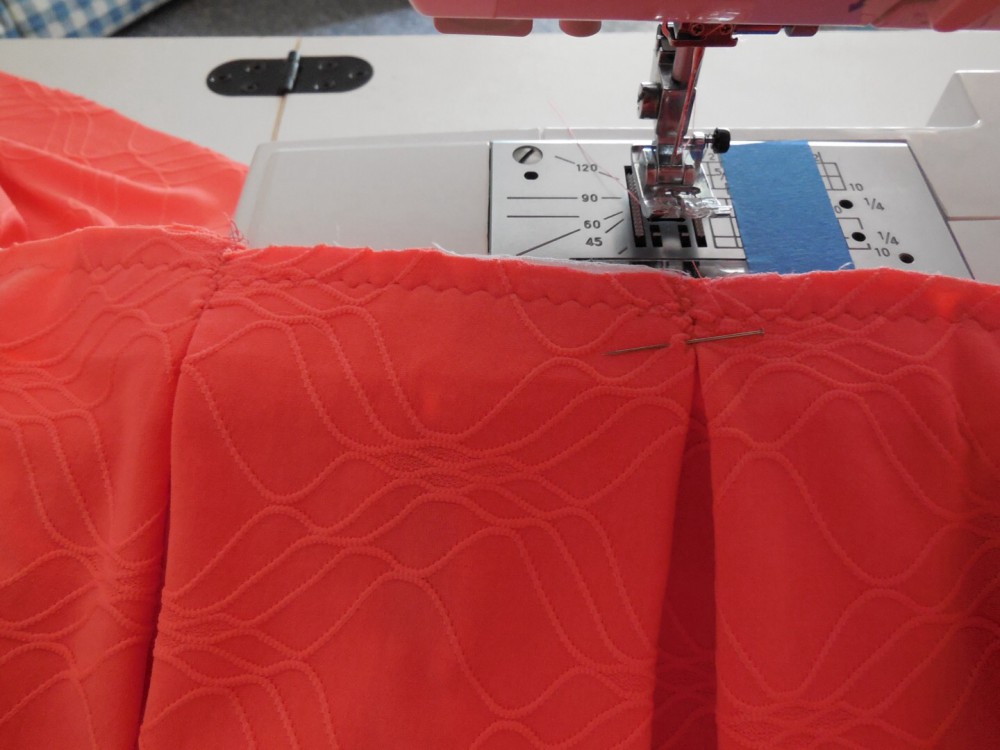
Same procedure for the back panel of the skirt.
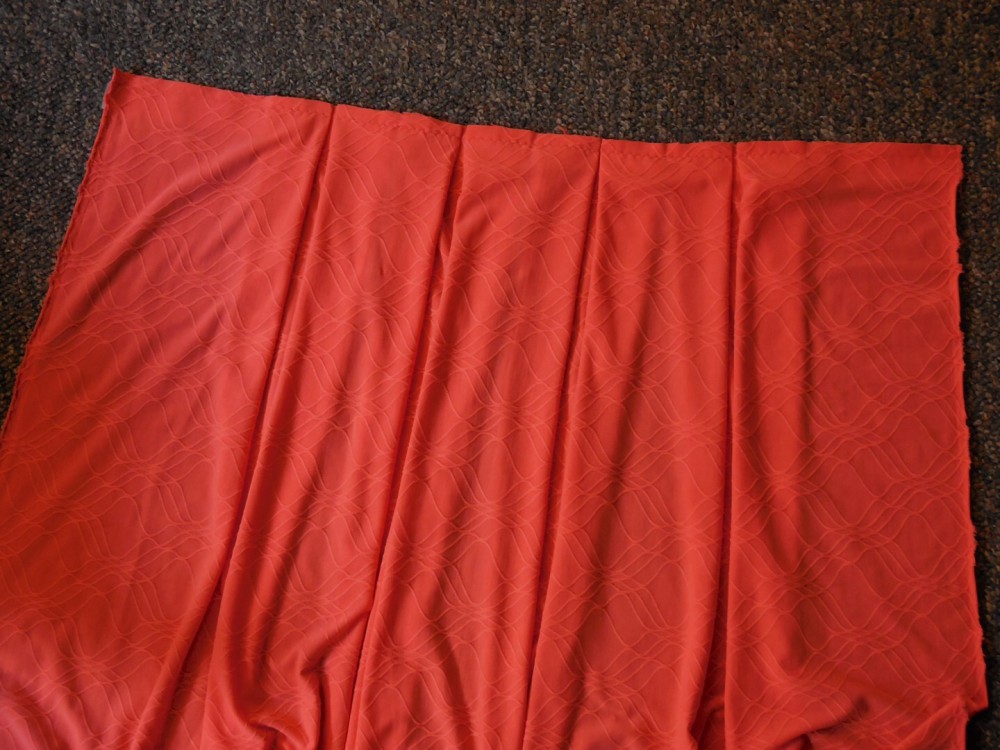
Then the side seams were sewn together and the skirt of the dress was done. Now for the bodice.
At the very start, I decided I wanted the bodice lined with the same fabric the dress was made from and I cut double pieces for the front and back. I sewed together the side seams and the back seam of the bodice and the same for the bodice lining. I stay stitched my necklines and armholes.
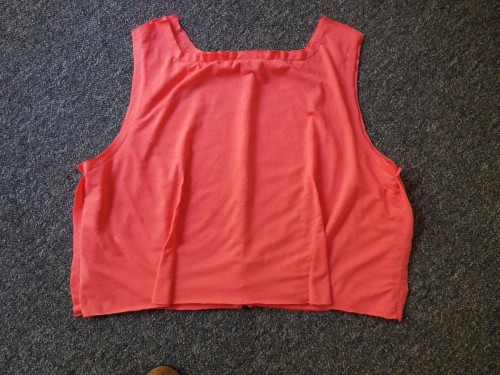
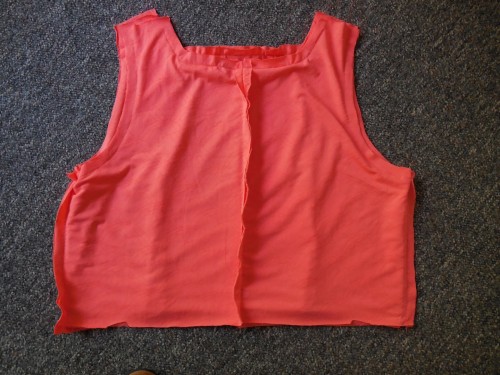
Now the fun part. I put together my bodice and lining, right sides together, and sewed both pieces together at the armholes, the front neckline and the back neckline. Remember, I have not sewed together the shoulder seams yet. Then I turned my bodice right side out.
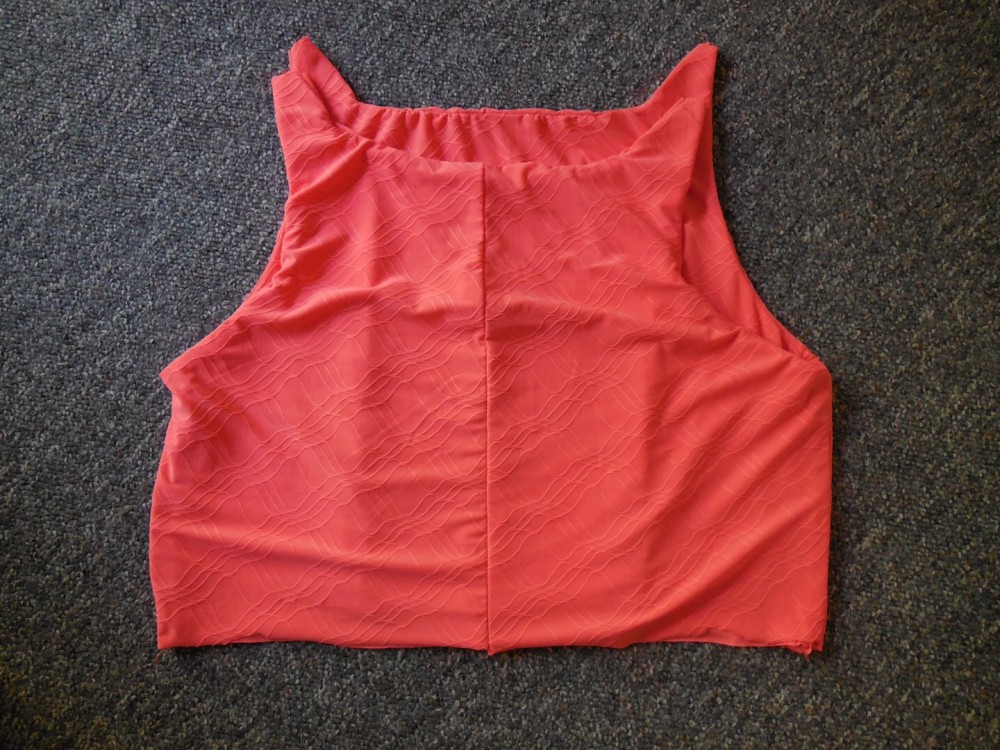
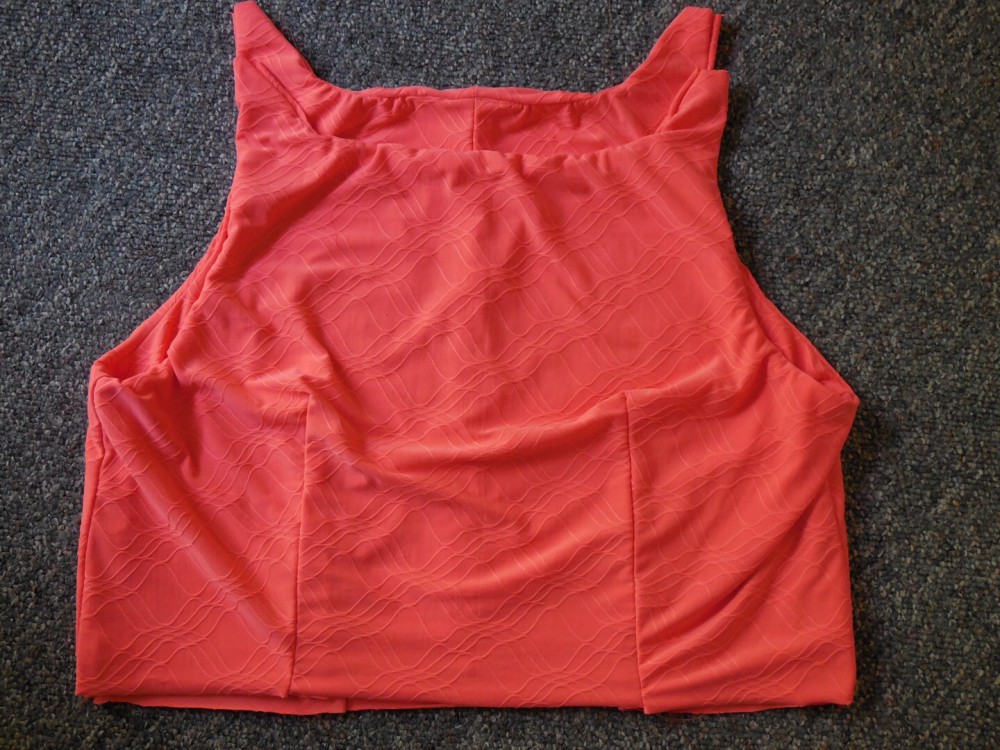
Then I used my sewing machine to sew together the sides of the shoulders seams that were going to face the public and I hand sewed the insides of the shoulder seams. (Left, machine sewed outside and right, hand sewed inside.)
I top stitched the armholes and the neckline. Bodice done.
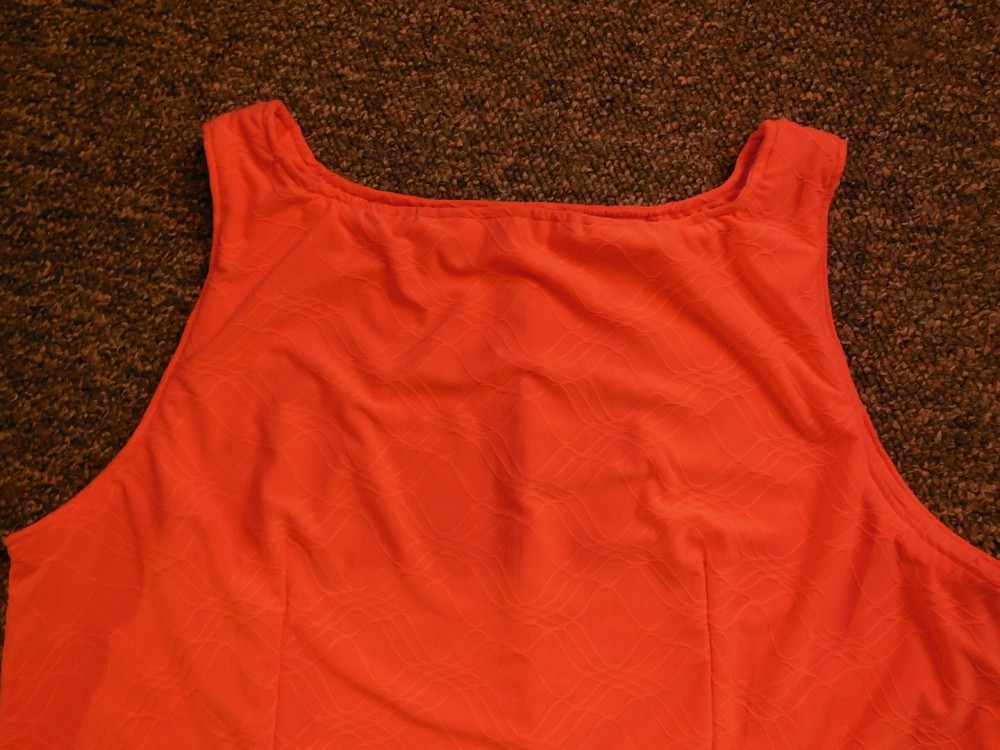
I sewed the bodice to the skirt and…. Next I meet up with my friend and her daughter to measure the hem length.
Be back soon!

its really interesting and look nice, i am a beginner , i have learn from you and i will make one for myself
Thank you! That’s why I love reading sewing blogs, someone is always doing something interesting and I have learned a lot! Be sure to post what you make so we can all see.
Love the way you did the bodice – looks great. Can’t wait to see how it comes out.
Thank you! Almost done, then I’ll get a photo.
Hi. Can your friend’s daughter tell you where she bought the material? It is beautiful and I could see the wave. What a gorgeous dress. I want it How you did the box pleats is really cool. Yes, I really need to make this dress. Yes, where was the fabric purchased? I’m looking forward to the next installment. Cheers.
She bought that material at the same place you always go to! You would be amazed what you can find if you go up and down every aisle touching everything! As soon as the hem length is checked with her, we have a fitting set up, I will put a photo on here right away, I promise! Thanks for reading/commenting!
I’m jealous of real seamstresses like you that can do this kind of stuff! It looks great! Can’t wait to see the rest 🙂
Hahaha, I’m jealous that you can turn nothing into something special!
Wow super cool. I love the box pleats! Neat trick with the lining I have never done a pattern like that before, I guess you hand stitch the straps together once you have turned it?
Thank you! Yes you sew one side of the straps together on the machine and hand sew the other side after it’s turned.
Fab colour! The dress looks great so far 🙂
Thank you!
Your little pleat tut’ is very helpful- and that fabric is lovely- lucky girl!
Thank you! I can’t wait to try it on her and get a final photo for my “collection”.