I thought, now that I have my pants muslin sorted out, that I better finish off my one and only UFO (Un Finished Object) before it was full steam ahead with my pants. A while back I made a skirt for my sister, another garment in my “Sister’s Sewing Projects“.
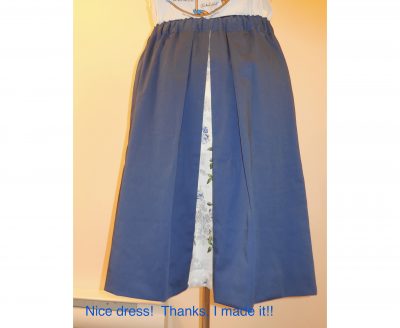
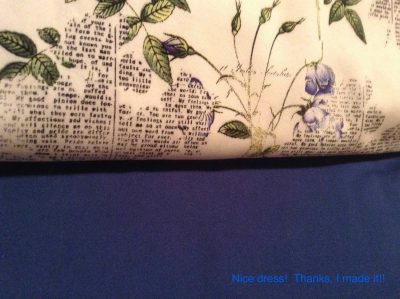
The fabrics used were both 97% cotton and 3% spandex and were originally planned out to make a dress, so we had lots of fabric left over, after making the skirt, for a matching shirt/jacket. When I look at the flower print I see “newsprint” in the background, don’t you?
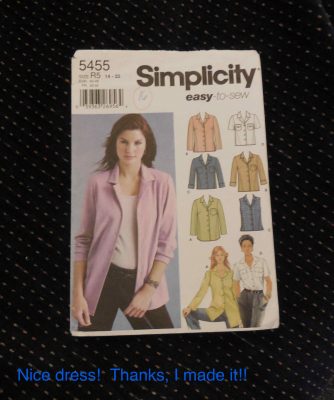
I pulled a pattern from my stash, Simplicity 5455, dated 2003. My sister did like to have some changes: shorten the sleeves, add cuffs, shorten the shirt/jacket, add topstitching. We had some of the white print left so we decided to do the collar and cuffs in that. I would have to be careful with pattern placement though as the flowers definitely ran up the fabric.
The shirt/jacket was easy to put together, but since I prefer the neater look of a yoke done with the burrito technique, I chose to do that here and not follow the pattern instructions. As you can see, the fronts, yoke and back are sewn together as usual, with the yoke lining sewn on too at the bottom seam.
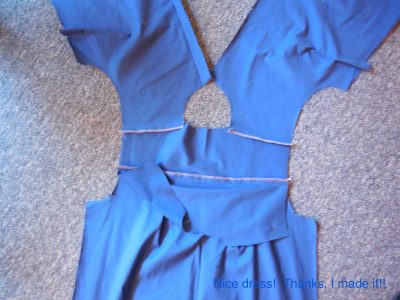
The yokes were then placed together and the shirt/jacket fronts and back were rolled up, like burrito stuffing.
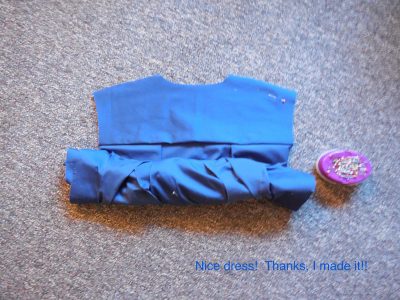
Then the yokes were folded over the stuffing and pinned together at the shoulder seams to hold the stuffing inside.
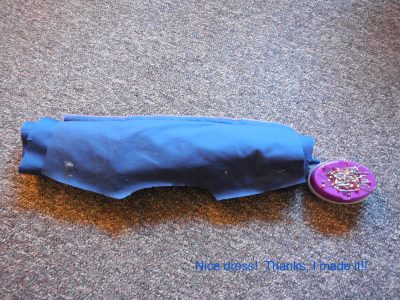
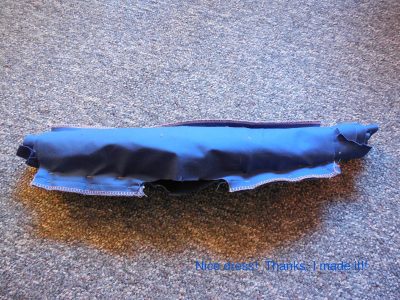
The shoulder seams were sewn together…
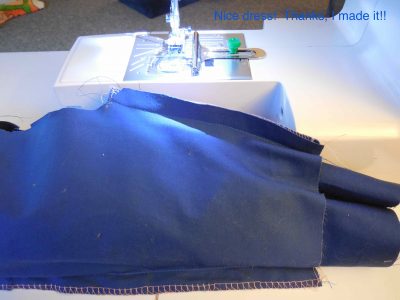
and seriously I don’t know how it happens – it’s like a Rubic’s Cube to me – but when you pull the stuffing out of the end of the burrito (sewn together yokes) you have a neat and tidy yoke!
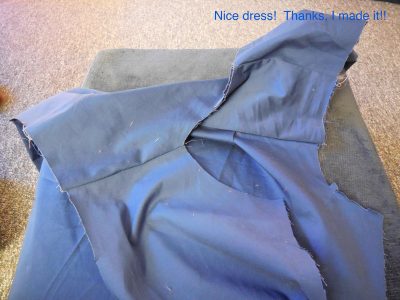
I added topstitching!
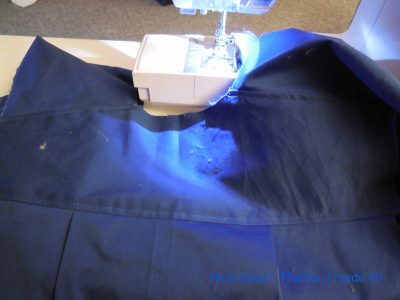
I am determined to cover all exposed seams on this shirt/jacket with bias tape so I started with the front facings. Remember I said that the flowers had to run up? Well the piece of fabric that I had wasn’t long enough for the front facings to be cut in one piece so I made them two pieces and covered the join with bias tape. Yes I know this is the wrong side of the facing, no one else will notice it, but I just had to do it. I also had to cover the edge of the front facings with bias tape.
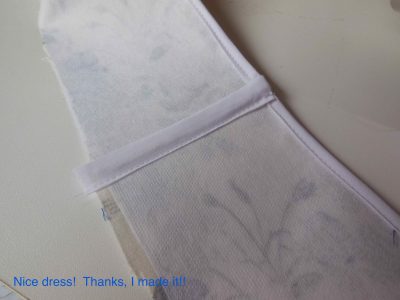
Here’s the right side of the front facing. If it wasn’t for the mismatched flowers you wouldn’t even see the seam … at least the flowers are all running up the shirt/jacket and this will all be on the inside!
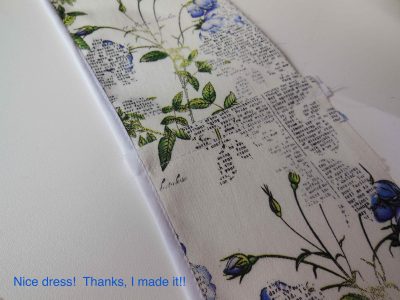
Contrast collar and front facings have been sewn on. I have a bit of hand stitching to do to attach the front facings to the shoulder seams yet. I love the bias tape around the edge of the front facings.
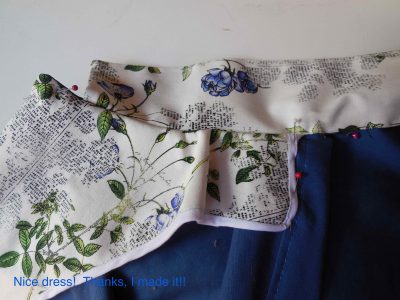
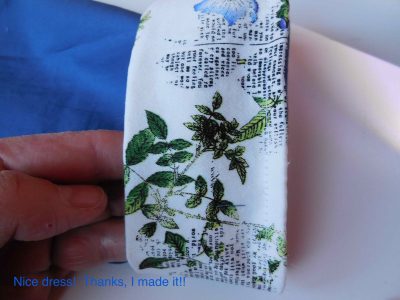
Next the cuffs. It was easy enough to cut out the white contrasting fabric 4 1/2″ wide and the length of the sleeve edge. I sewed the one seam in the cuff, folded the cuff in half (2 1/4″) and zig zagged the edge.
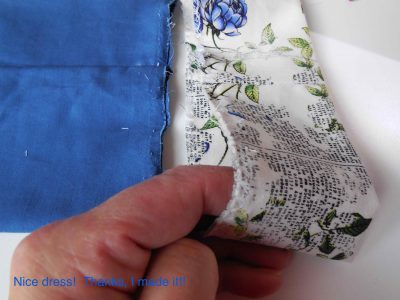
I sewed the cuff edge on to the bottom of the sleeve. The right side of the sleeve was facing out at the time.
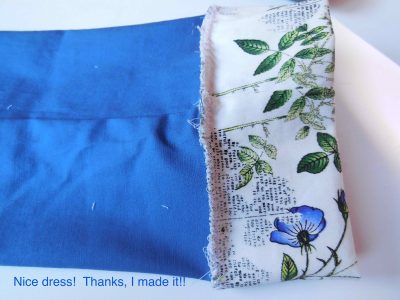
Then I just folded the cuff up and topstitched the bottom edge. I will hand stitch a few stitches by the seam to make sure that the cuff always stays up. I love this flowered print!
Next? Nothing too difficult, sew the sleeves in, topstitching (I love topstitching!), hemming, buttonholes and buttons, and a bit of hand sewing.
Have you got any UFO’s hiding in your house? It’s time to confess! Come on, how many?
Happy Sewing!

I love the burrito method, just learnt it with doing my husbands first shirt and amazed at how it works out as if by magic! Love the print of the flower fabric and yes a little like newsprint which adds great texture. UFO is my husbands shirt!! Really need to get it done as it’s stifling my other sewing as it’s sitting on the sewing table and has been for a month! X
I think it’s great when I can learn something new! If it was me, the husband’s shirt would be that UFO because I would be wanting it done to perfection! 😬 You understand!
Oh I do understand – should be sewing it now instead of cake baking! Any excuse! Ha ha
Oh but cake baking is a fabulous excuse!
Interesting post. I need to try the burrito method on an upcoming dress but honestly for some reason it terrifies me!!!
Buttonholes terrify me. Cutting into my fabric is so … painfully permanent! With this if you mess up, just rip it out and try again! The more I do it the more it makes sense. Lay it out proper, roll it up and fold the yokes back over your “stuffing”. Then sew and pull your stuffing out! Now if only I could cut into my fabric without a good stiff drink! 😂
Haha thank you for this Linda!!!! I’ll definitely give it a go…now where’s that stiff drink…!! X
This is absolutely lovely. It will g so nicely with the skirt. I love the Burrito method for yokes. It is so neat and tidy on the insides. Xx
Thank you! I had a lot of hand sewing before I discovered this!
This looks great! I haven’t tackled any jackets or shirts yet so the Burrito method is completely new to me. It looks like magic. LOL!
Can’t wait to see the finished result!
LOL it feels like magic! Don’t know if I could have invented the technique, but I sure like using it!
Hello. I’m way behind in my blog reading. I don’t have any UFO’s in my closet. Since I create art, what I do have our first attempts at portraits. I use those pages like a protector sheet or to try out new colour markers.
I love the term burrito technique. I was going to tease you about it but as I continued reading and I saw the picture, I thought, “it does look like a burrito.” I love that colour blue and I was taken by the print with the tiny words on it and the green vines and little blue flowers. I love seeing words on any print. Good work. I’ll try not to be a week late next time.
No problem! I’m here for your reading pleasure, anytime! I’m glad you found a use for your UFO’s. A good idea! I’m in love with this print. It’s not like anything else I’ve seen!