Skip to content
Menu
Nice dress! Thanks, I made it!! Nice dress! Thanks, I made it!!

The Blog, The Shop and More!

  • Home
  • My Blog!
    • Bag Photo Gallery
    • DESIGNIN’ DECEMBER
    • Vintage Sewing Machines
  • Pattern Shop
    • LH Patterns
    • Bag Photo Gallery
    • Vintage and OOP Sewing Patterns
  • YouTube
  • Contact Form & Links
Nice dress! Thanks, I made it!! Nice dress! Thanks, I made it!!

The Blog, The Shop and More!

The Button that took three days to sew on…

By Linda of Lányos Handmade / Nice dress! Thanks, I made it!! on 12 July 2014

and I don’t even have a good reason why it took so long!  Life just got in the way, I guess.  But this skirt sat for three days waiting for one button.  I suppose this is one reason why we have UFO’s (un finished objects).

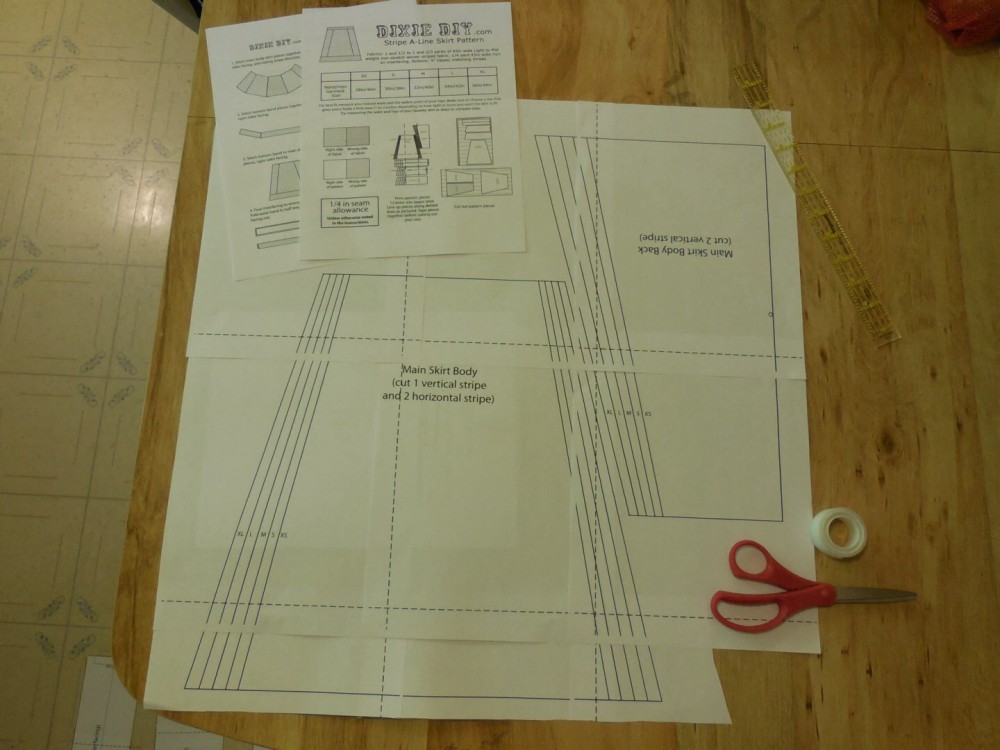
I downloaded the PDF pattern from Dixie DIY – the Striped A Line Skirt pattern.  It was pretty easy to put together.  Here are some of the pieces for the skirt.
image
Nice dress! Thanks, I made it!!

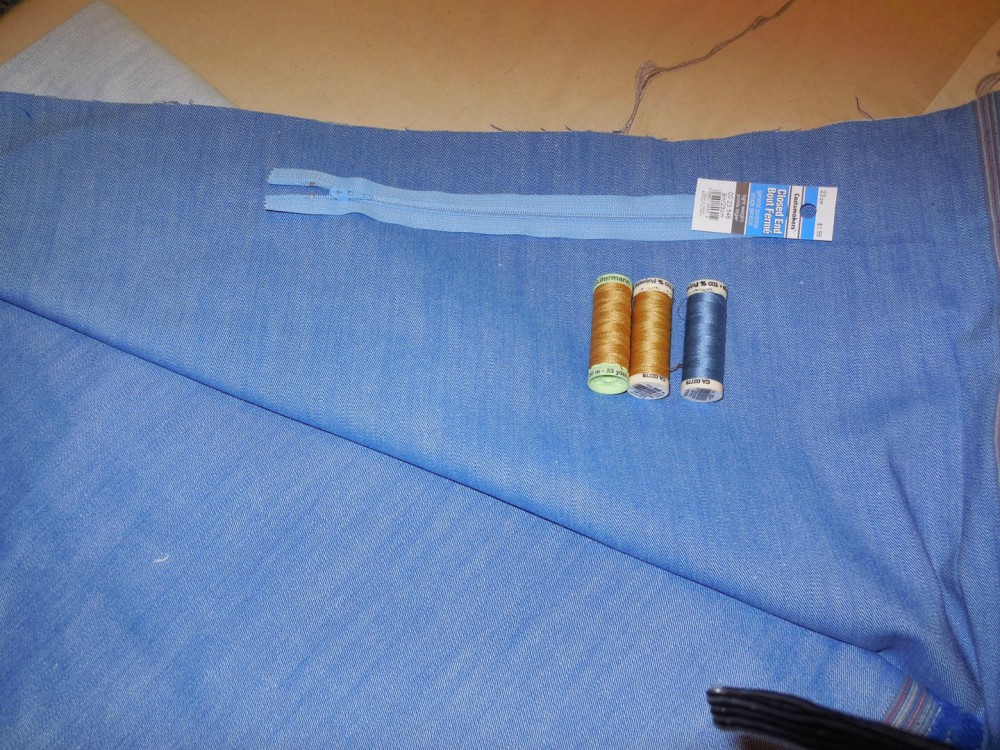
I had a light blue denim made of 70% Cotton 28% Polyester 2% Spandex. It’s comfortable, not stiff, and has a bit of stretch.  I bought top stitching thread and a light weight zipper and then decided I wanted the thread lighter weight and the zipper to be a heavier jeans zipper.
image
Nice dress! Thanks, I made it!!

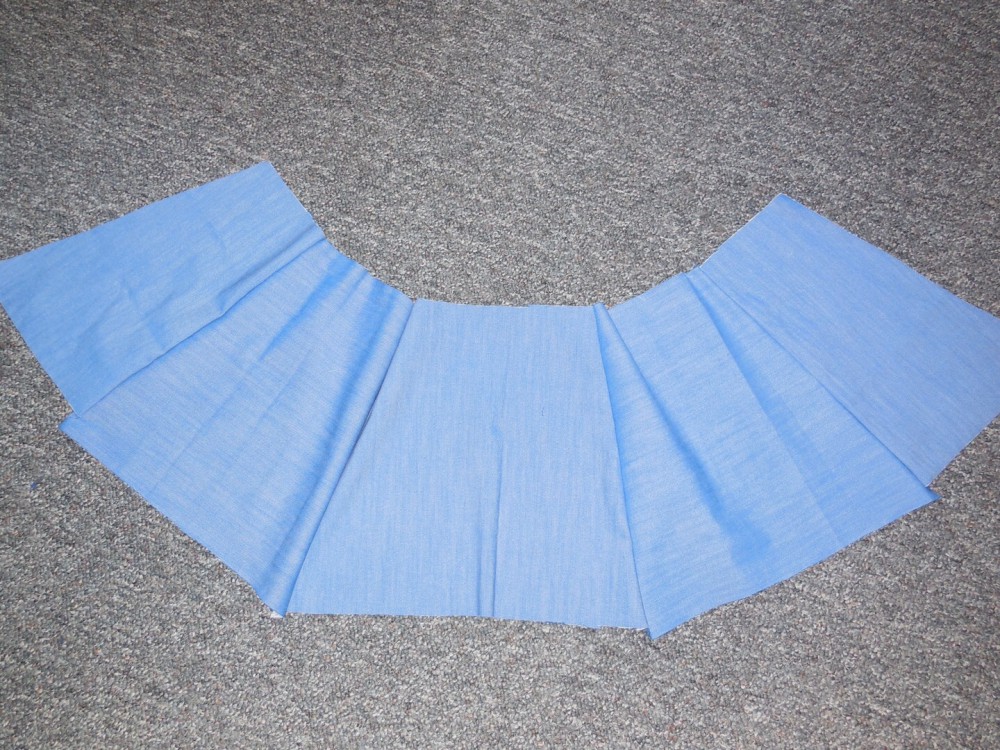
First step was to sew together all the panels.
image
Nice dress! Thanks, I made it!!

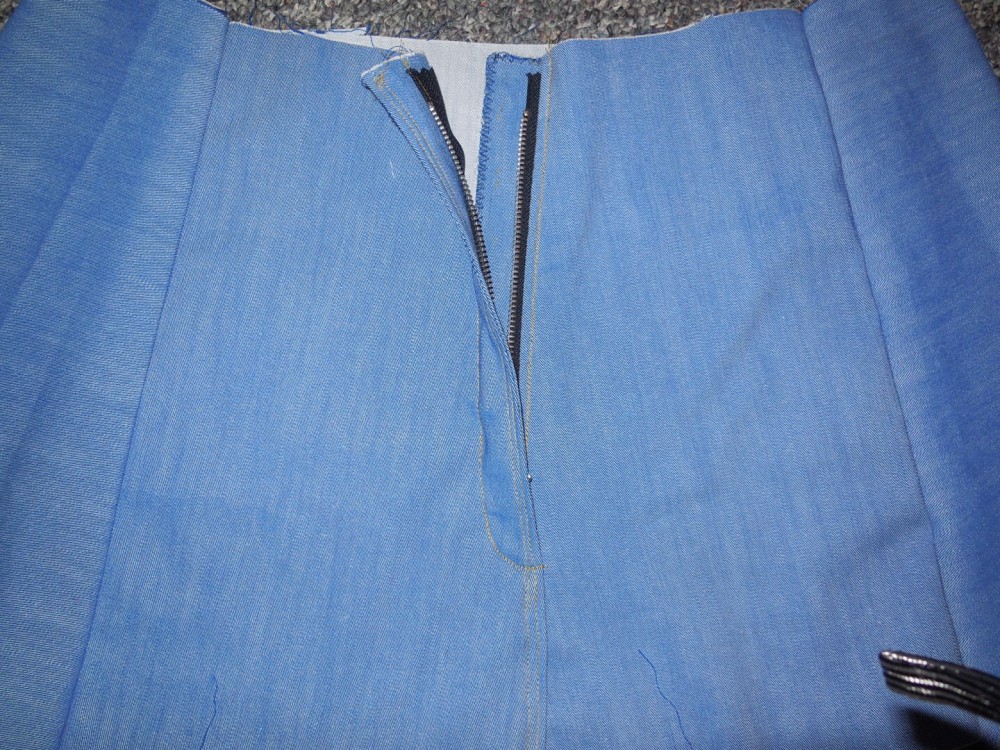
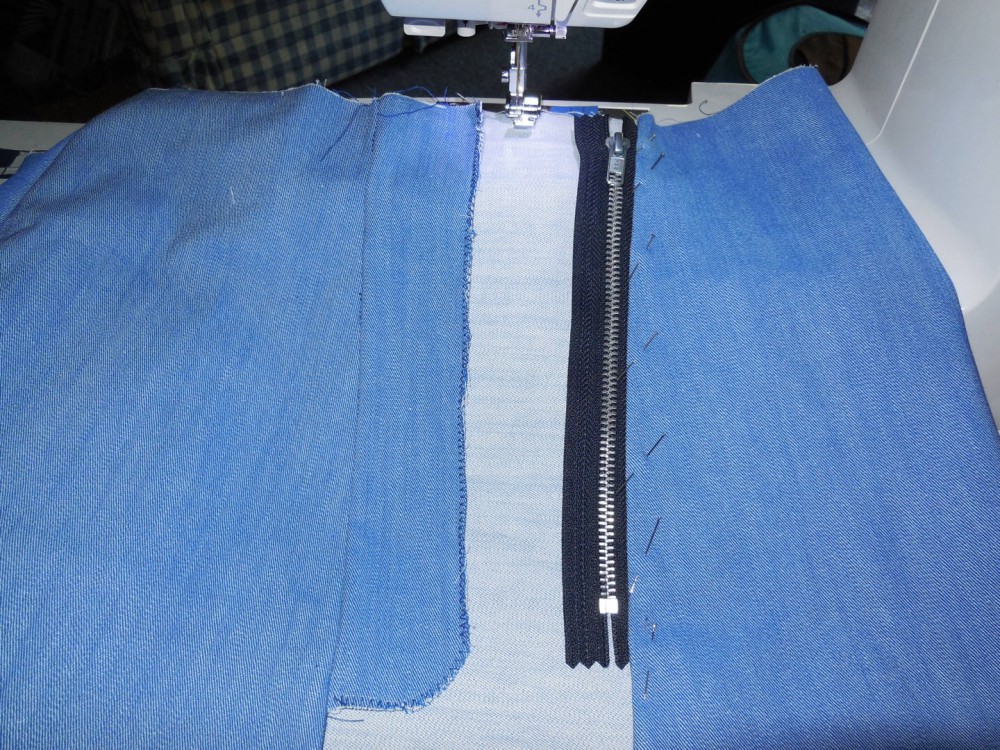
Then I decided to put the zip in the front and not the back, as the pattern instructed.  So I made a single thickness placket for the left side, sewed it on and folded it under.  I also sewed the zipper on the right side.
image
Nice dress! Thanks, I made it!!

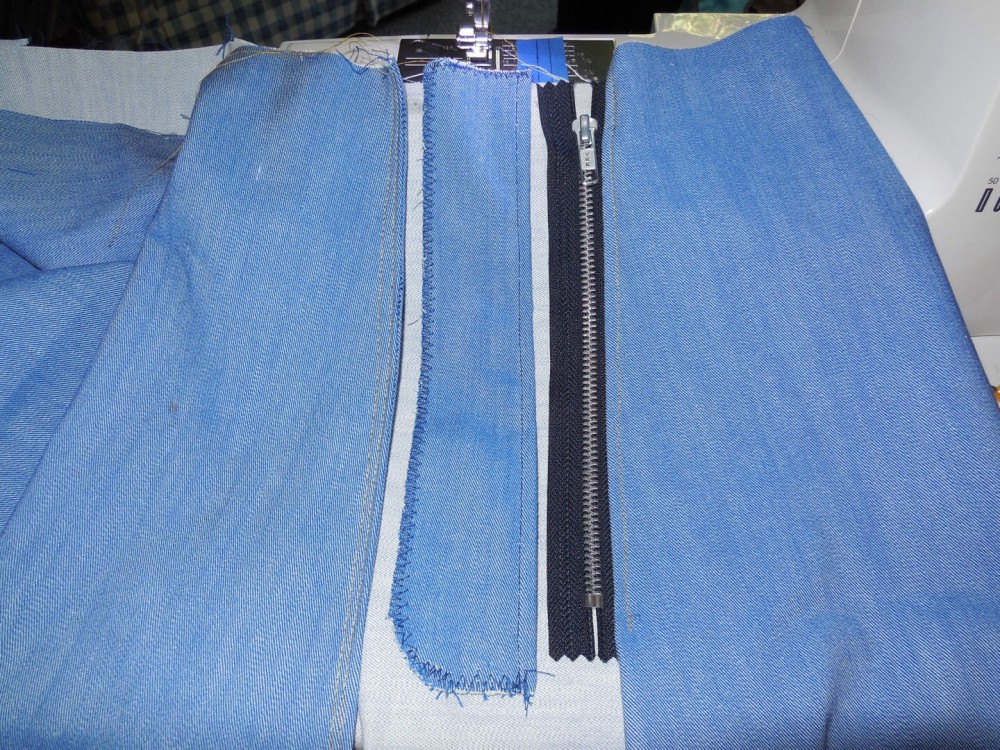
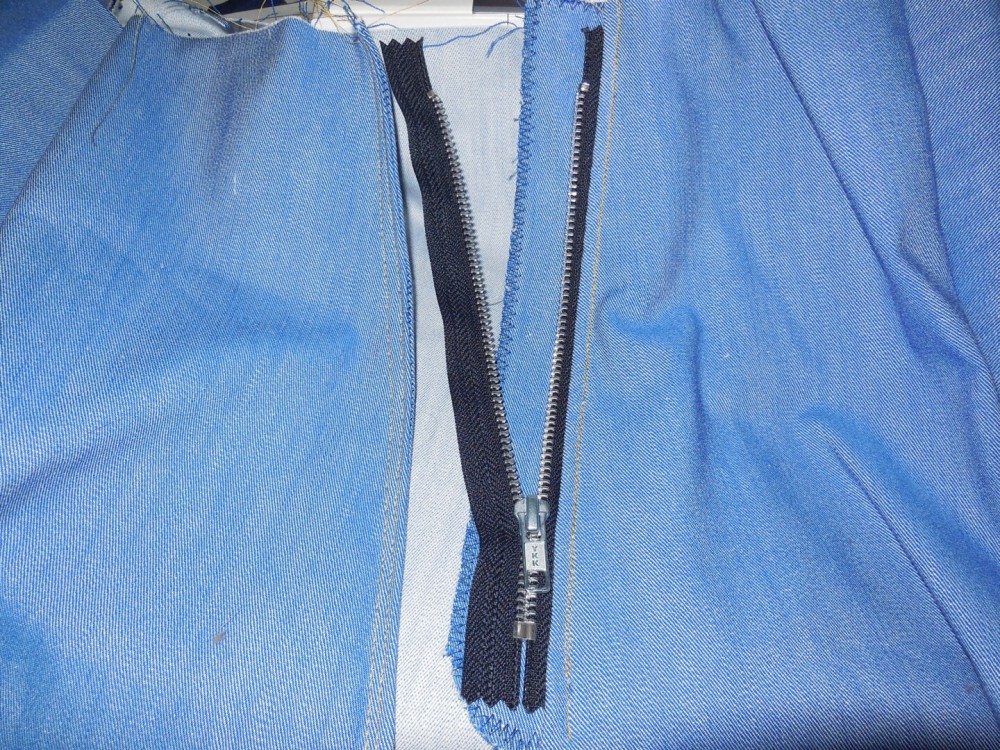
I made a double thickness placket for the right side, slipped it under my zipper and sewed it on.
image
Nice dress! Thanks, I made it!!
image
Nice dress! Thanks, I made it!!

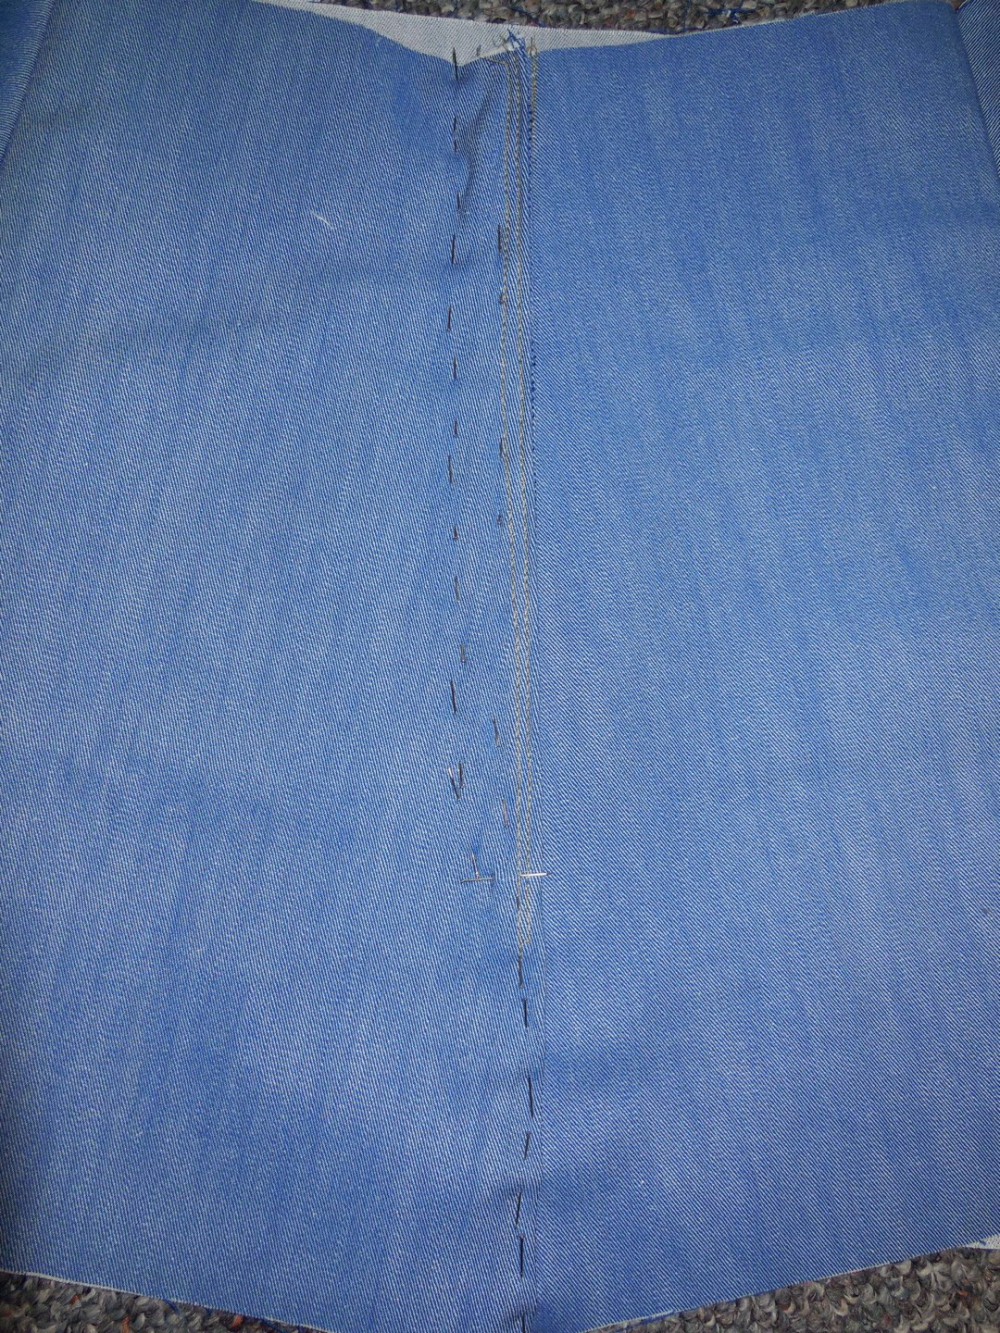
I pinned the left side of my skirt to the left side of my zipper and the right placket (oops!) and then realized that I had just pinned my skirt shut.  At least it helped me get the placement of the left side of my skirt to the left side of my zipper correct for sewing!
image
Nice dress! Thanks, I made it!!

Sewn in properly!

image
Nice dress! Thanks, I made it!!

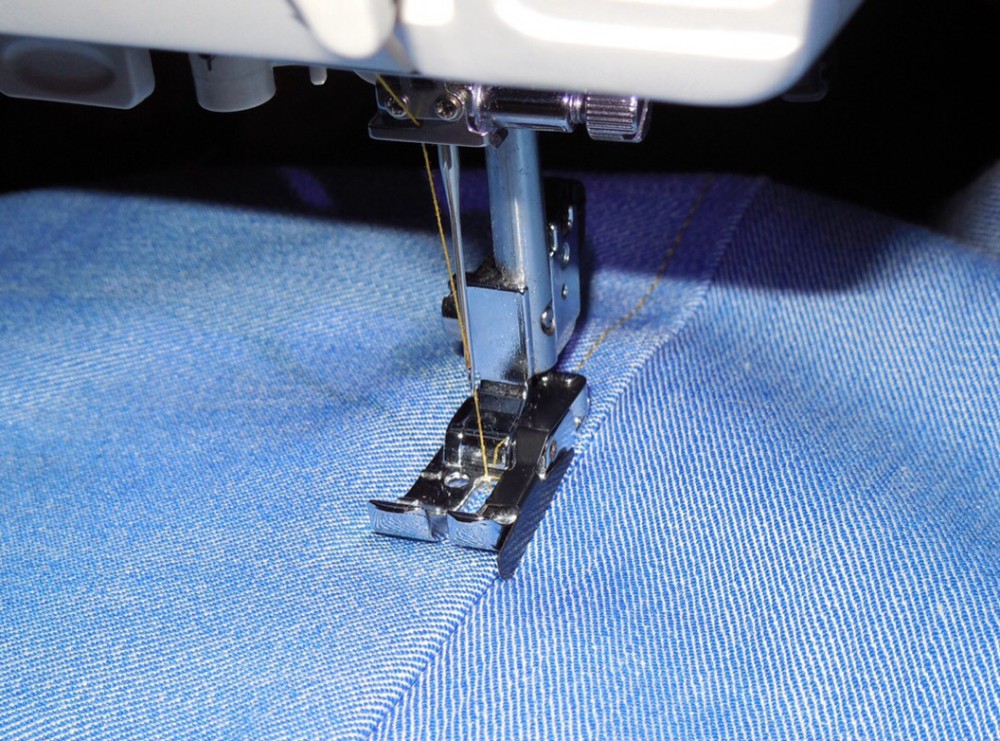
Next top stitching.  1/4″ foot for one row of stitching.
image
Nice dress! Thanks, I made it!!

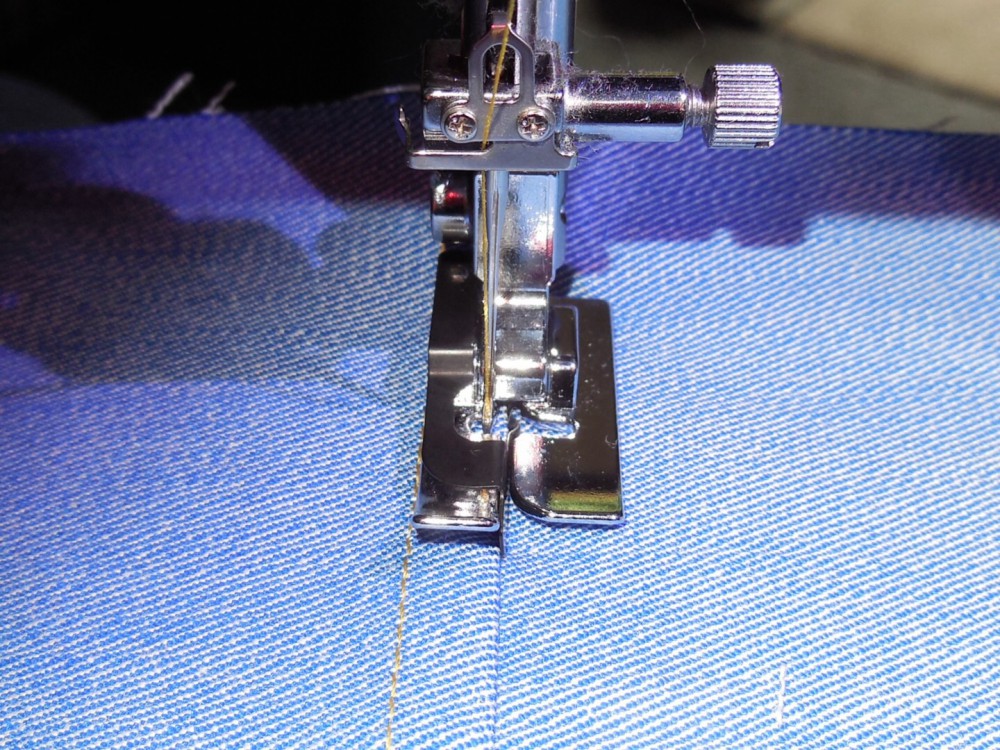
Blind hem foot for the closer row of stitching.  Remember to move your needle to the left of centre.
image
Nice dress! Thanks, I made it!!

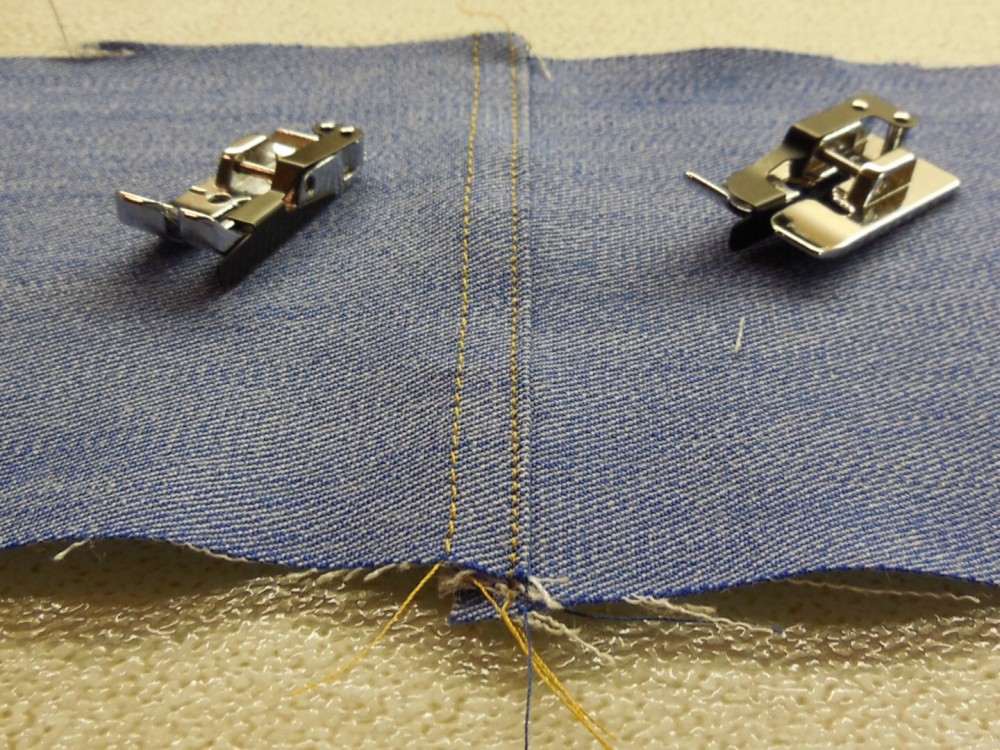
I love using these two feet for top stitching!
image
Nice dress! Thanks, I made it!!

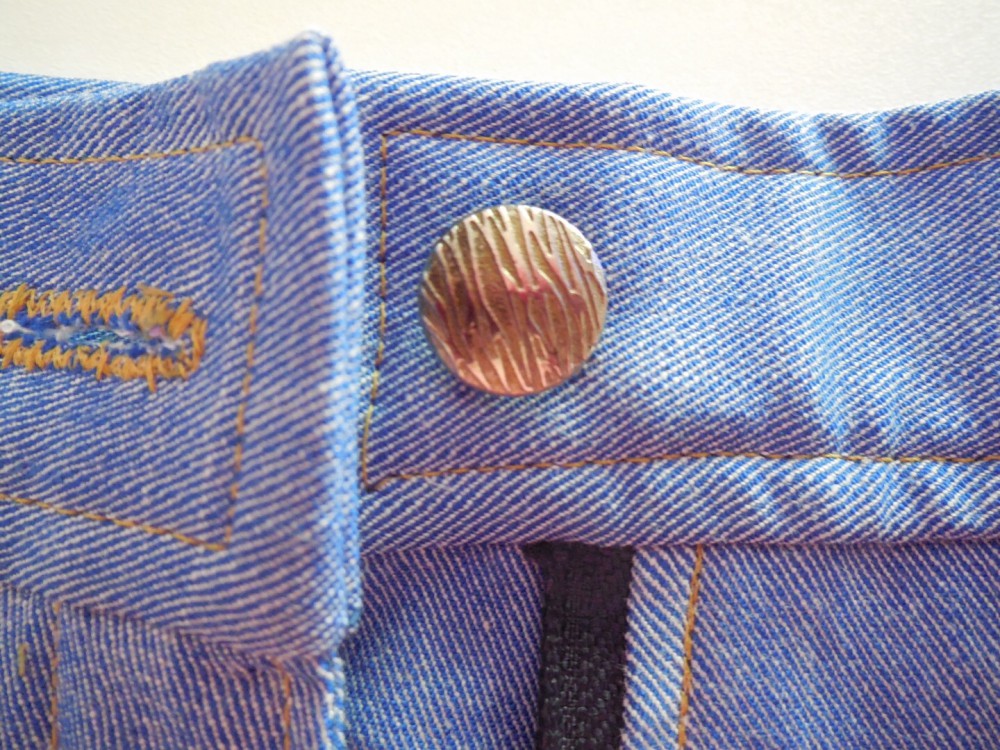
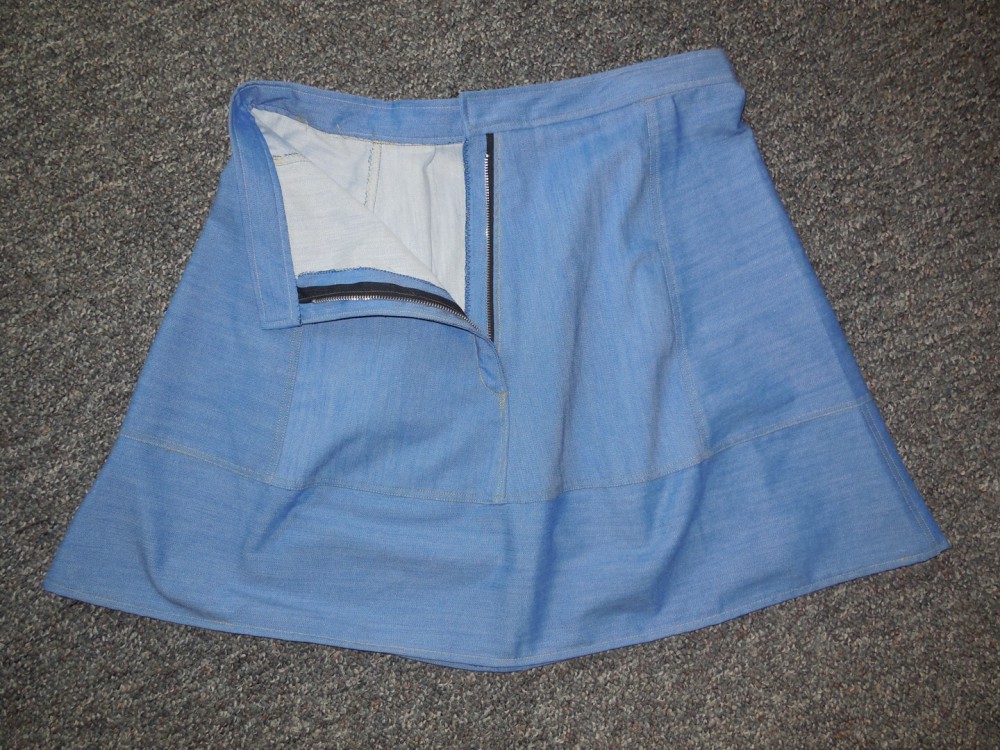
My skirt waits for its button now, and waits, and waits……
image
Nice dress! Thanks, I made it!!

The offending button…..

image
Nice dress! Thanks, I made it!!

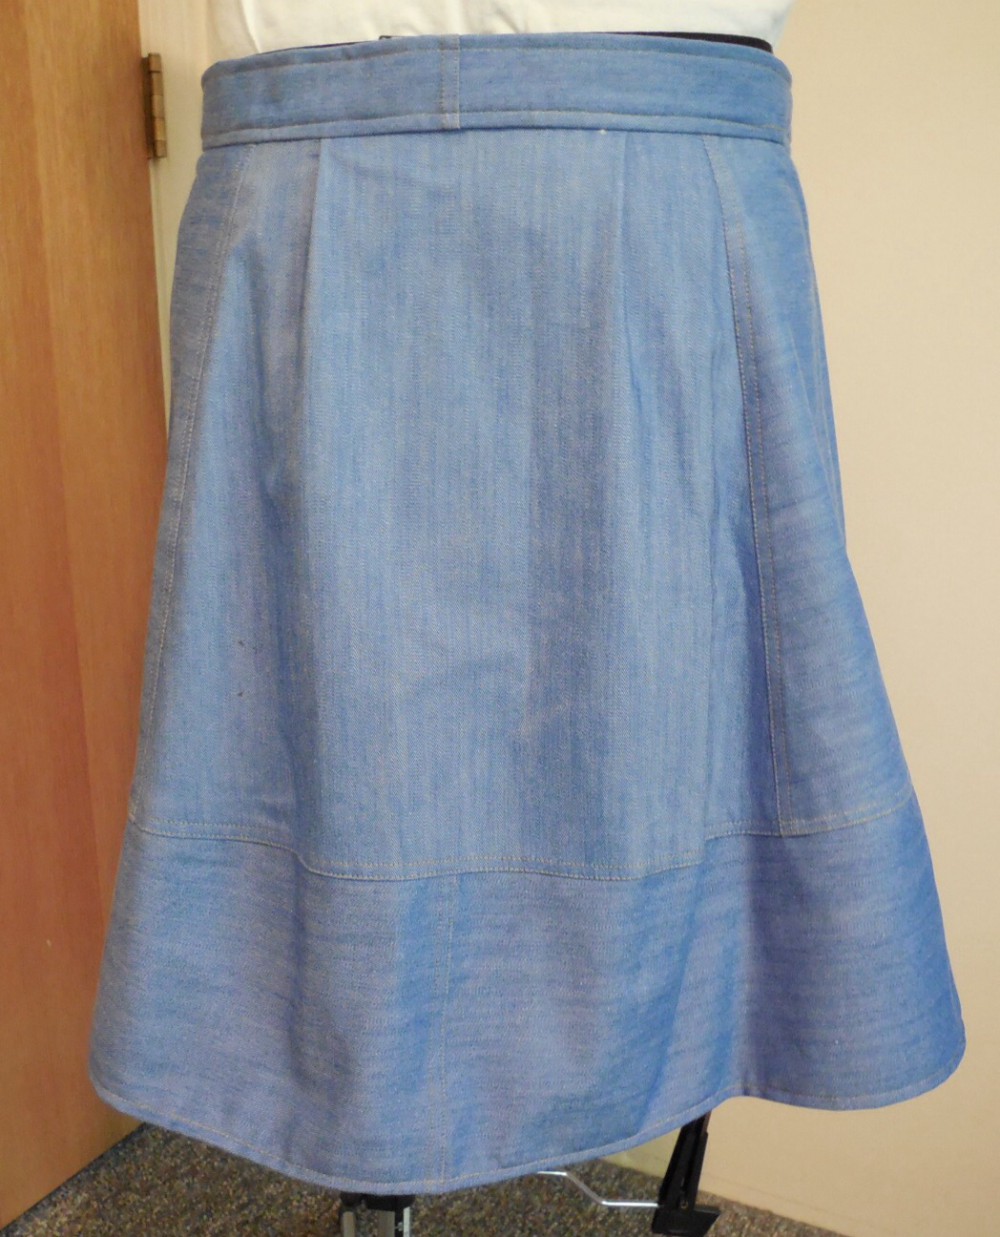
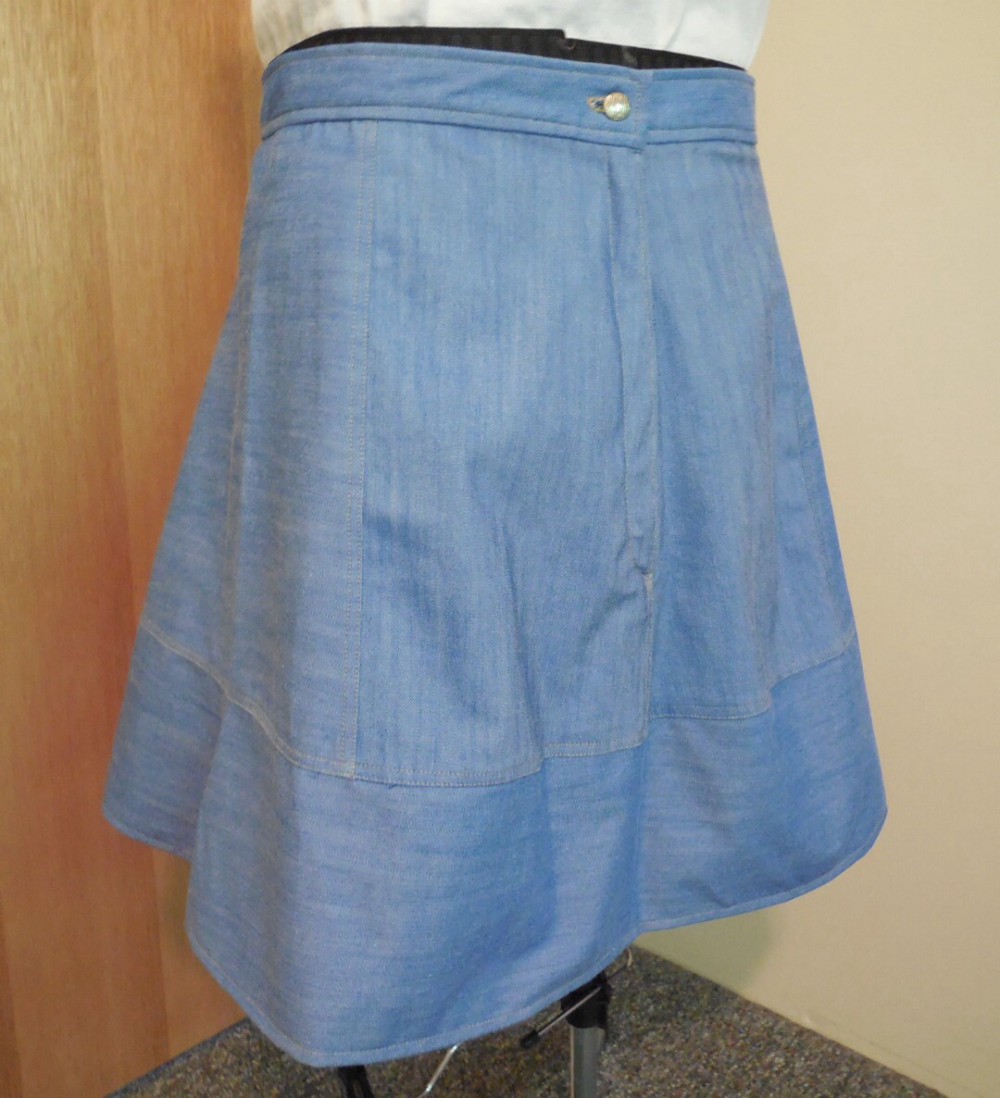
And now, the finished front and back…..
image
Nice dress! Thanks, I made it!!
image
Nice dress! Thanks, I made it!!

Another happy FINISHED project!

Share this:

  • Share on Facebook (Opens in new window) Facebook
  • Share on Reddit (Opens in new window) Reddit
  • Share on LinkedIn (Opens in new window) LinkedIn
  • Share on Threads (Opens in new window) Threads
  • Share on Bluesky (Opens in new window) Bluesky

Like this:

Like Loading…

You might also like:

Category: 1000 Things to Do with a Sewing Machine, Denim, DESIGNIN' DENIM, I made it!! 2014, Indie sewing patterns, Sewing, Sewing Challenges, Skirts
Tags: 1/4 " seam foot, Blind hem foot, Cotton, Dixie DIY, Easy patterns, Indie Pattern Month, New-to-Me, Polyester, Spandex, The Monthly Stitch, topstitching, zipper placket, zippers

Post navigation

Question and Answer Period!
Indecision?

Explore more posts

#MMMay18 … and a bit of tidying up! …

May 28, 2018
Read More

McCall’s M7364 – A simple sewing pattern!

August 16, 2018
Read More

Designin’ December 2019 Prize Sponsors!

September 29, 2019
Read More

6 thoughts on “The Button that took three days to sew on…”

  1. Lynn says:
    17 July 2014 at 6:36 am

    Oh, I totally understand! I don’t dislike sewing buttons but often I get to the point where everything is done except the buttons and button holes and I think, “Yay, almost done. I can take a break now,” and the break ends up lasting a week.

    Nice skirt.

    1. Linda of Nice dress! Thanks, I made it!! says:
      17 July 2014 at 6:59 pm

      Nice to know others do the same! Thanks!

  2. helen says:
    13 July 2014 at 12:37 pm

    I like your tip on the blind hem foot for the topstitch. I shall try to remember this.
    Love the finished skirt.

    1. Linda of Nice dress! Thanks, I made it!! says:
      13 July 2014 at 12:54 pm

      Thank you! That’s why I like blogging – you get to learn and share tips and ideas!

  3. susanonthesoapbox says:
    13 July 2014 at 7:59 am

    It took so long to sew on because there were all these other complicated things to do before you could get to the sewing on bit…I admire your perseverance!

    1. Linda of Nice dress! Thanks, I made it!! says:
      13 July 2014 at 8:51 am

      Thank you! But then we all have to persevere in some way! At least I like sewing!

Comments are closed.

Recent Posts

  • Family, Fundraising, and Hope – The 2026 Move to Cure ALS BC
  • My two Cardigans for #MeMadeMay!
  • My Toronto Tee and Citrus Leggings for #MeMadeMay
  • Busy times! Today I am sewing with my Singer 421G.
  • Join Us for #MeMadeMay: Celebrating Handmade Creations

  • Facebook
  • Instagram
  • Bluesky
  • Threads
    ©2026 Nice dress! Thanks, I made it!! | WordPress Theme by Superb WordPress Themes

    %d